
This is where I share all the little things that make our house feel like home - from DIY home decor projects and seasonal decorating ideas to cozy routines and everyday inspiration. My heart behind this space is to help you create a home you truly love, without needing a “dream house” to get started!
explore
welcome to our
cozy little home!
FALL
CHRISTMAS
EVERYDAY
DIY PROJECTS
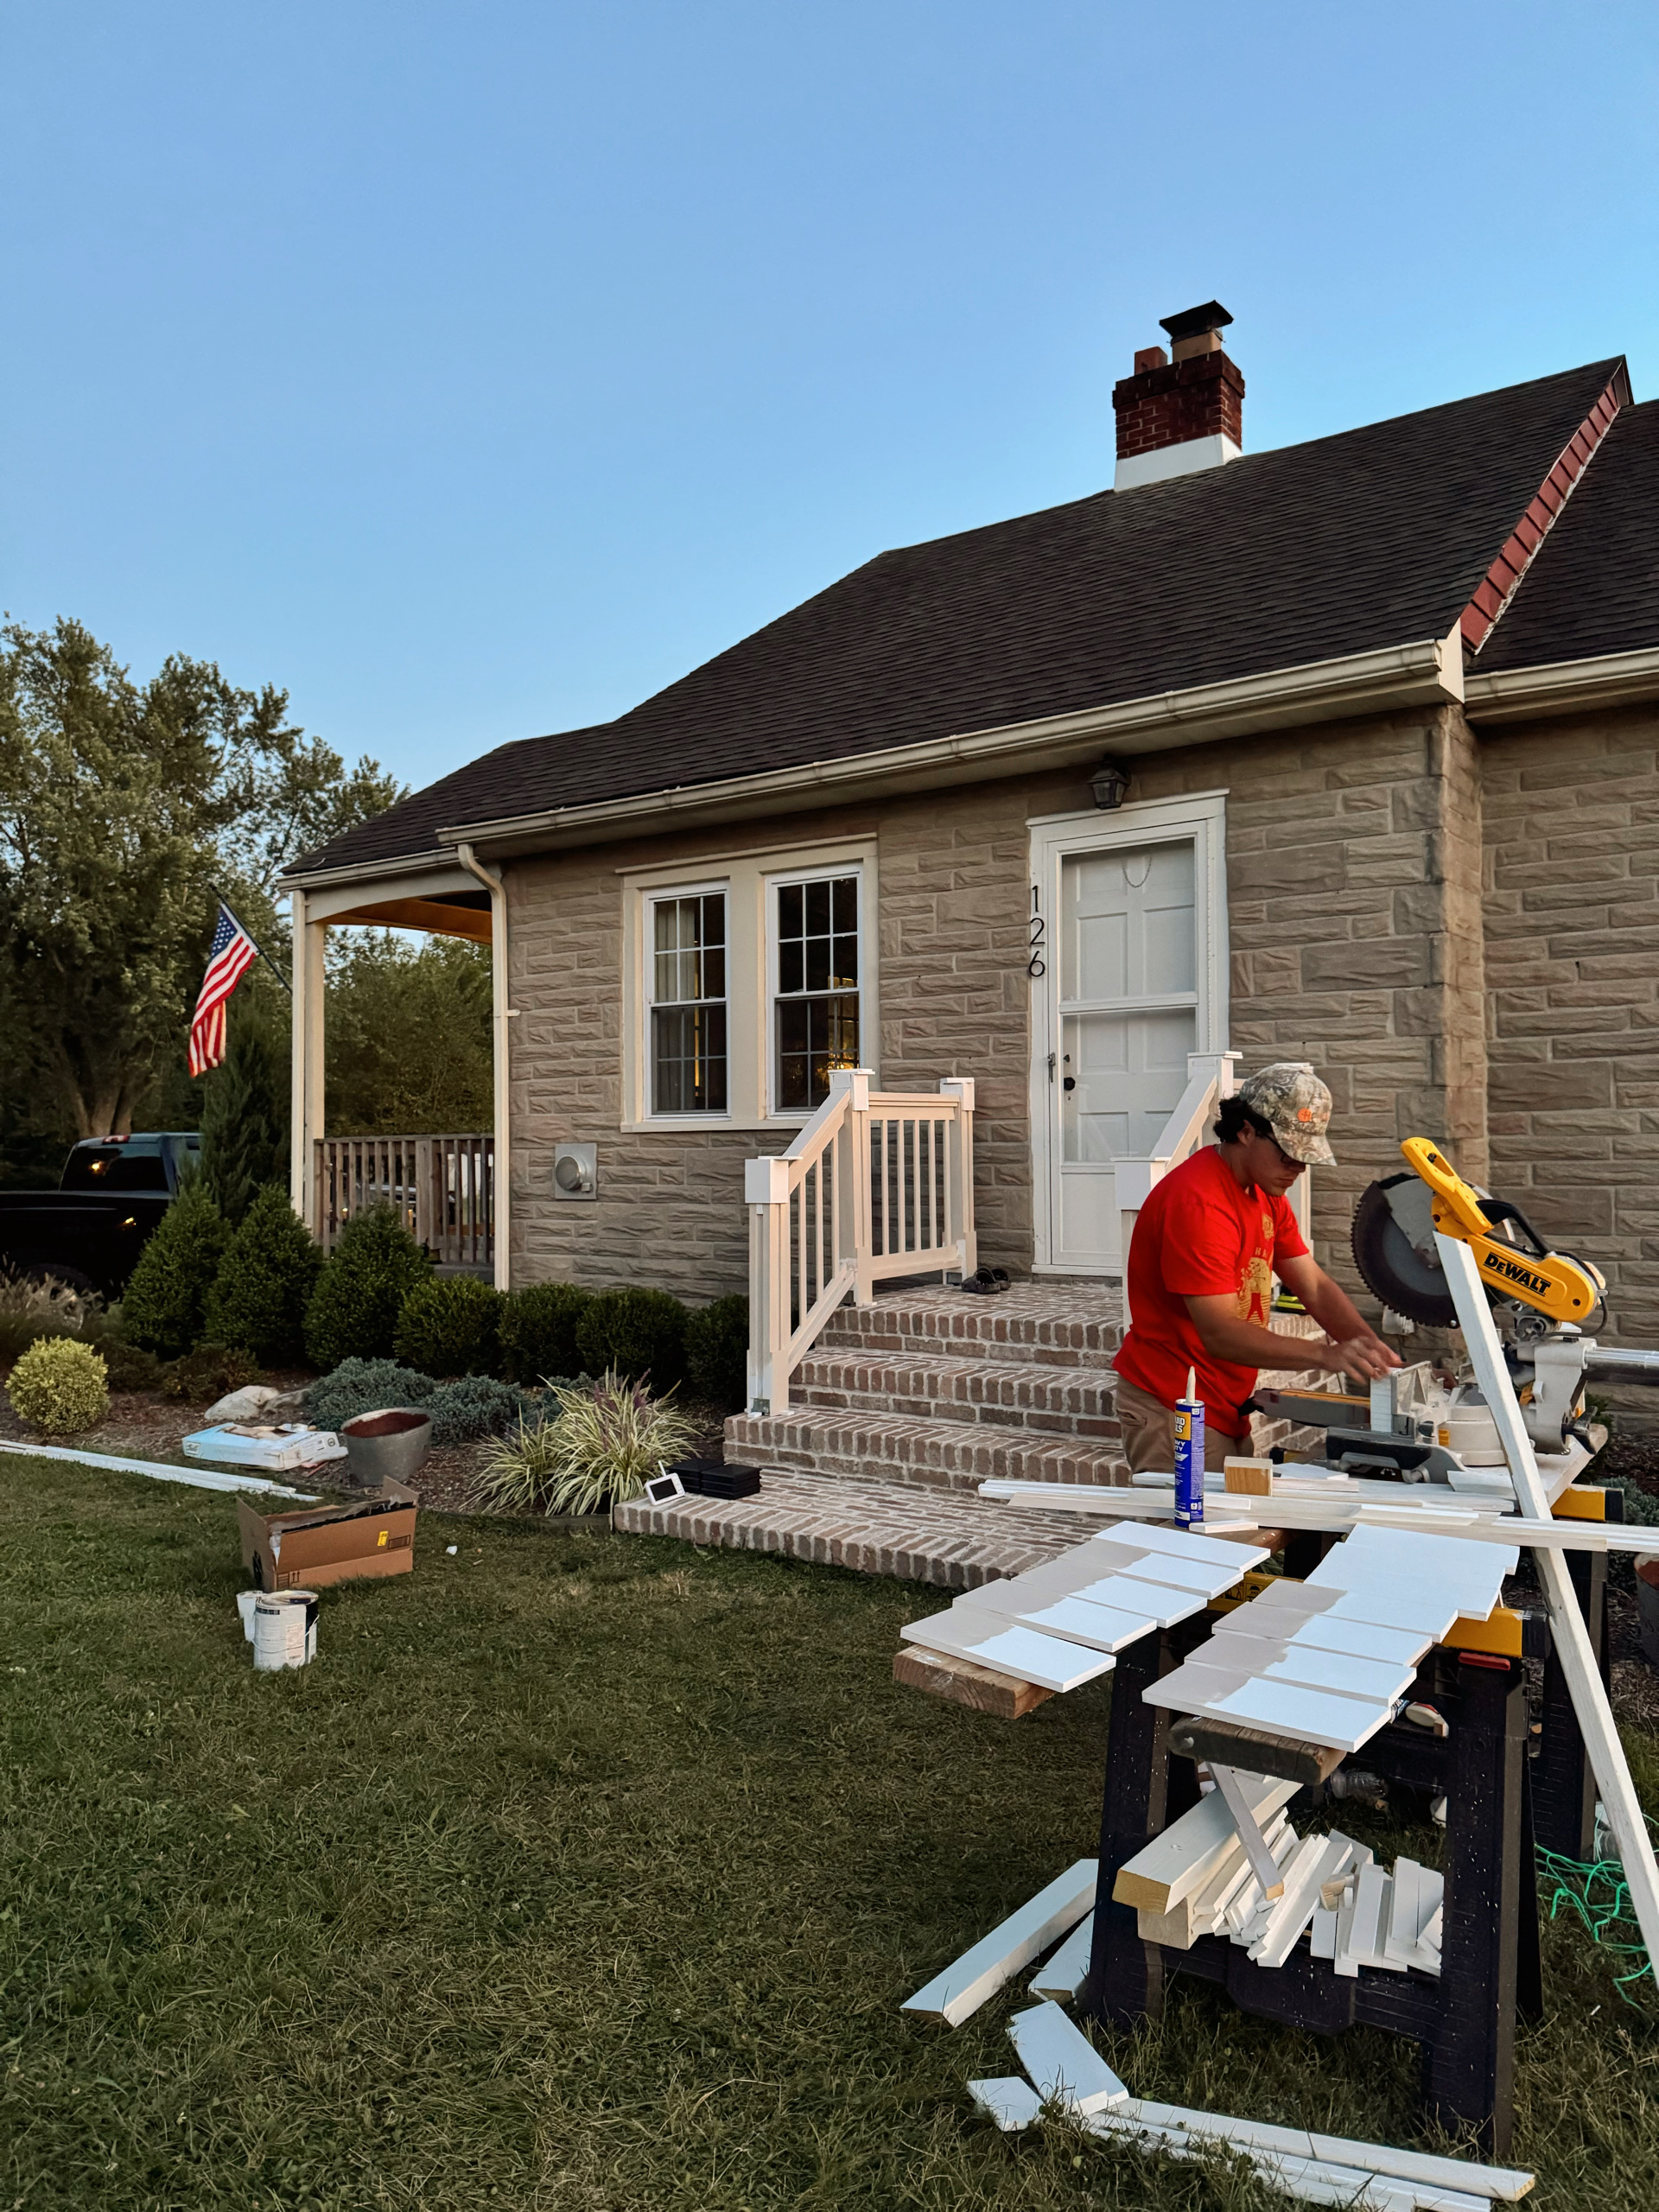
I can’t believe this project is finally done! What started as a simple railing replacement turned into one of our biggest DIYs yet – and honestly, one of my favorites. If you’ve been following along, you know this was a true labor of love. From ripping out the old railing to bricking our steps and building custom posts, I’m so proud (+ also a little surprised lol) to say that we did it all ourselves!!
If you’re thinking about tackling your own front porch makeover, here’s a breakdown of how we did it (and a few things we learned along the way)!
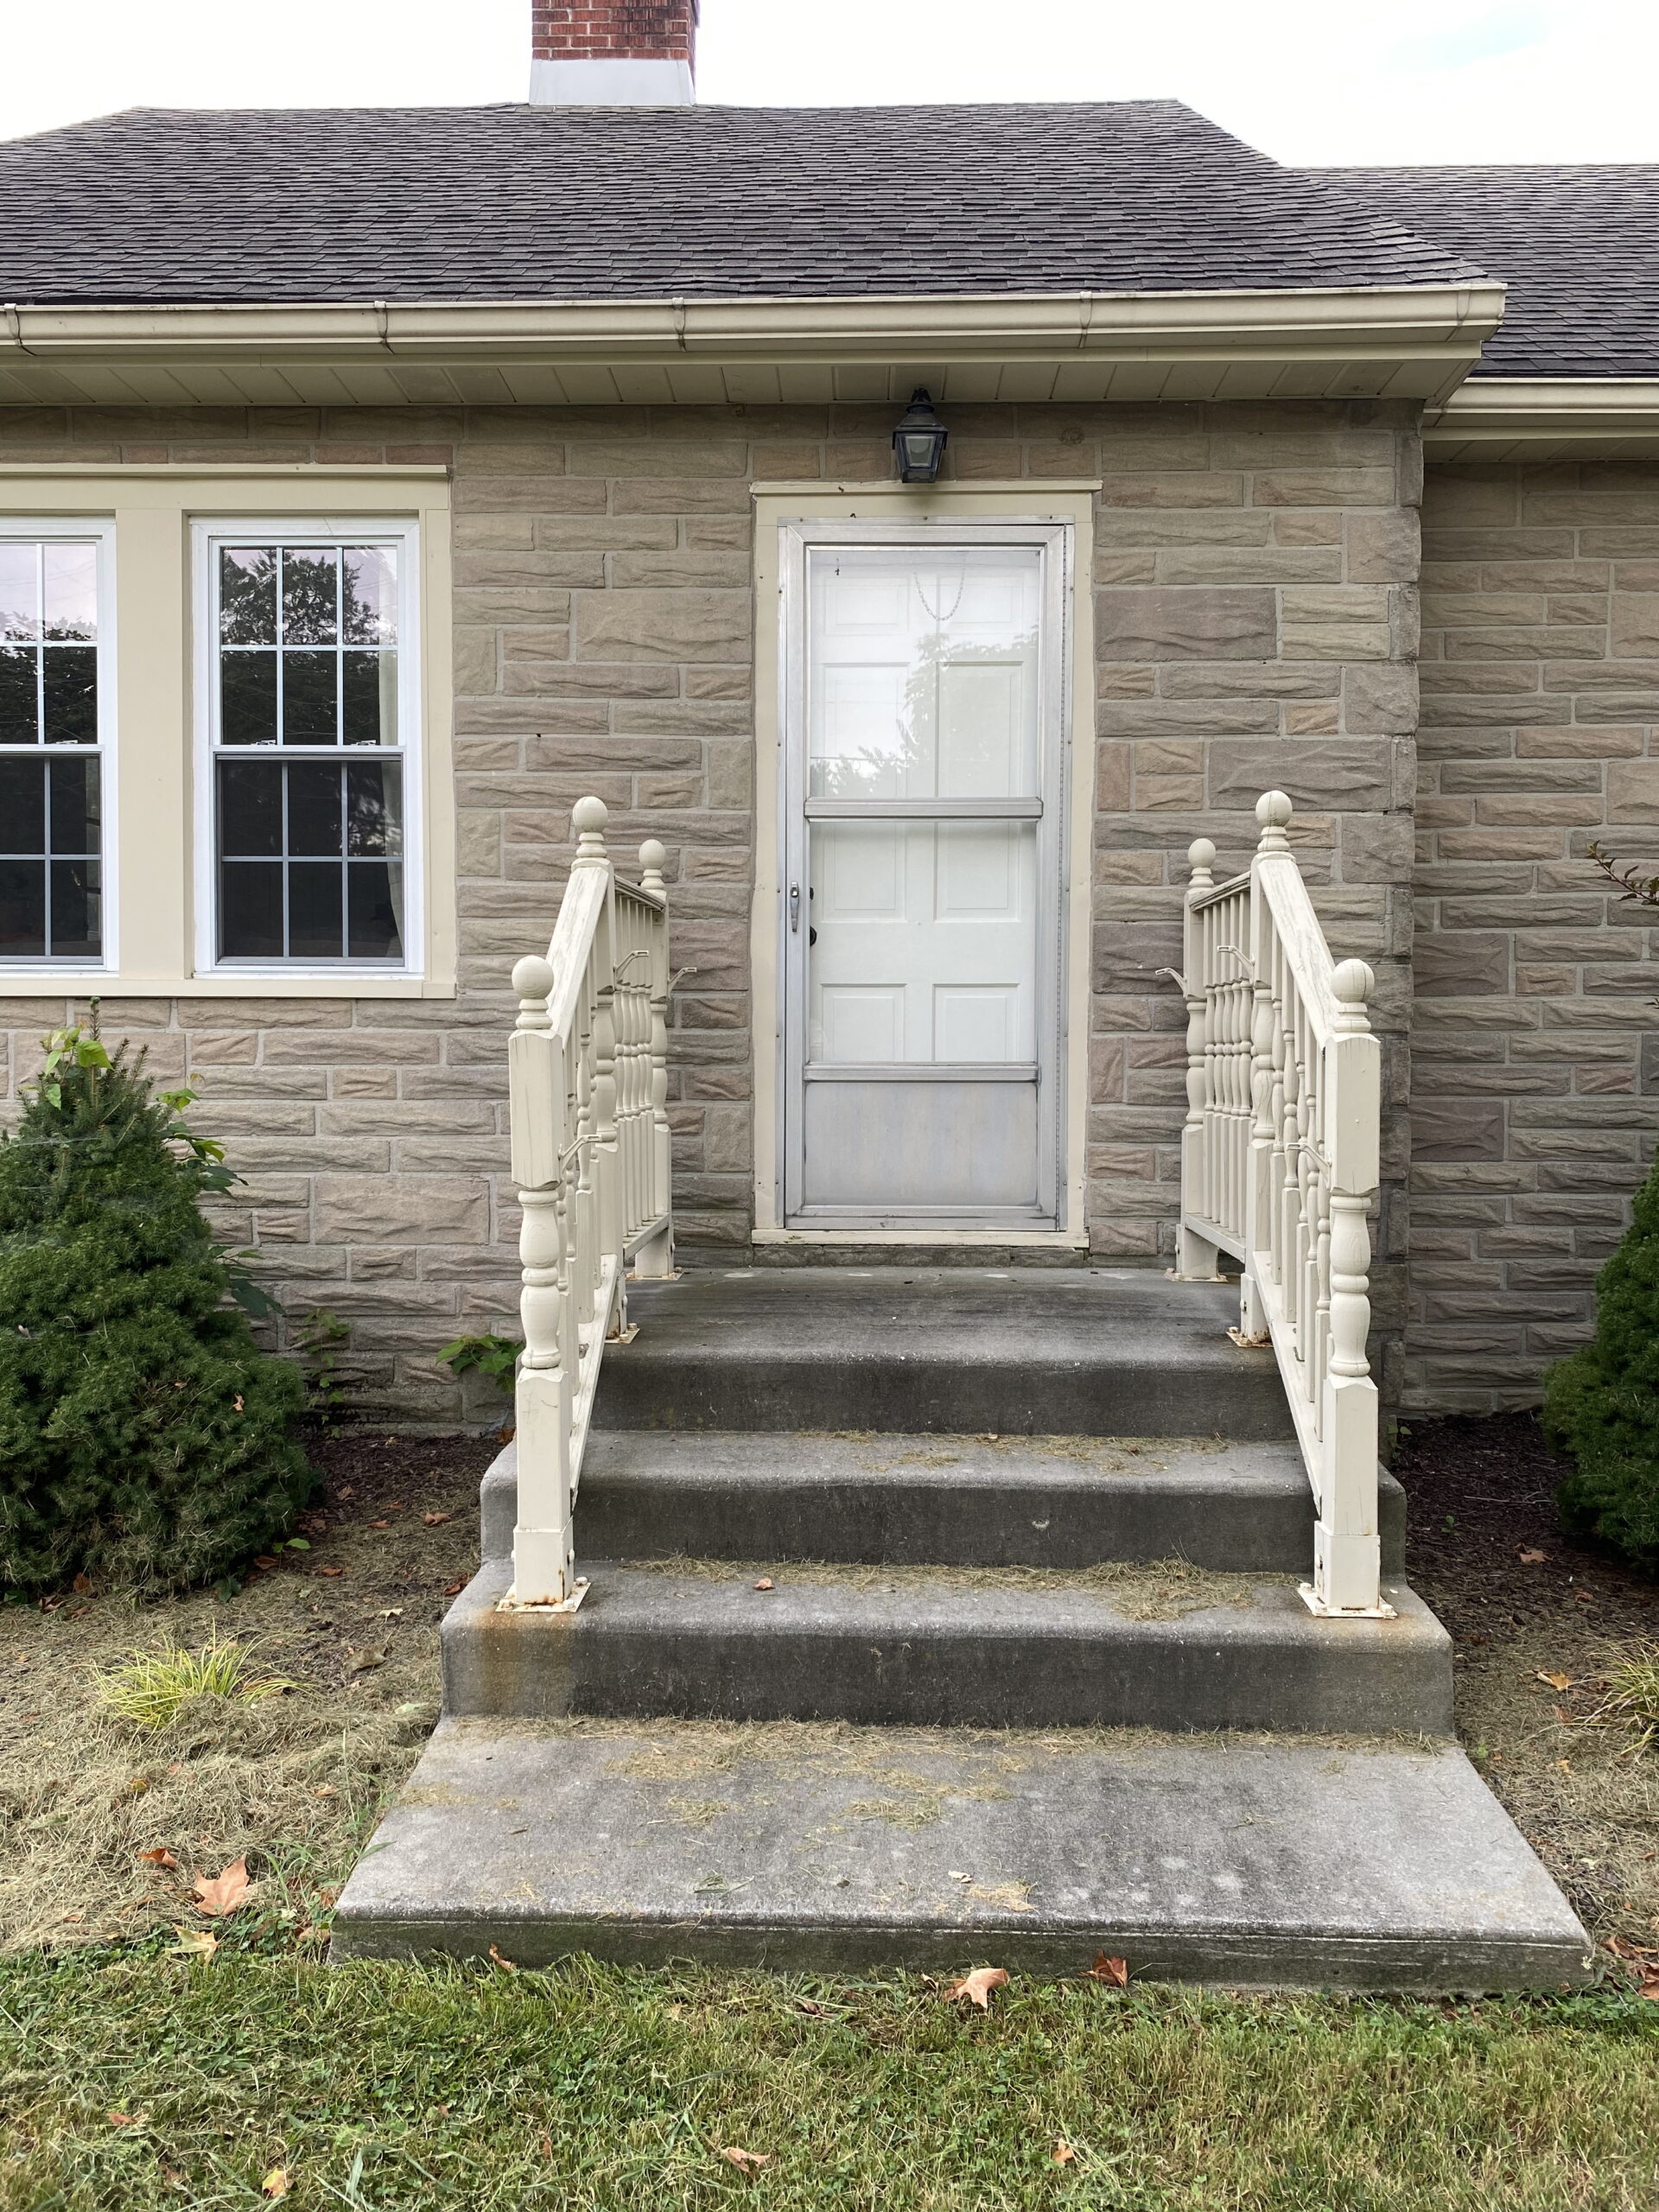
Part One: Removing the Old Railing + Prepping the Steps
The first step in our DIY front porch makeover was removing the old railing. We originally planned to keep the existing posts and just wrap them, but once we got started, we realized they were too rotted to save.
After taking everything down, we gave the steps a good power wash (this is a power washer I found with good reviews!) so we’d have a clean slate to work with before starting our brick steps project.
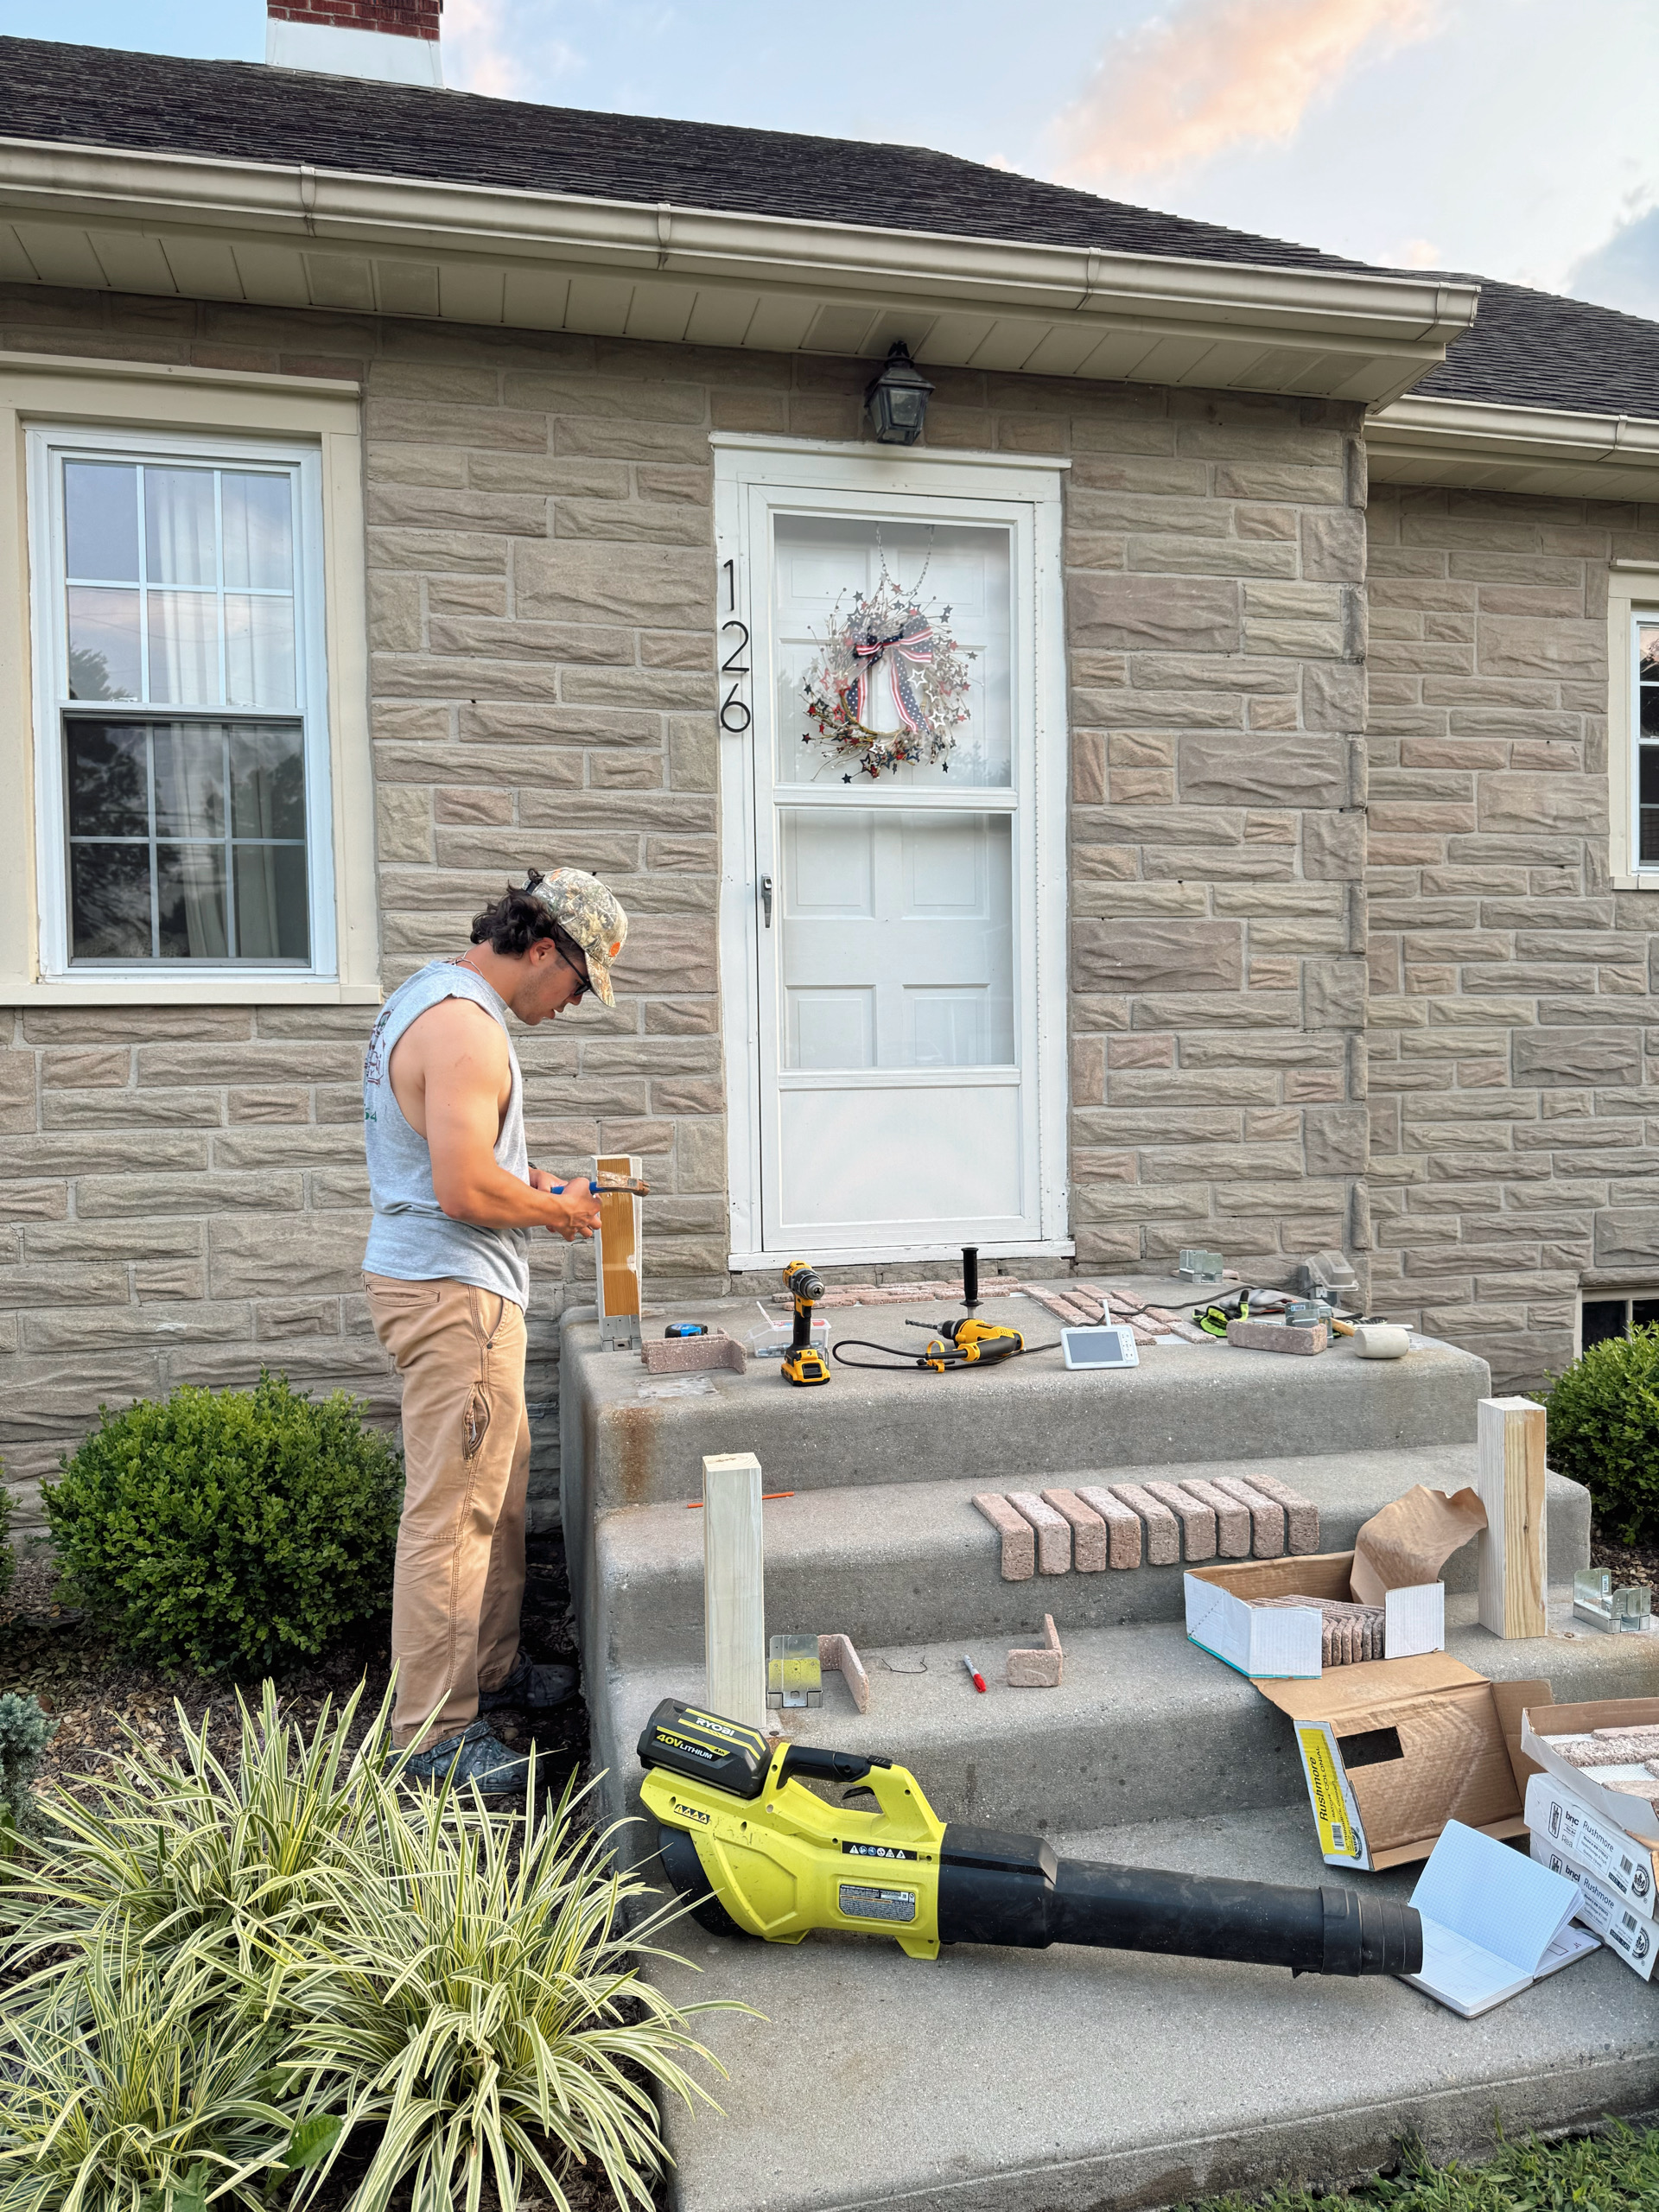
Next, we installed new post anchors directly into the cement. If you ever need to drill into concrete, this hammer drill made the job about 20x faster – such a game changer for any DIY project!
Once everything was prepped, it was time for the fun part… bricking!!
Part Two: Bricking the Porch Steps
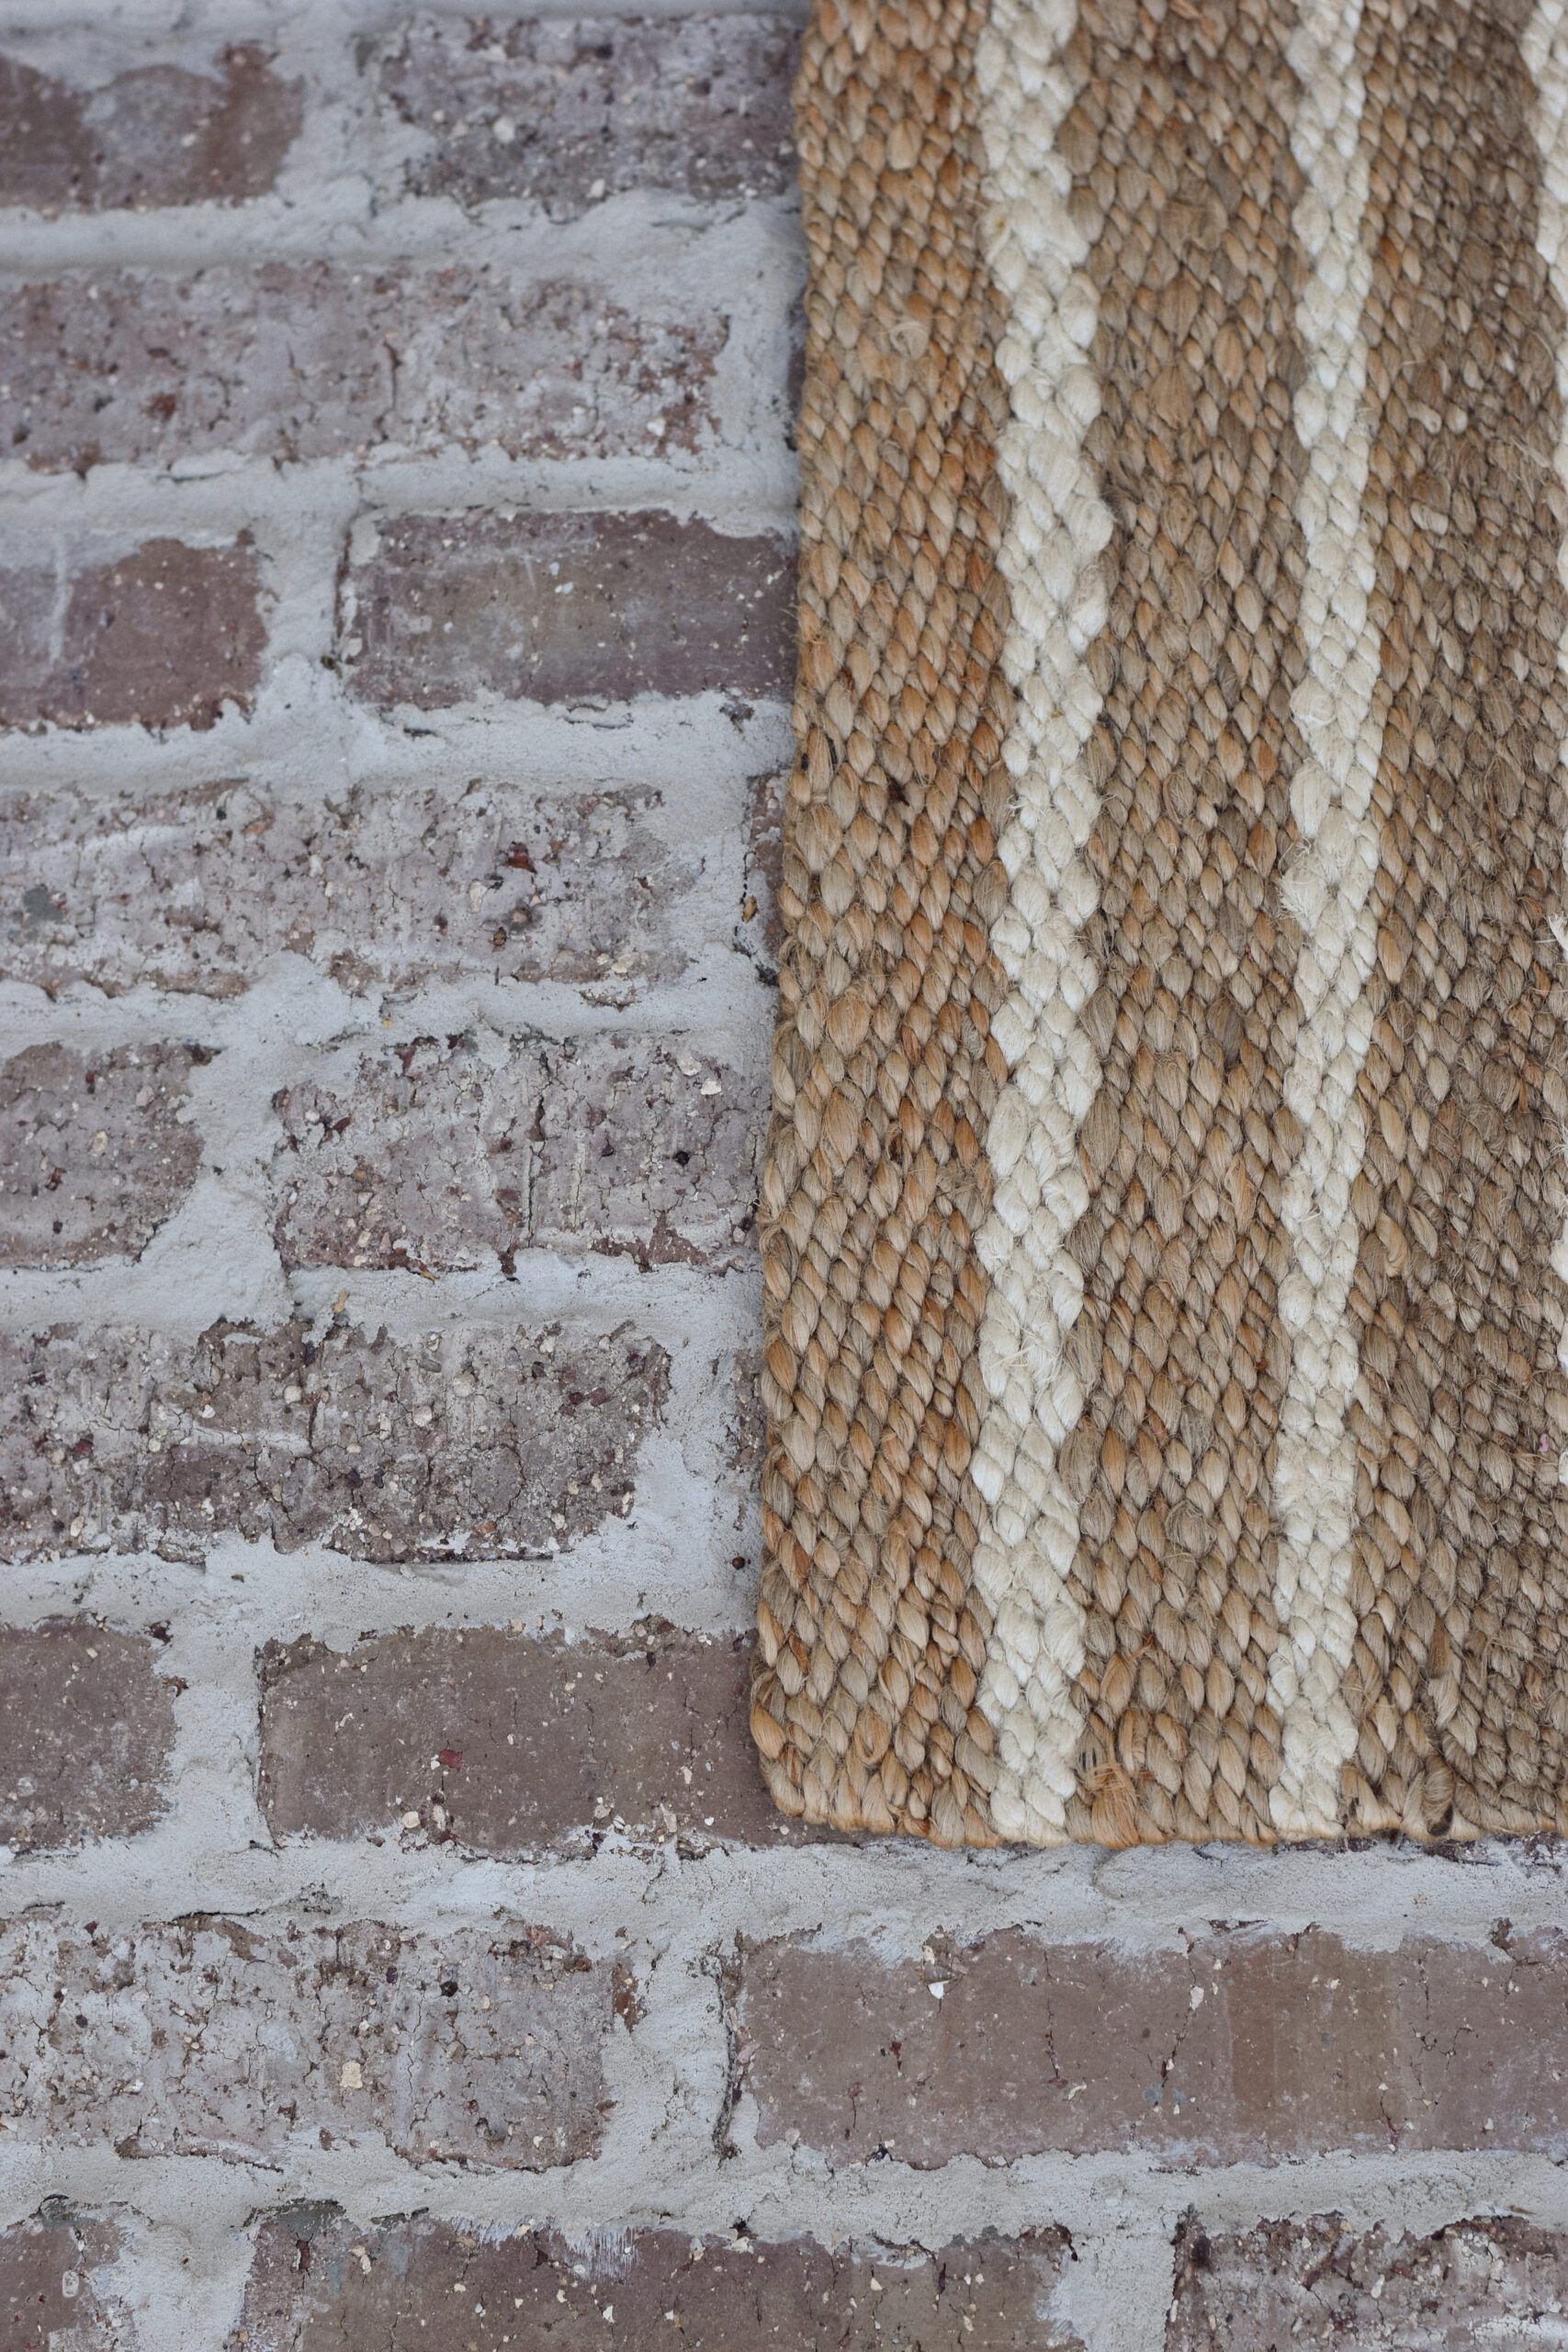
We used these brick sheets and these brick corners that we found from Home Depot in the color Rushmore, and used this prism grout in the color Bone. (It’s the perfect soft, warm tone if you’re going for a classic look)!
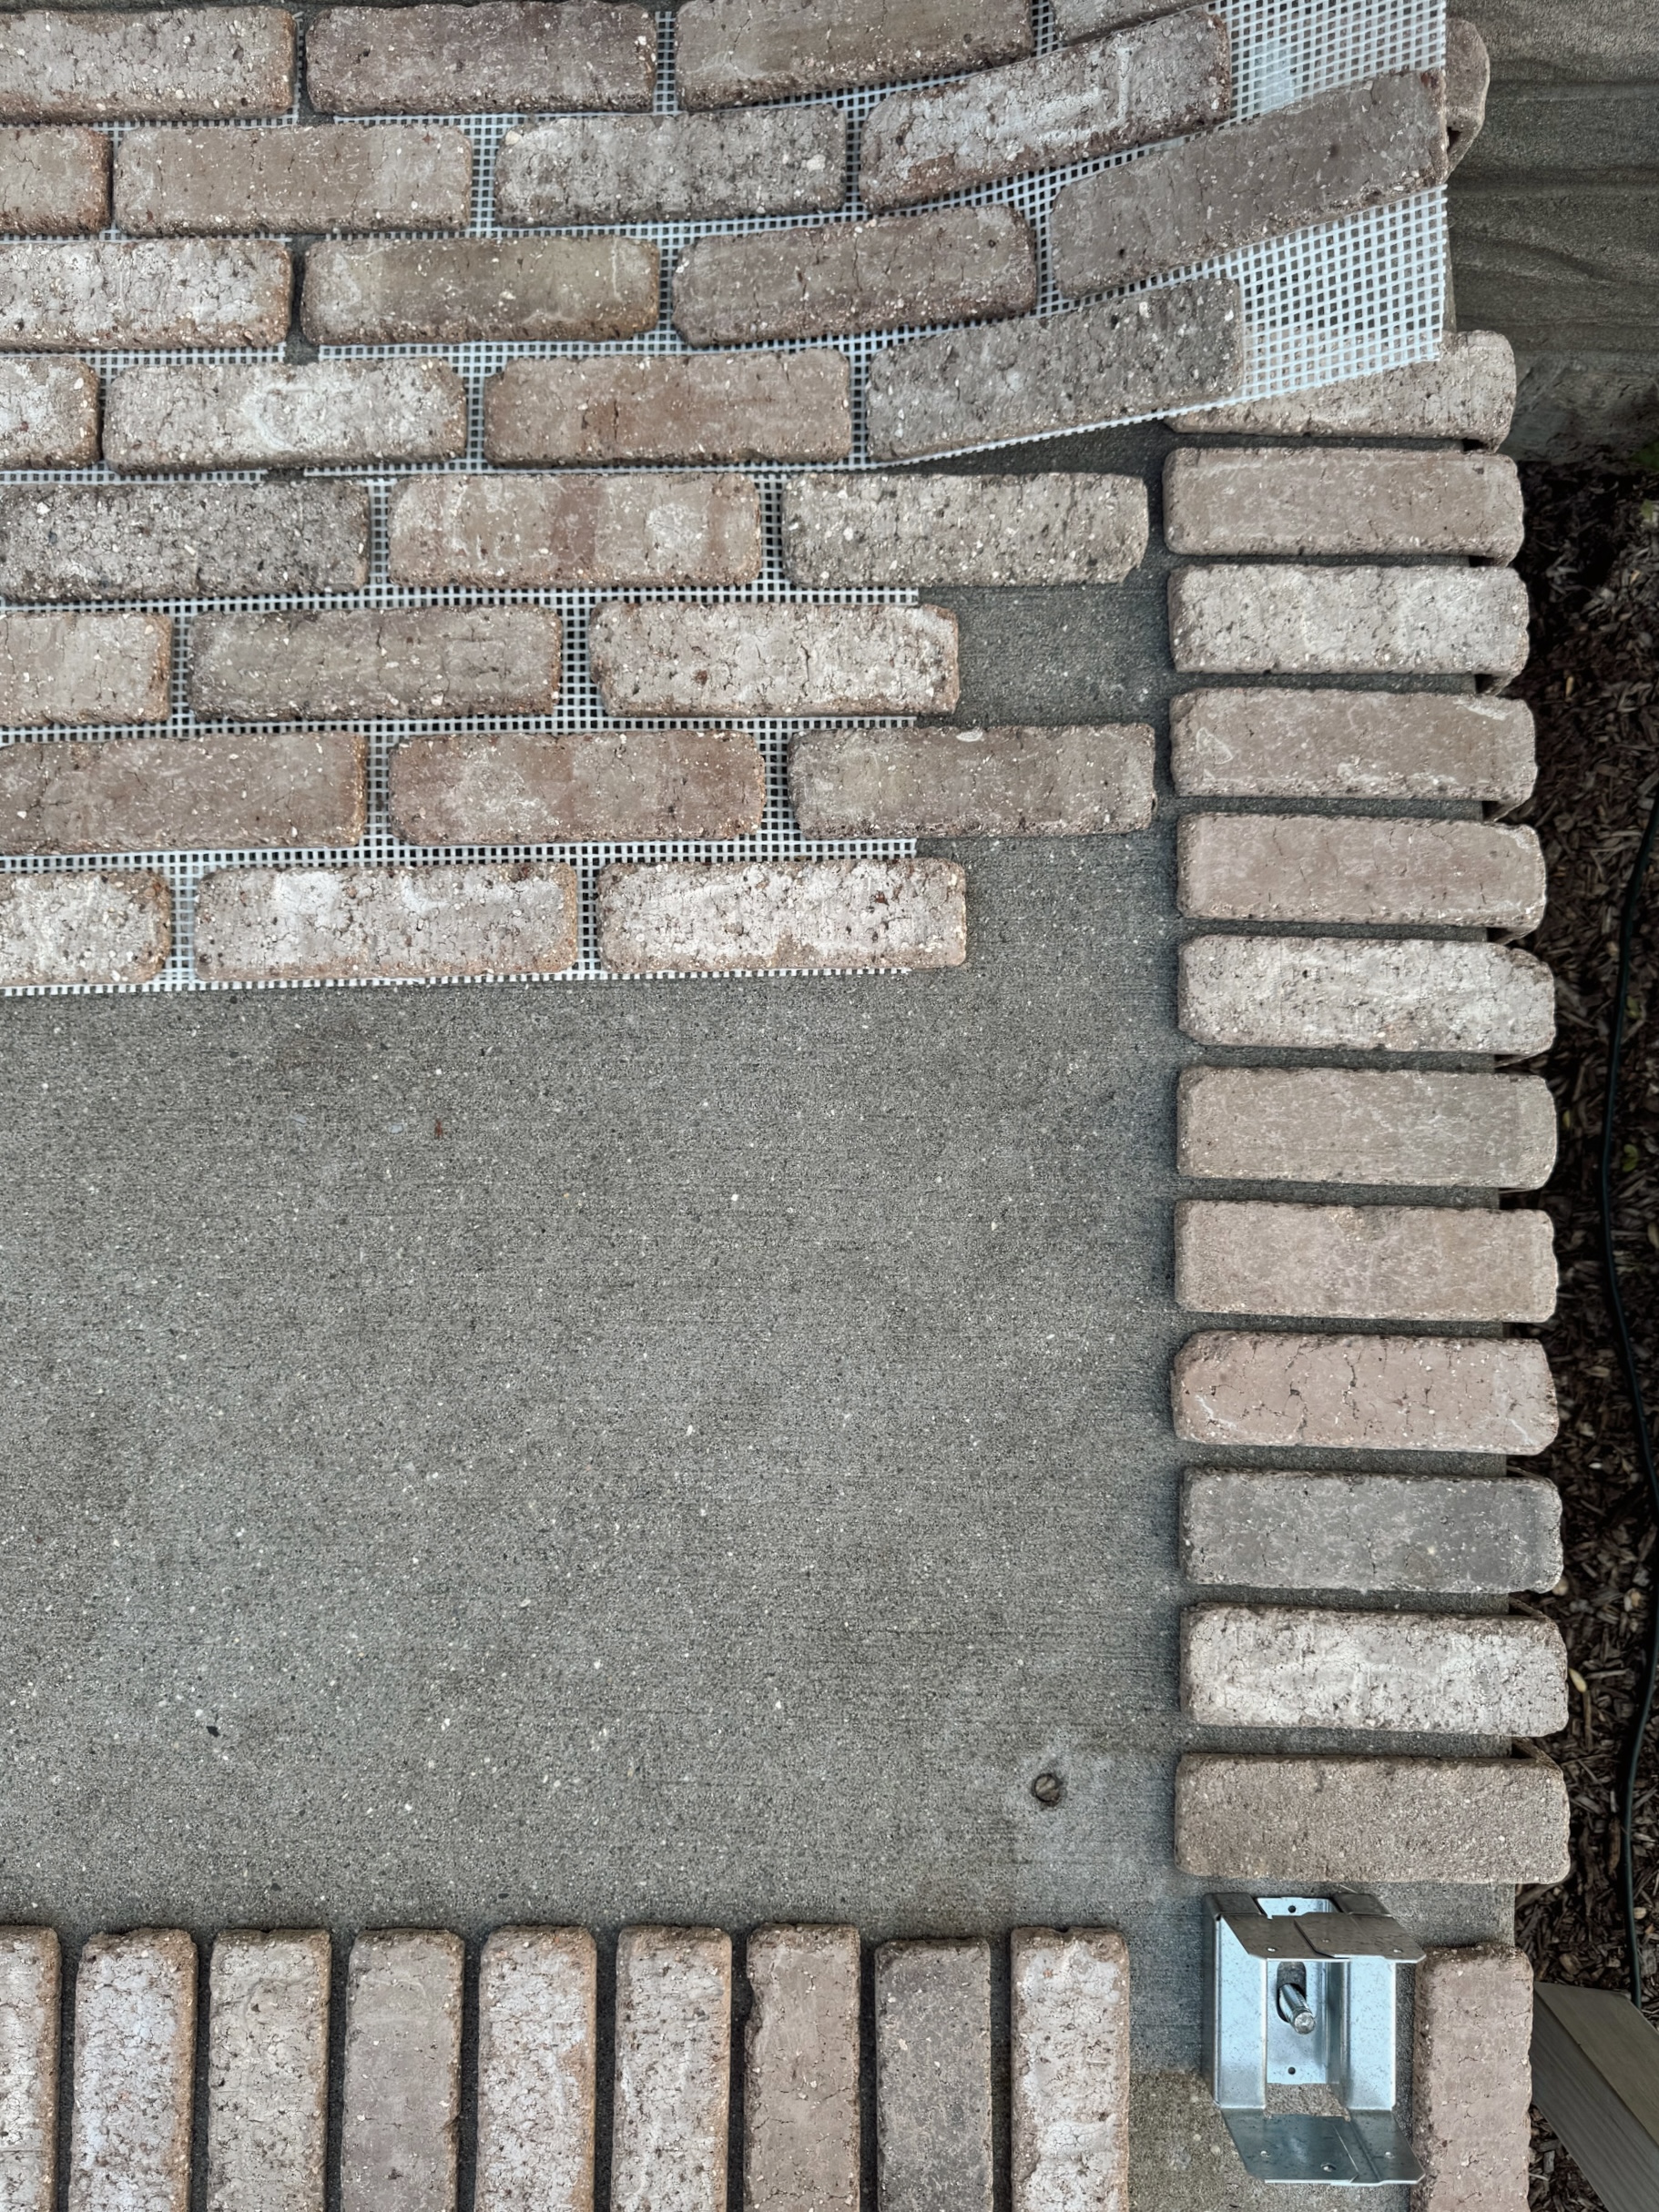
To start, we dry-laid our bricks so we could see how everything would line up, then made all of our cuts beforehand. That way, once we started applying this mortar, we didn’t have to stop and cut anything!
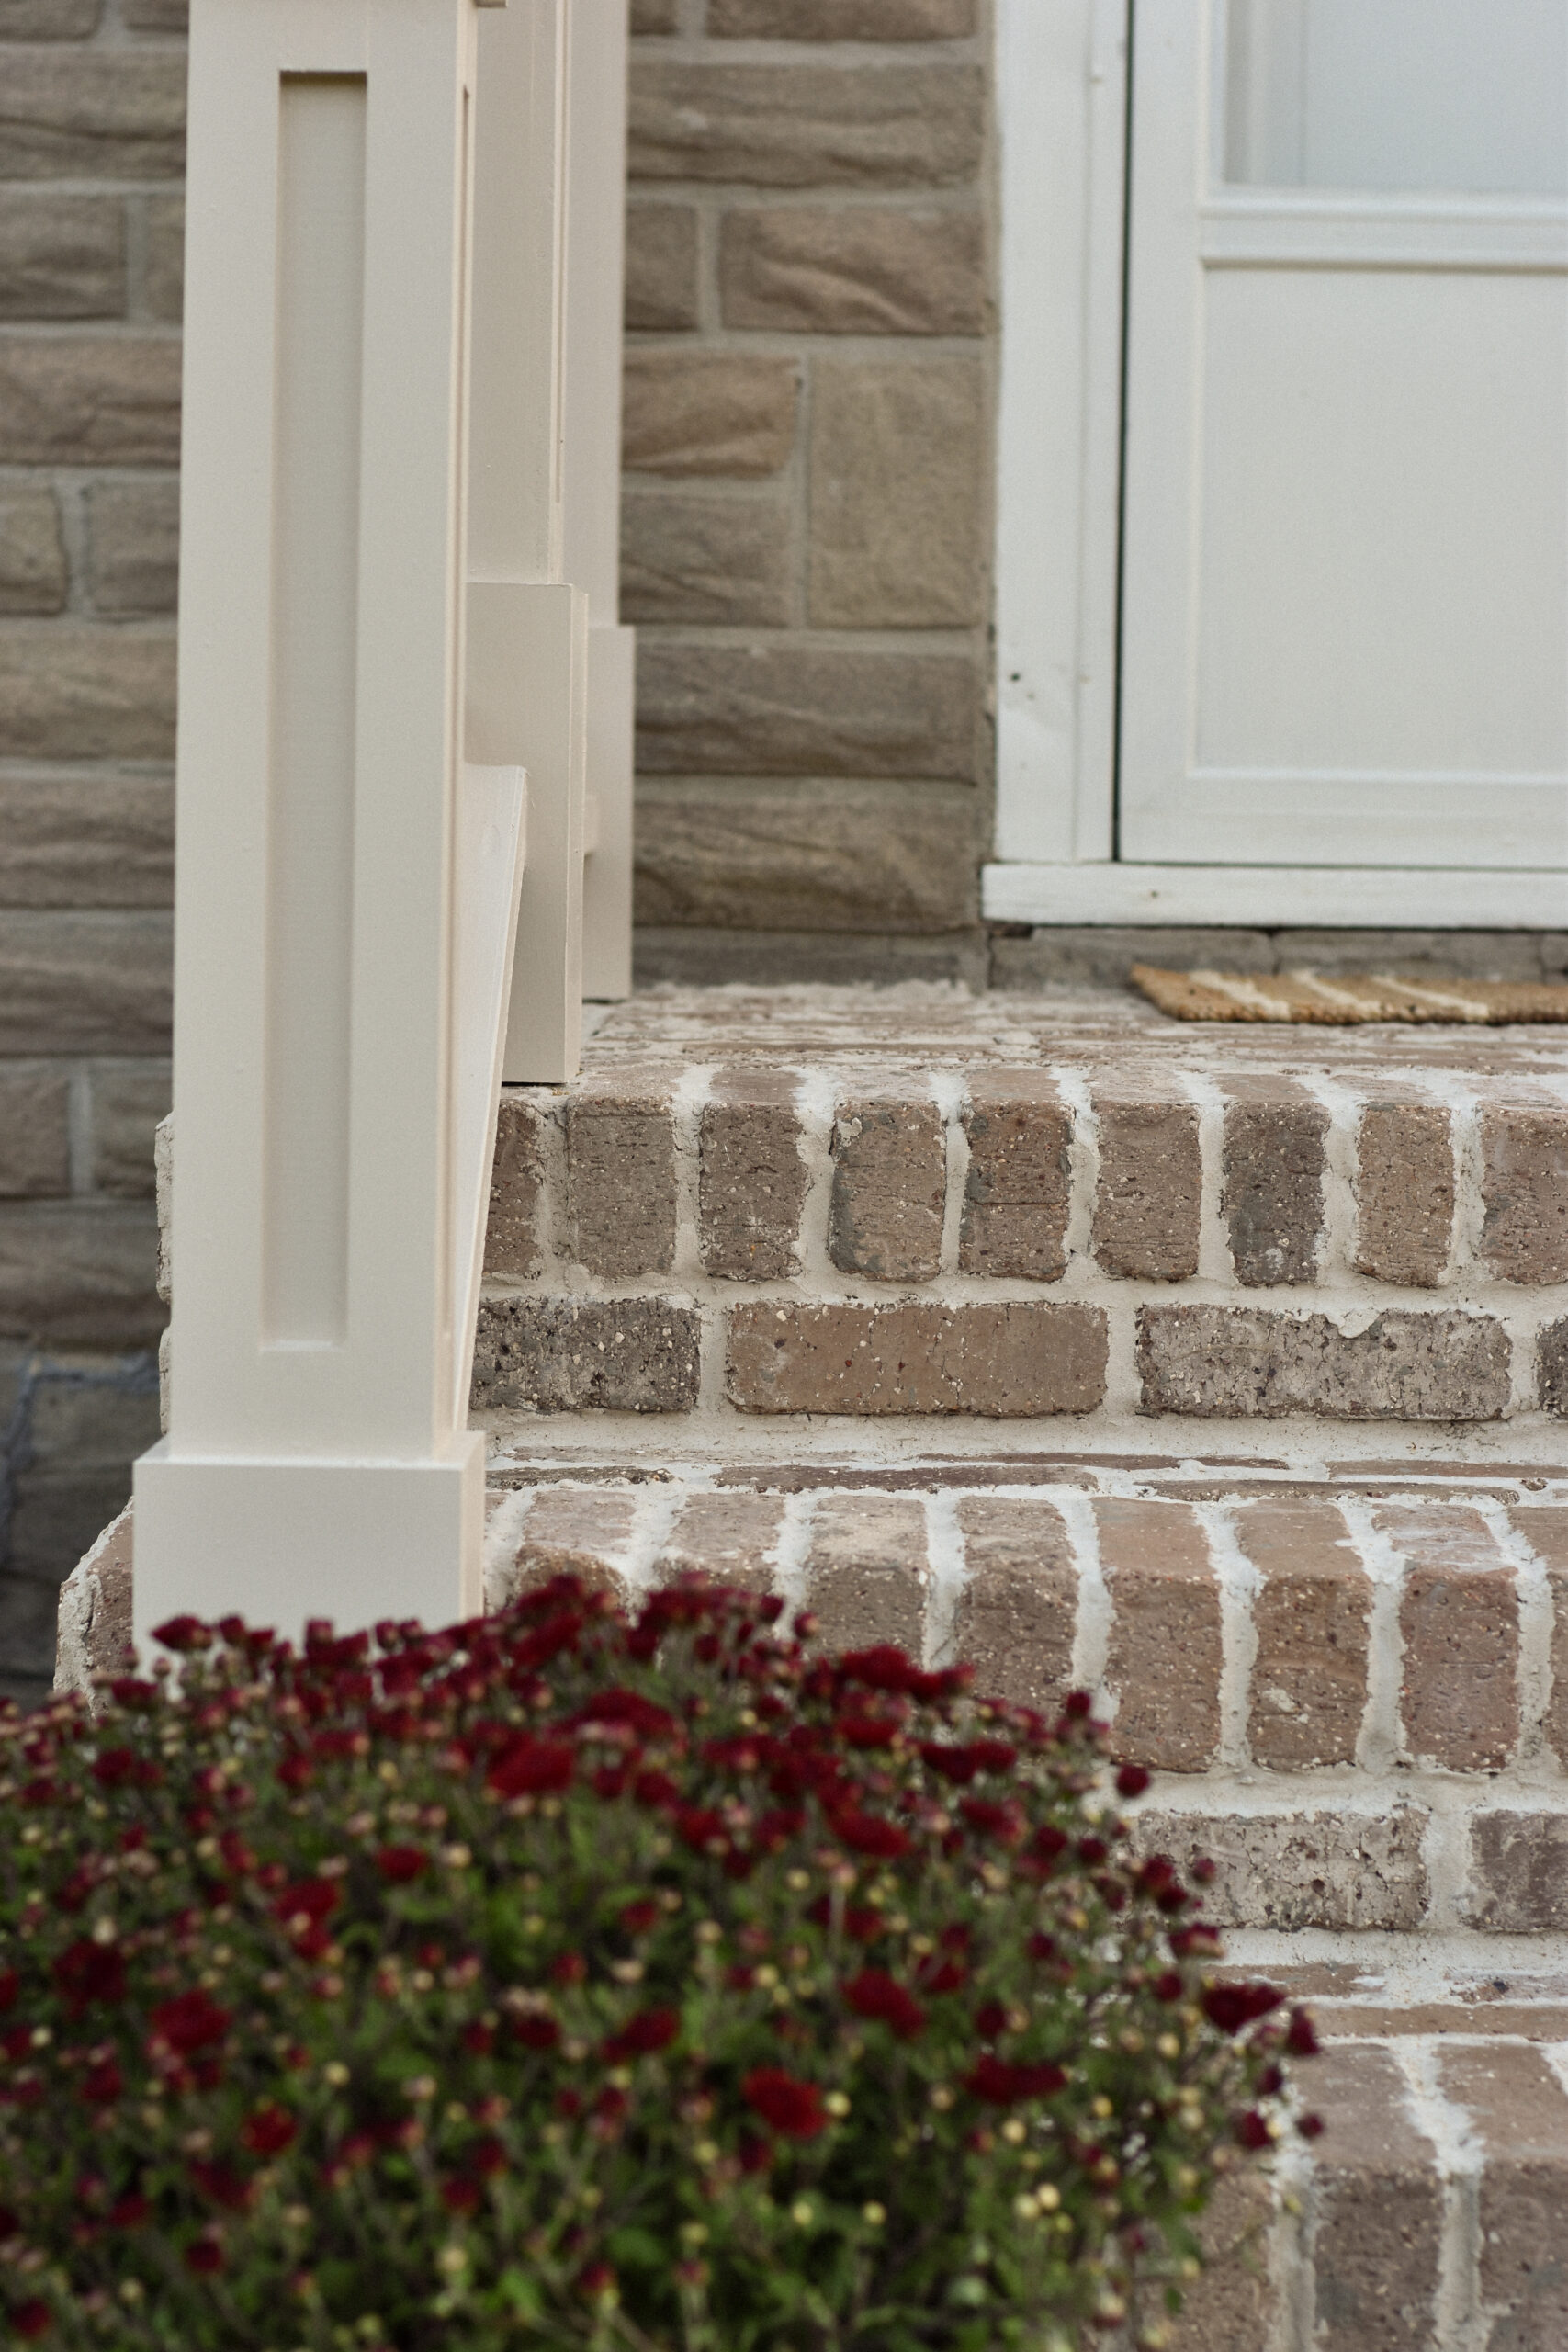
We decided to add a brick border along the top landing of the steps and I love how it gives that space its own little ✨moment✨. Because all the cuts were done ahead of time, the process went quickly. The sides of the steps were a little trickier since we had to hold the brick sheets in place while the mortar set, but we got it done!
Once everything was set, it was time to grout the steps (which ended up being the most tedious part 😅). After a few trial-and-error attempts with consistency, we finally got the hang of it and used this grouting bag for the grout! I wanted our porch to look like it had always been there, so I went with a slightly “messier” grout style for that timeless, old-world charm.
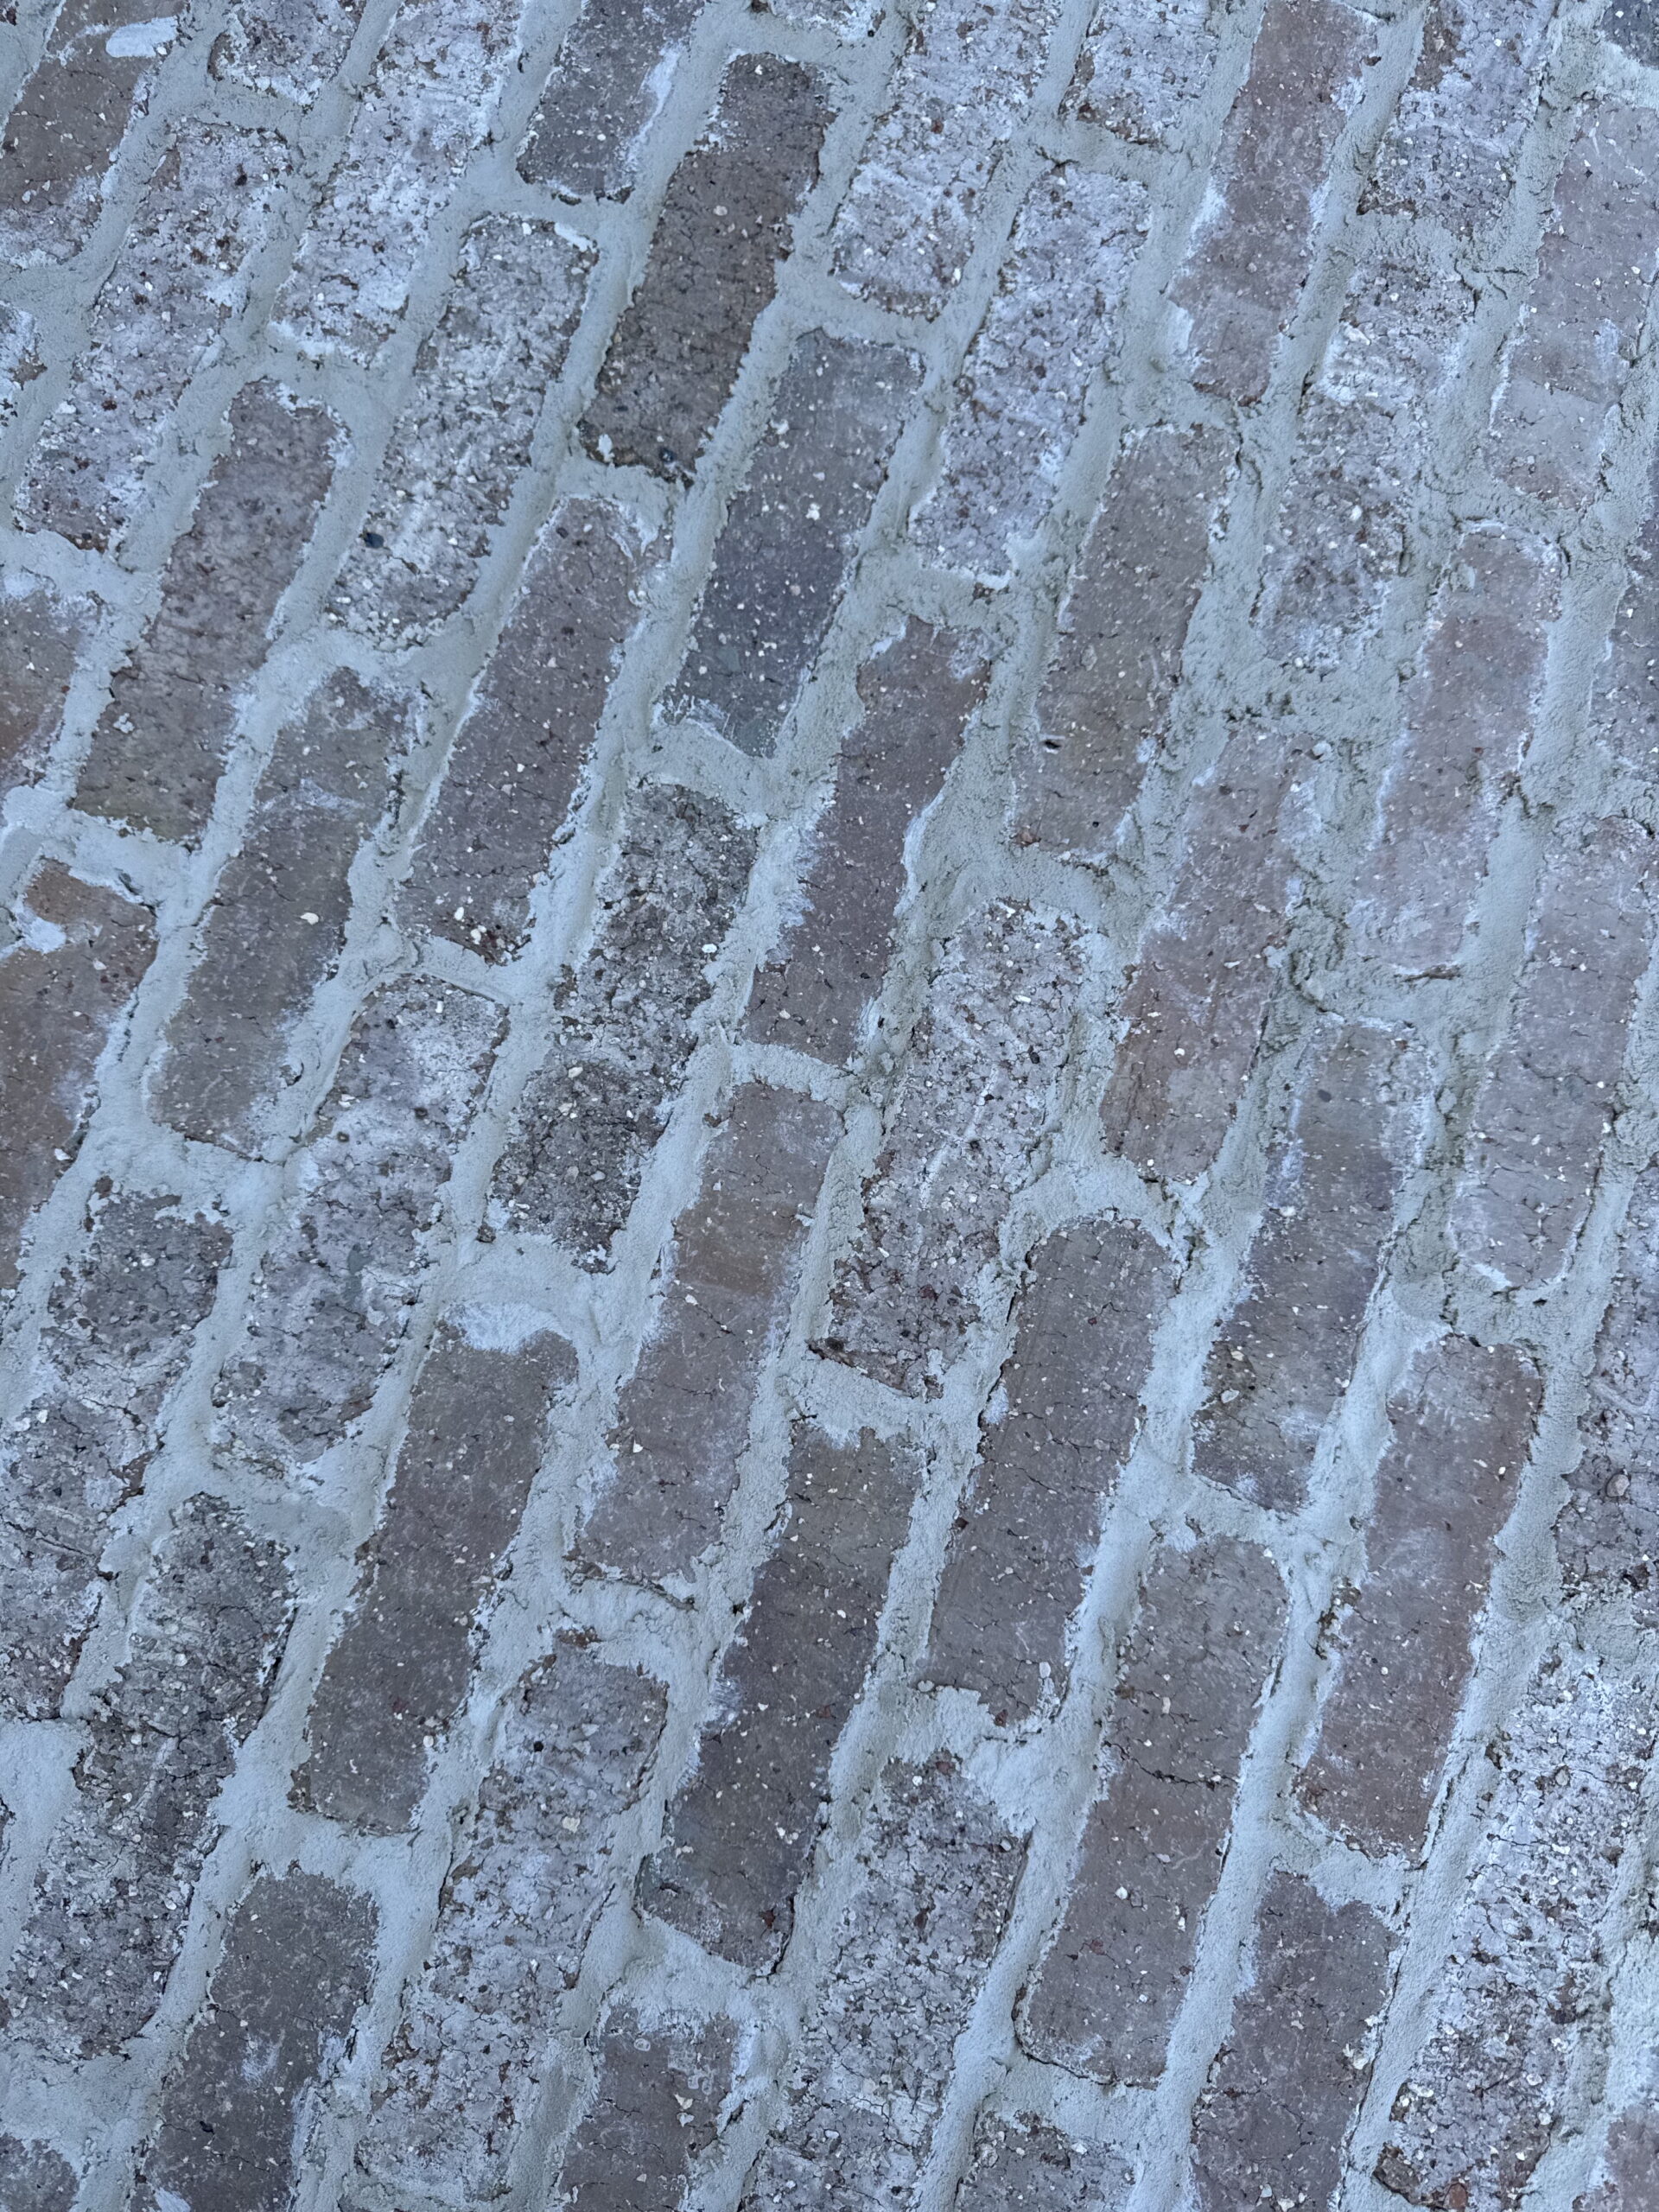

After the grout dried, I finished everything with this brick sealant – it helps protect against weather and keeps the colors of everything rich and warm.
Step Three: Building a Custom Porch Railing
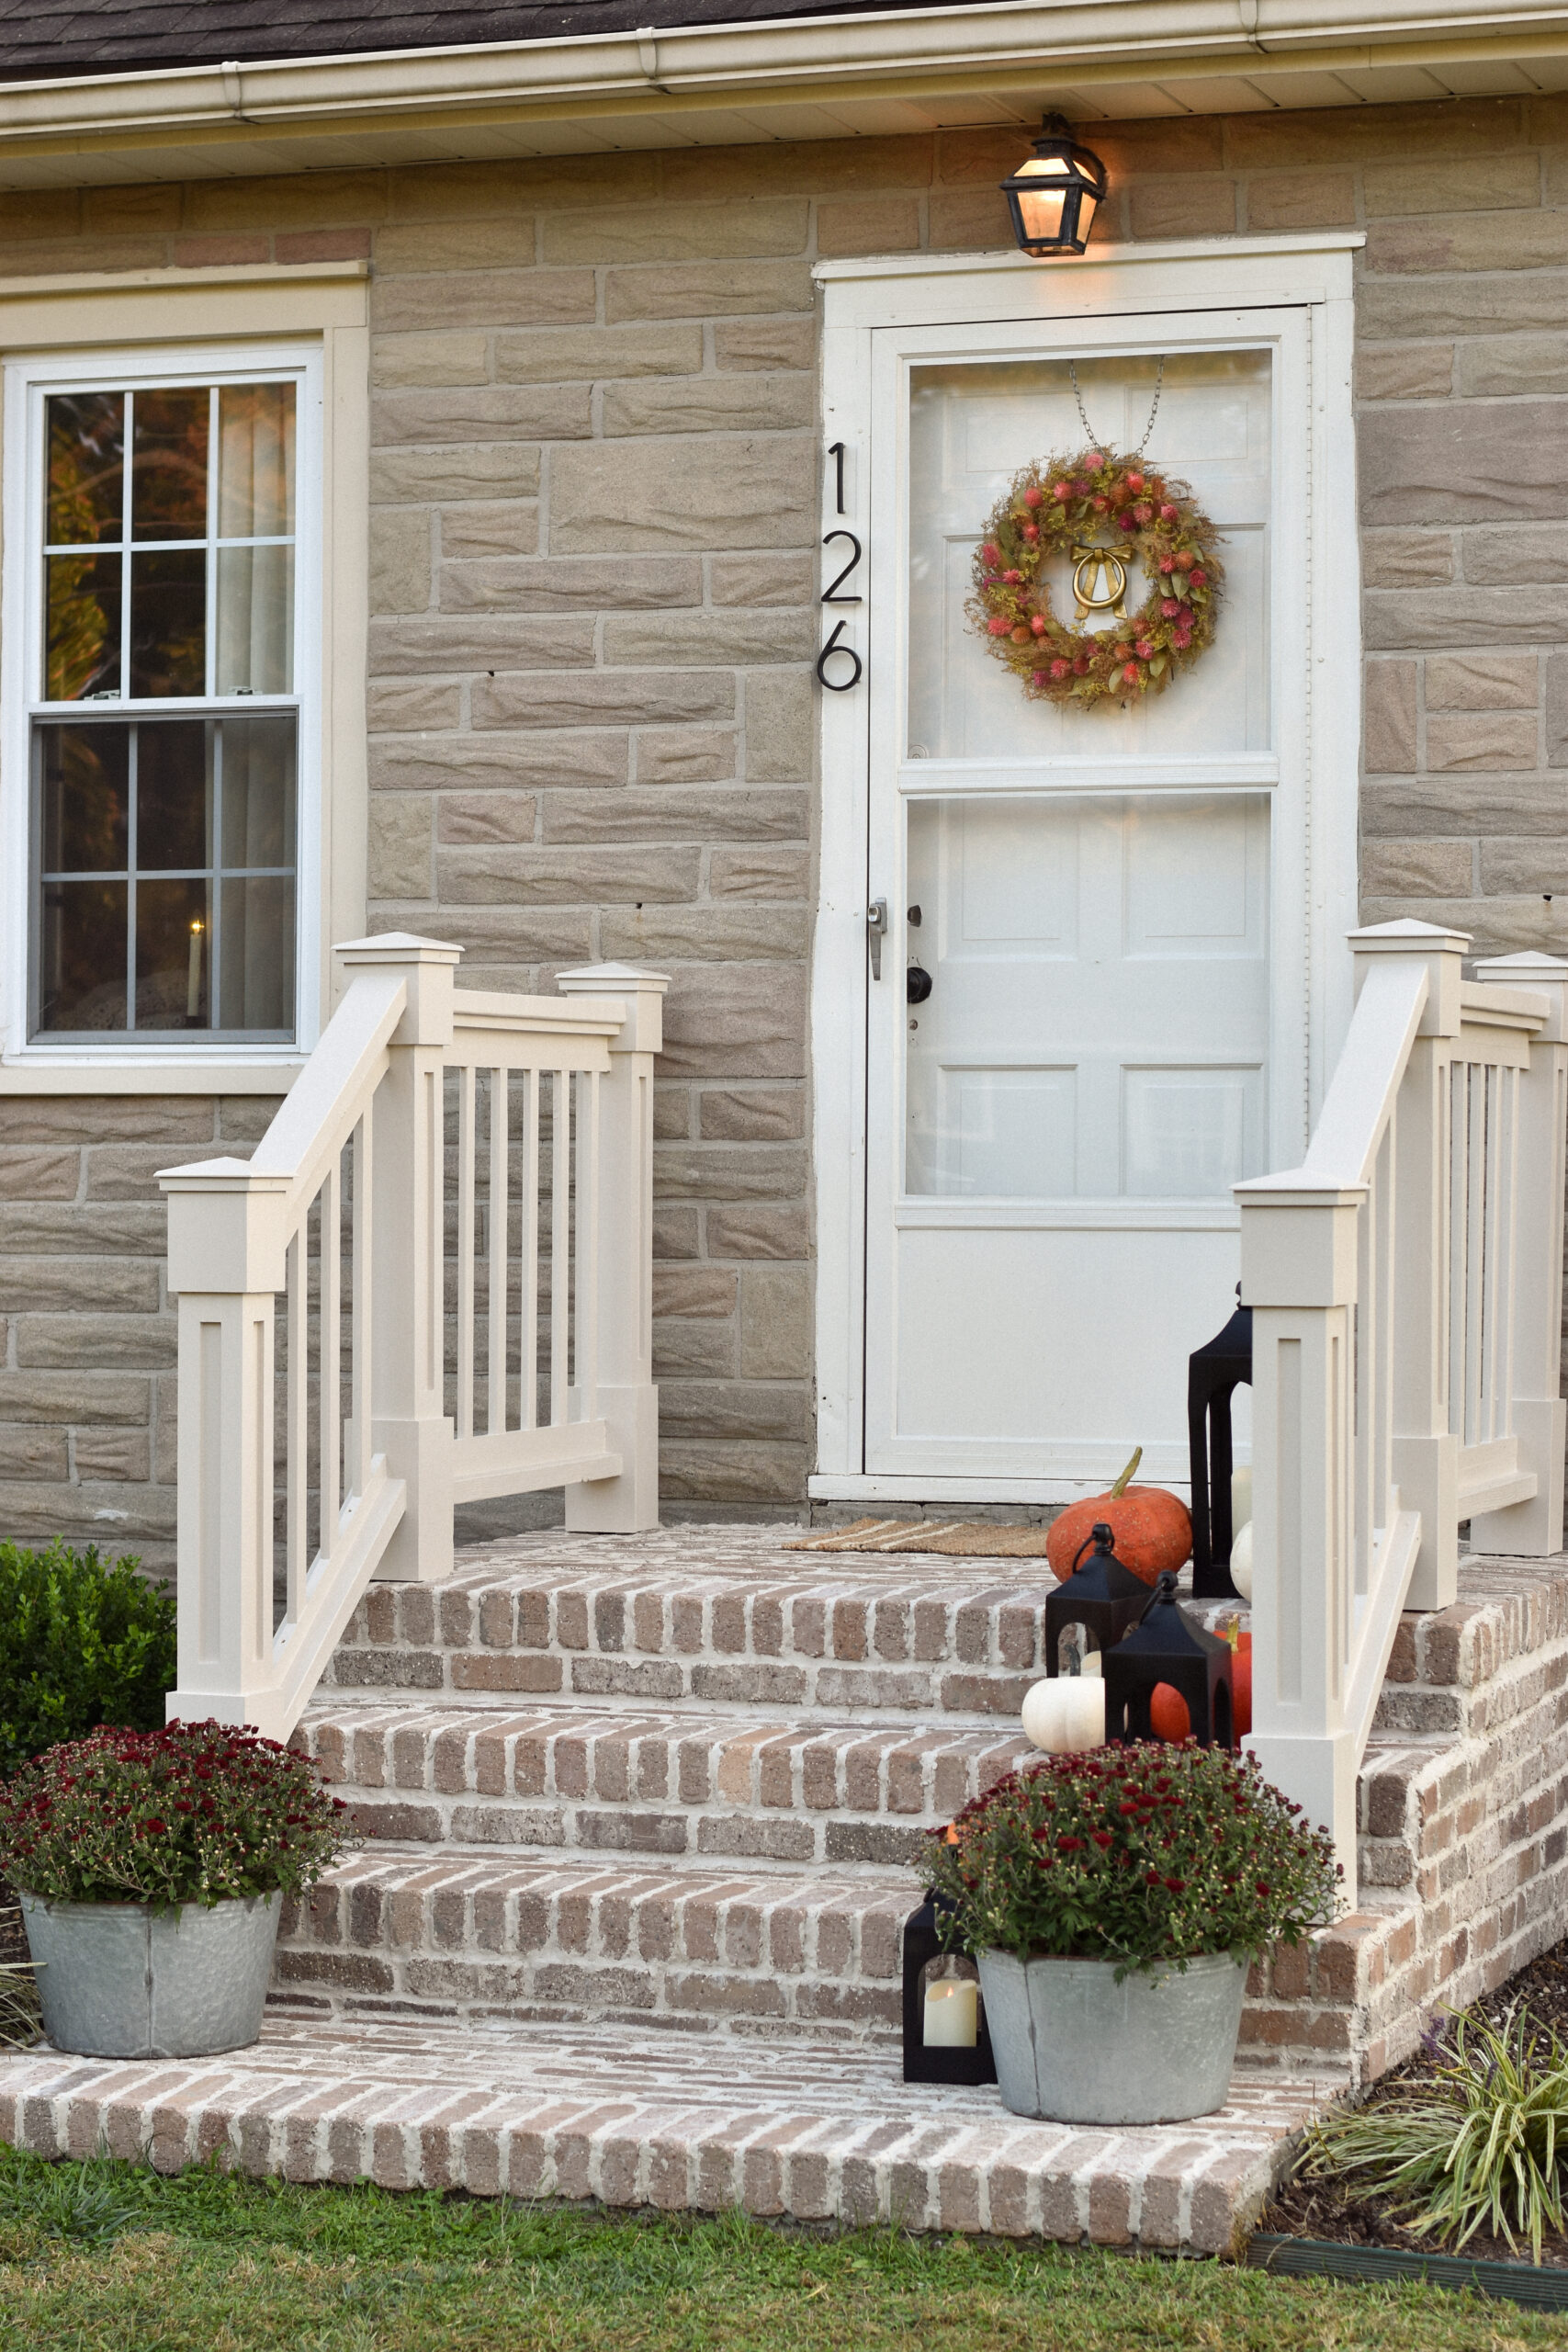
After the brick steps were done, it was time to tackle the railing!! We wanted something that felt custom and elevated and decided to build our own porch railing from scratch!
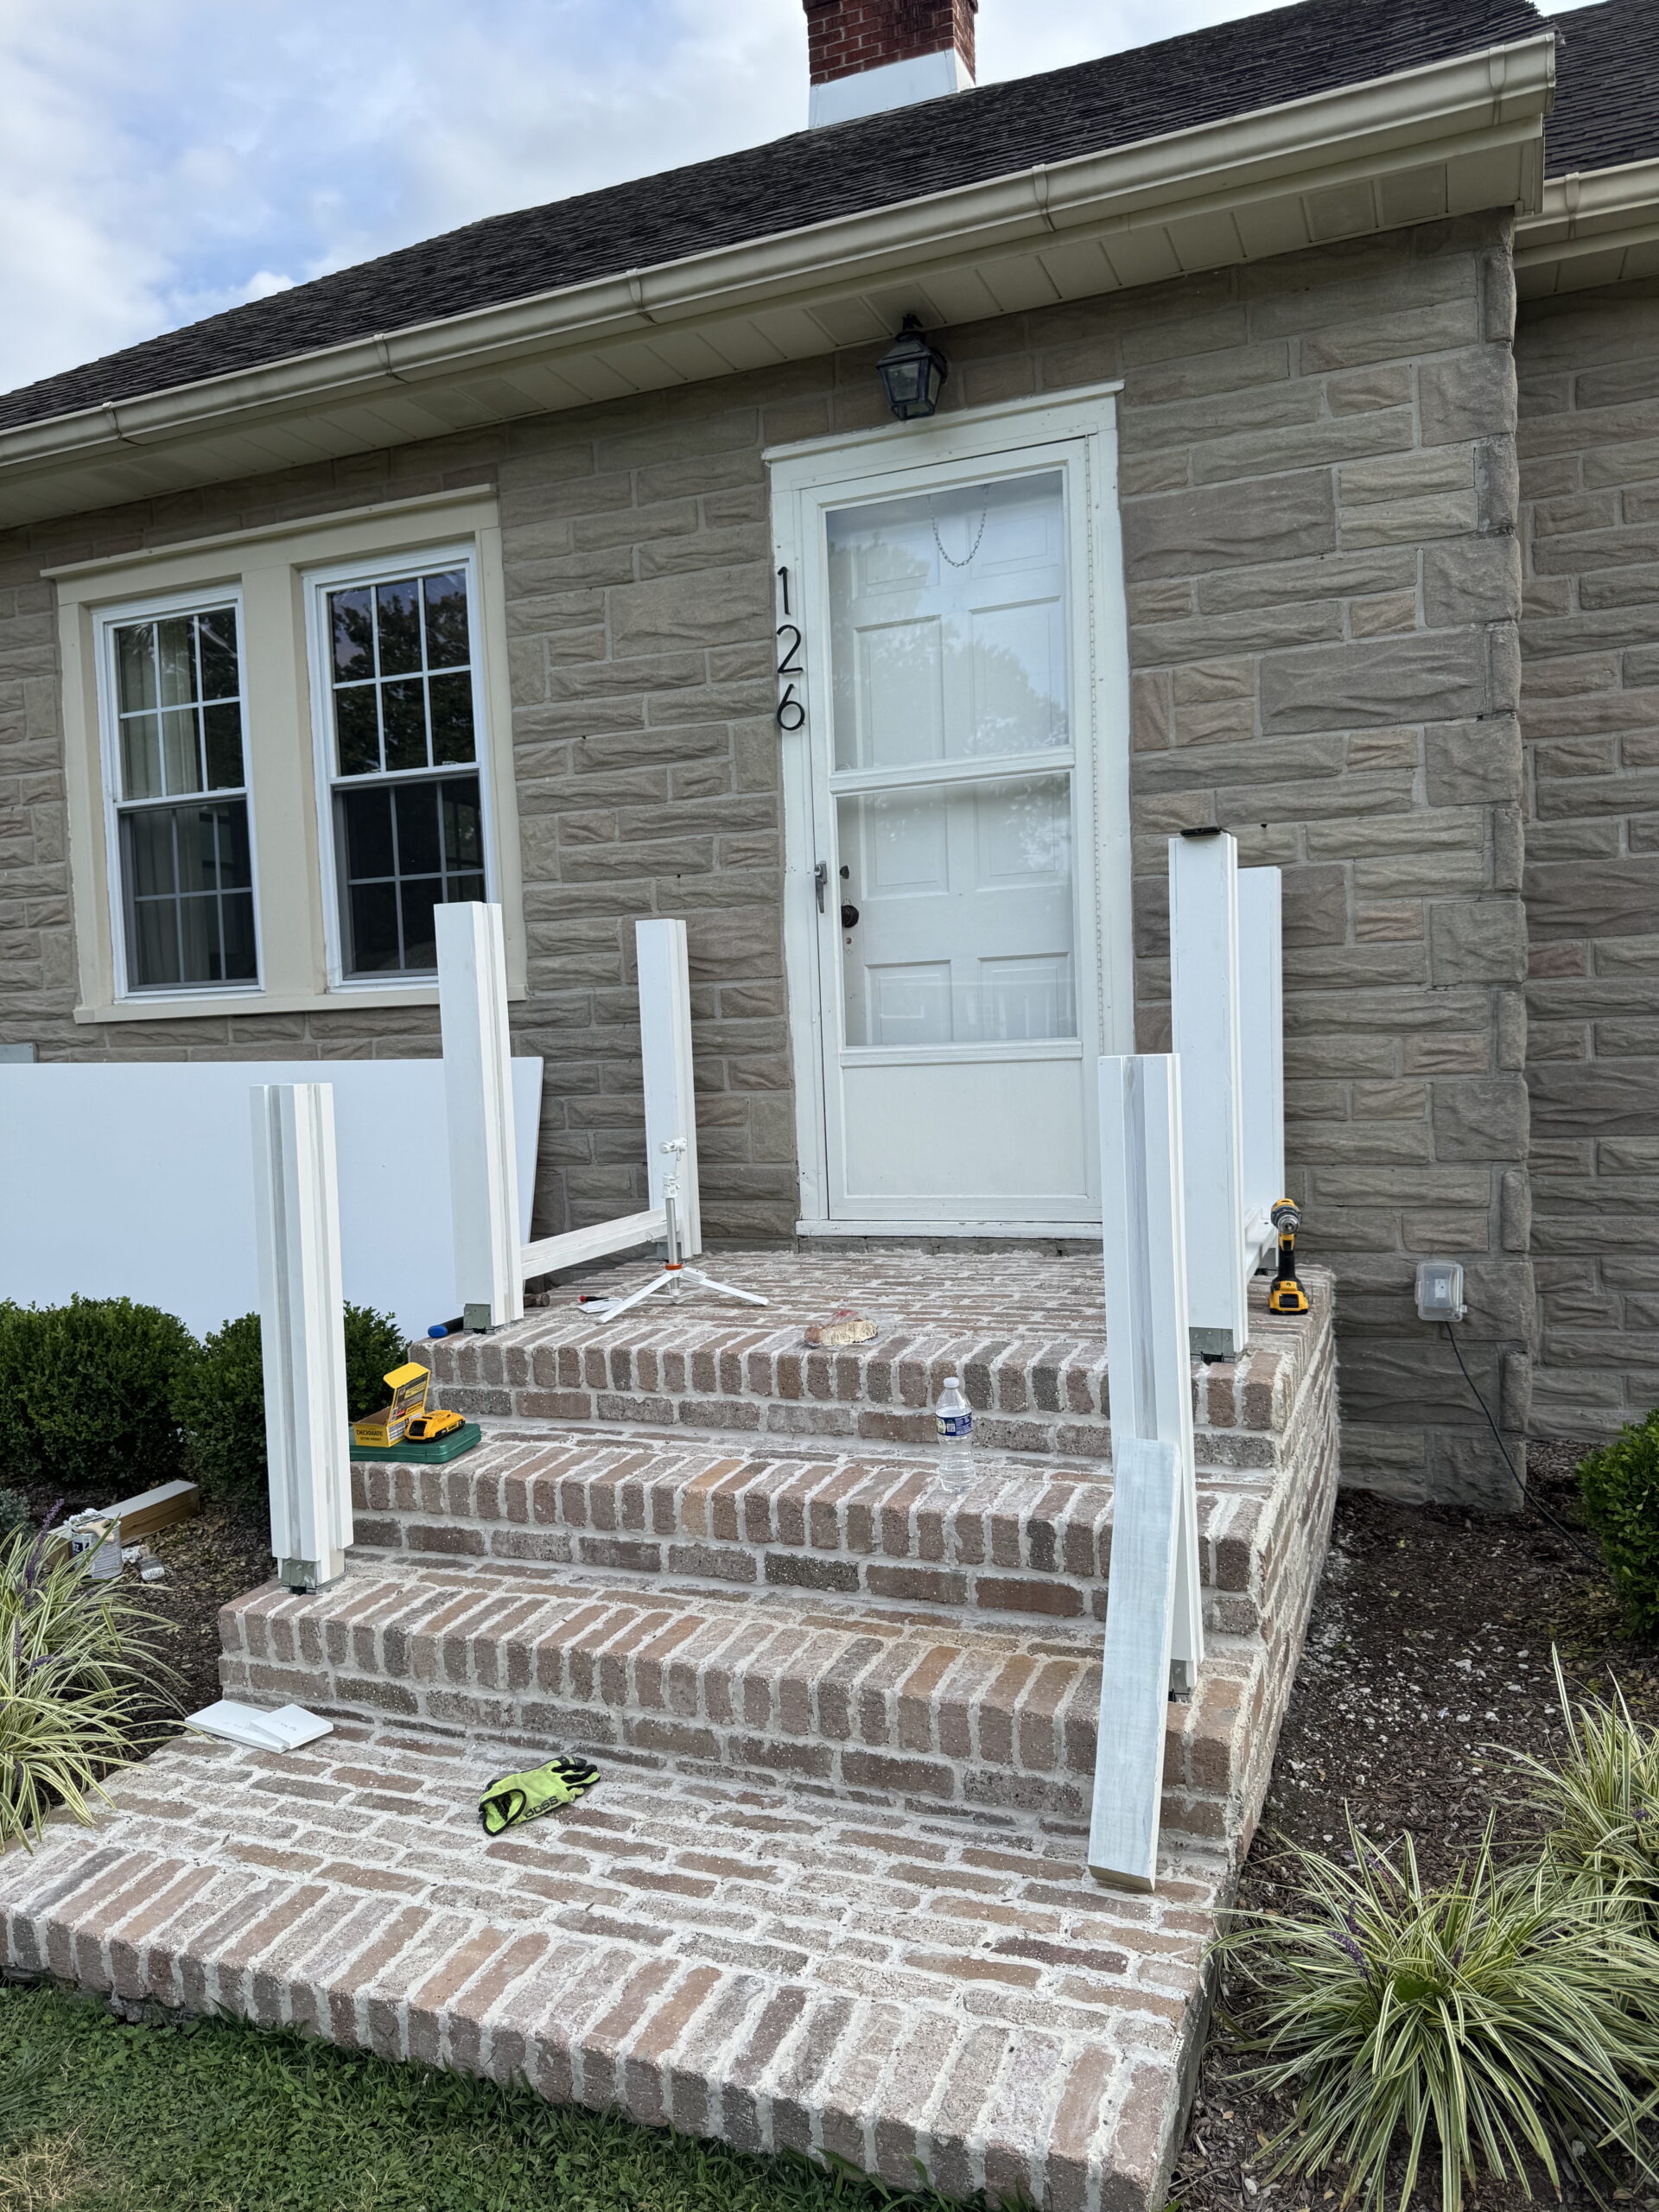
We wrapped the posts in PVC, added decorative box trim to each one, and then installed the rail sections (after a lot of measuring by Chris 😅).
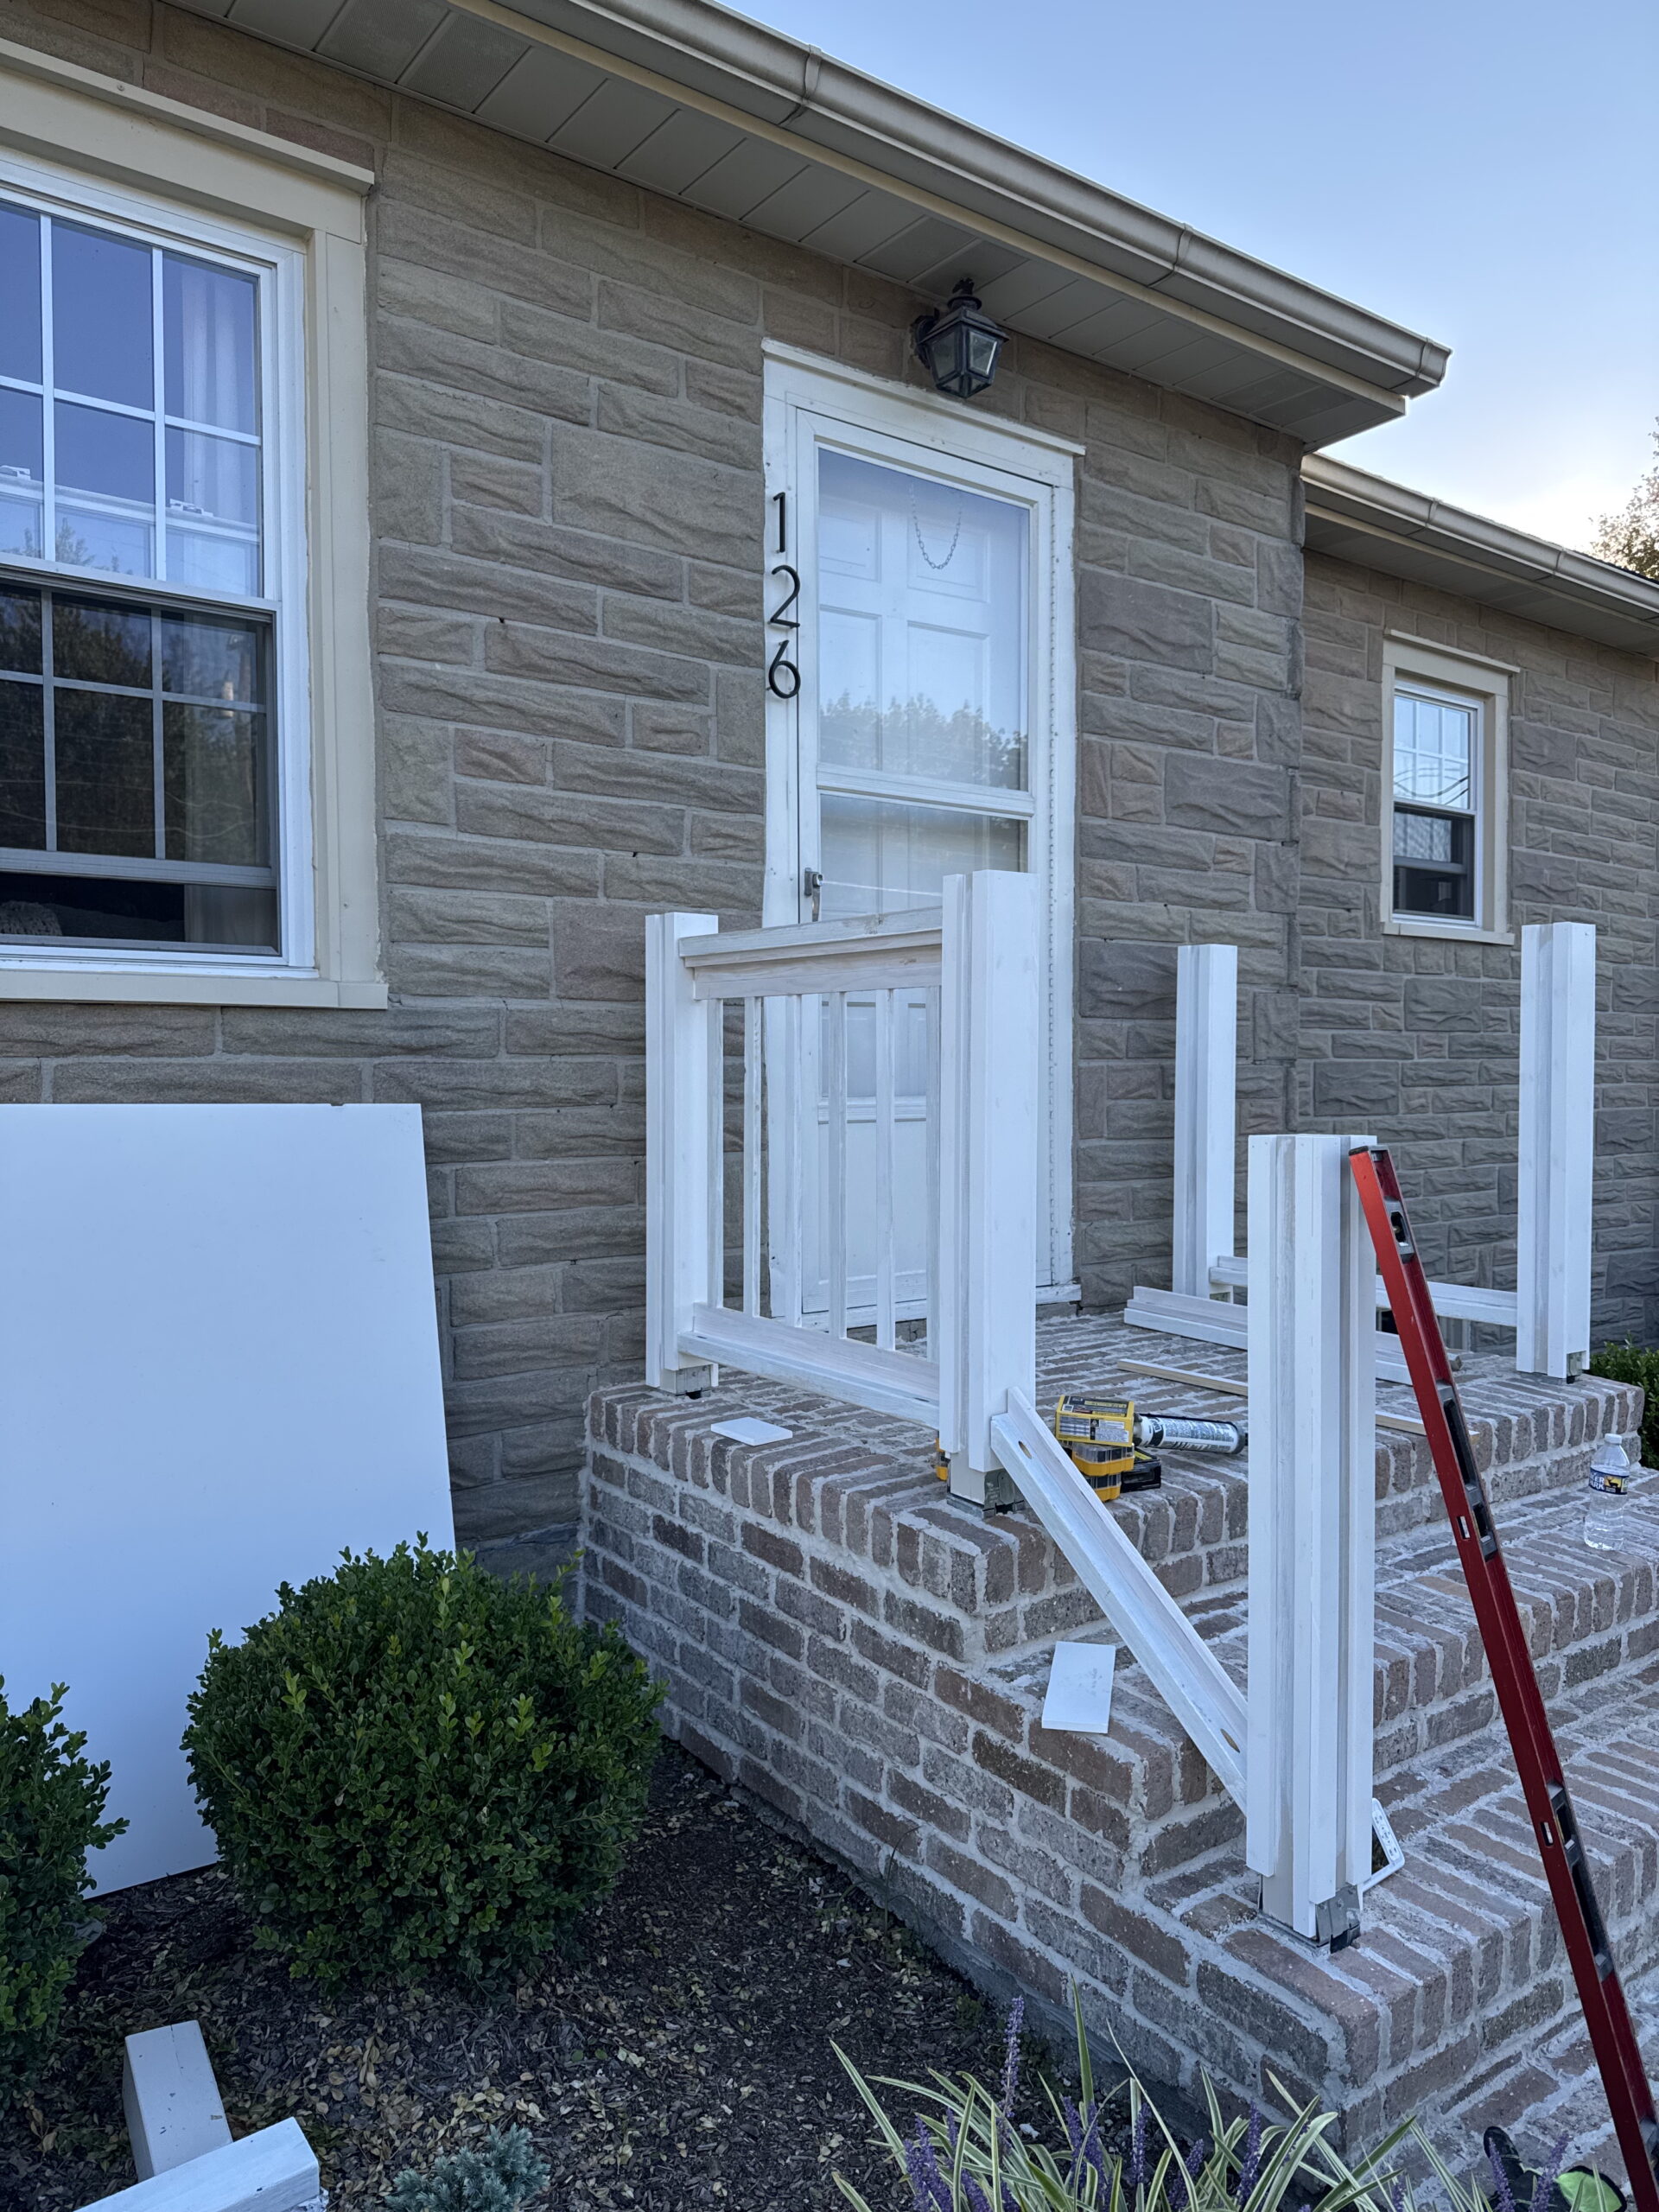
Once the railing was up, we added base and cap trim to give the posts a classic, finished look. We painted everything Accessible Beige by Sherwin Williams, which feels so timeless and soft – exactly what I wanted. 🤍
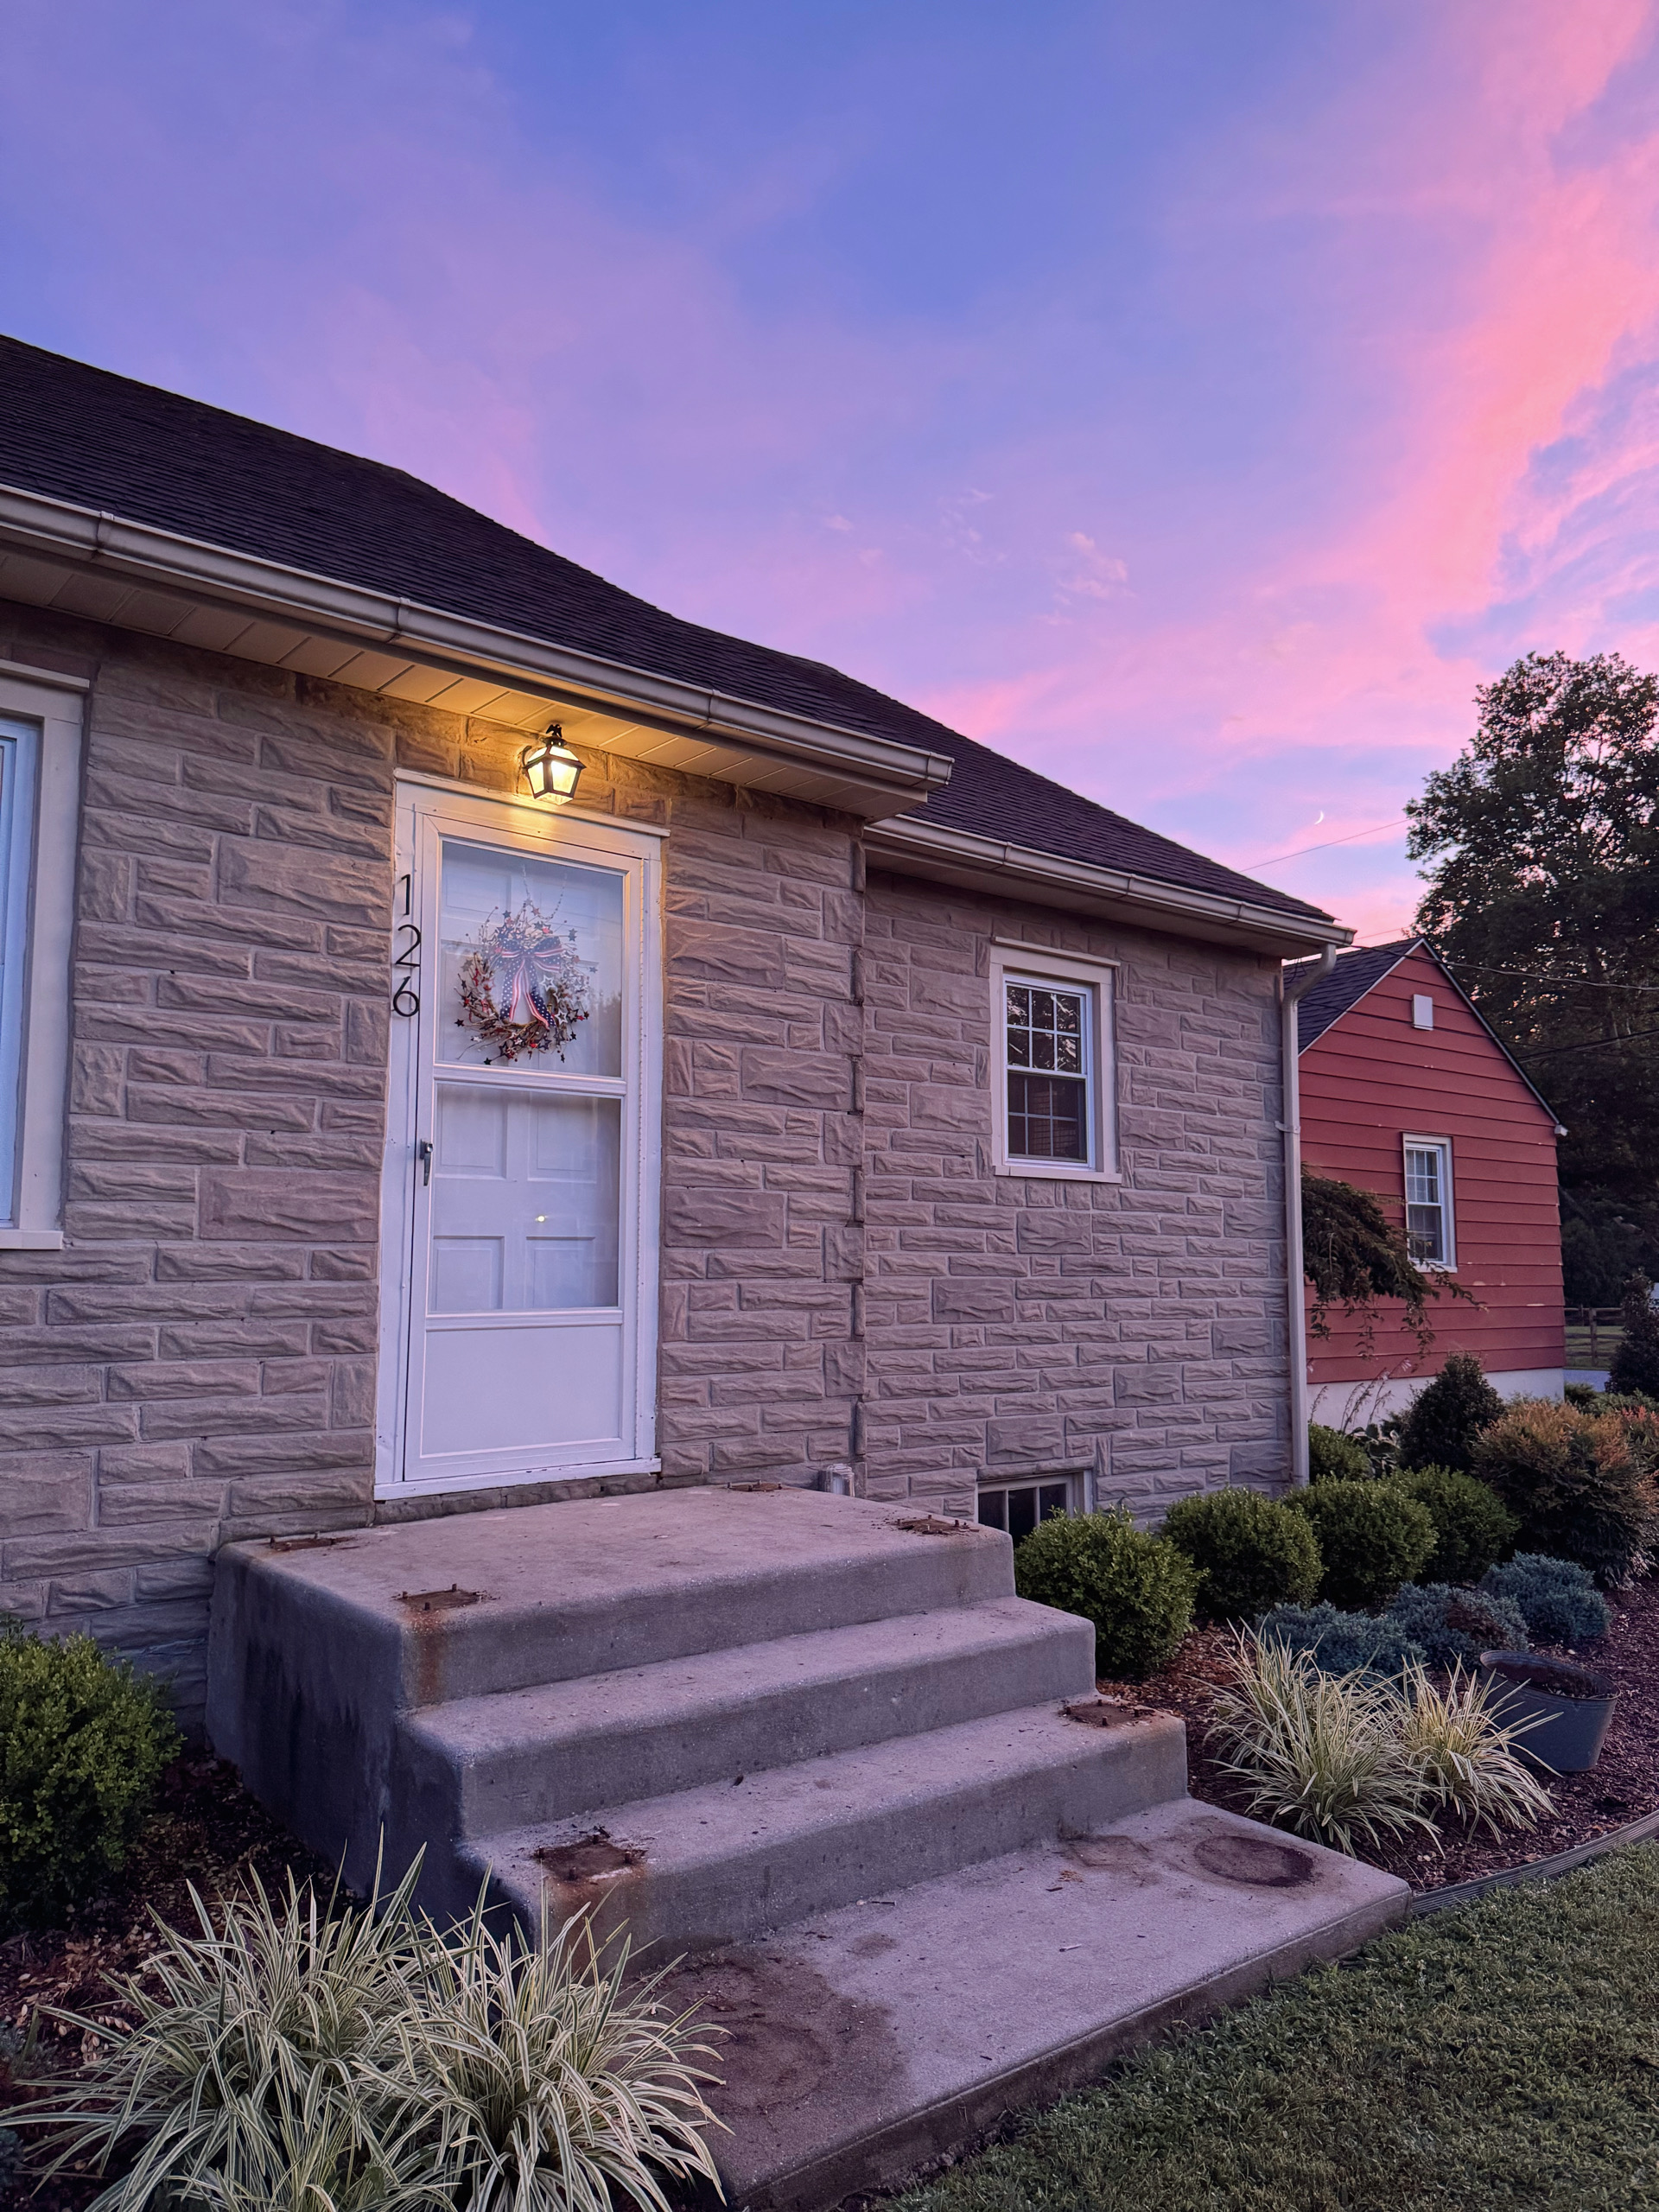
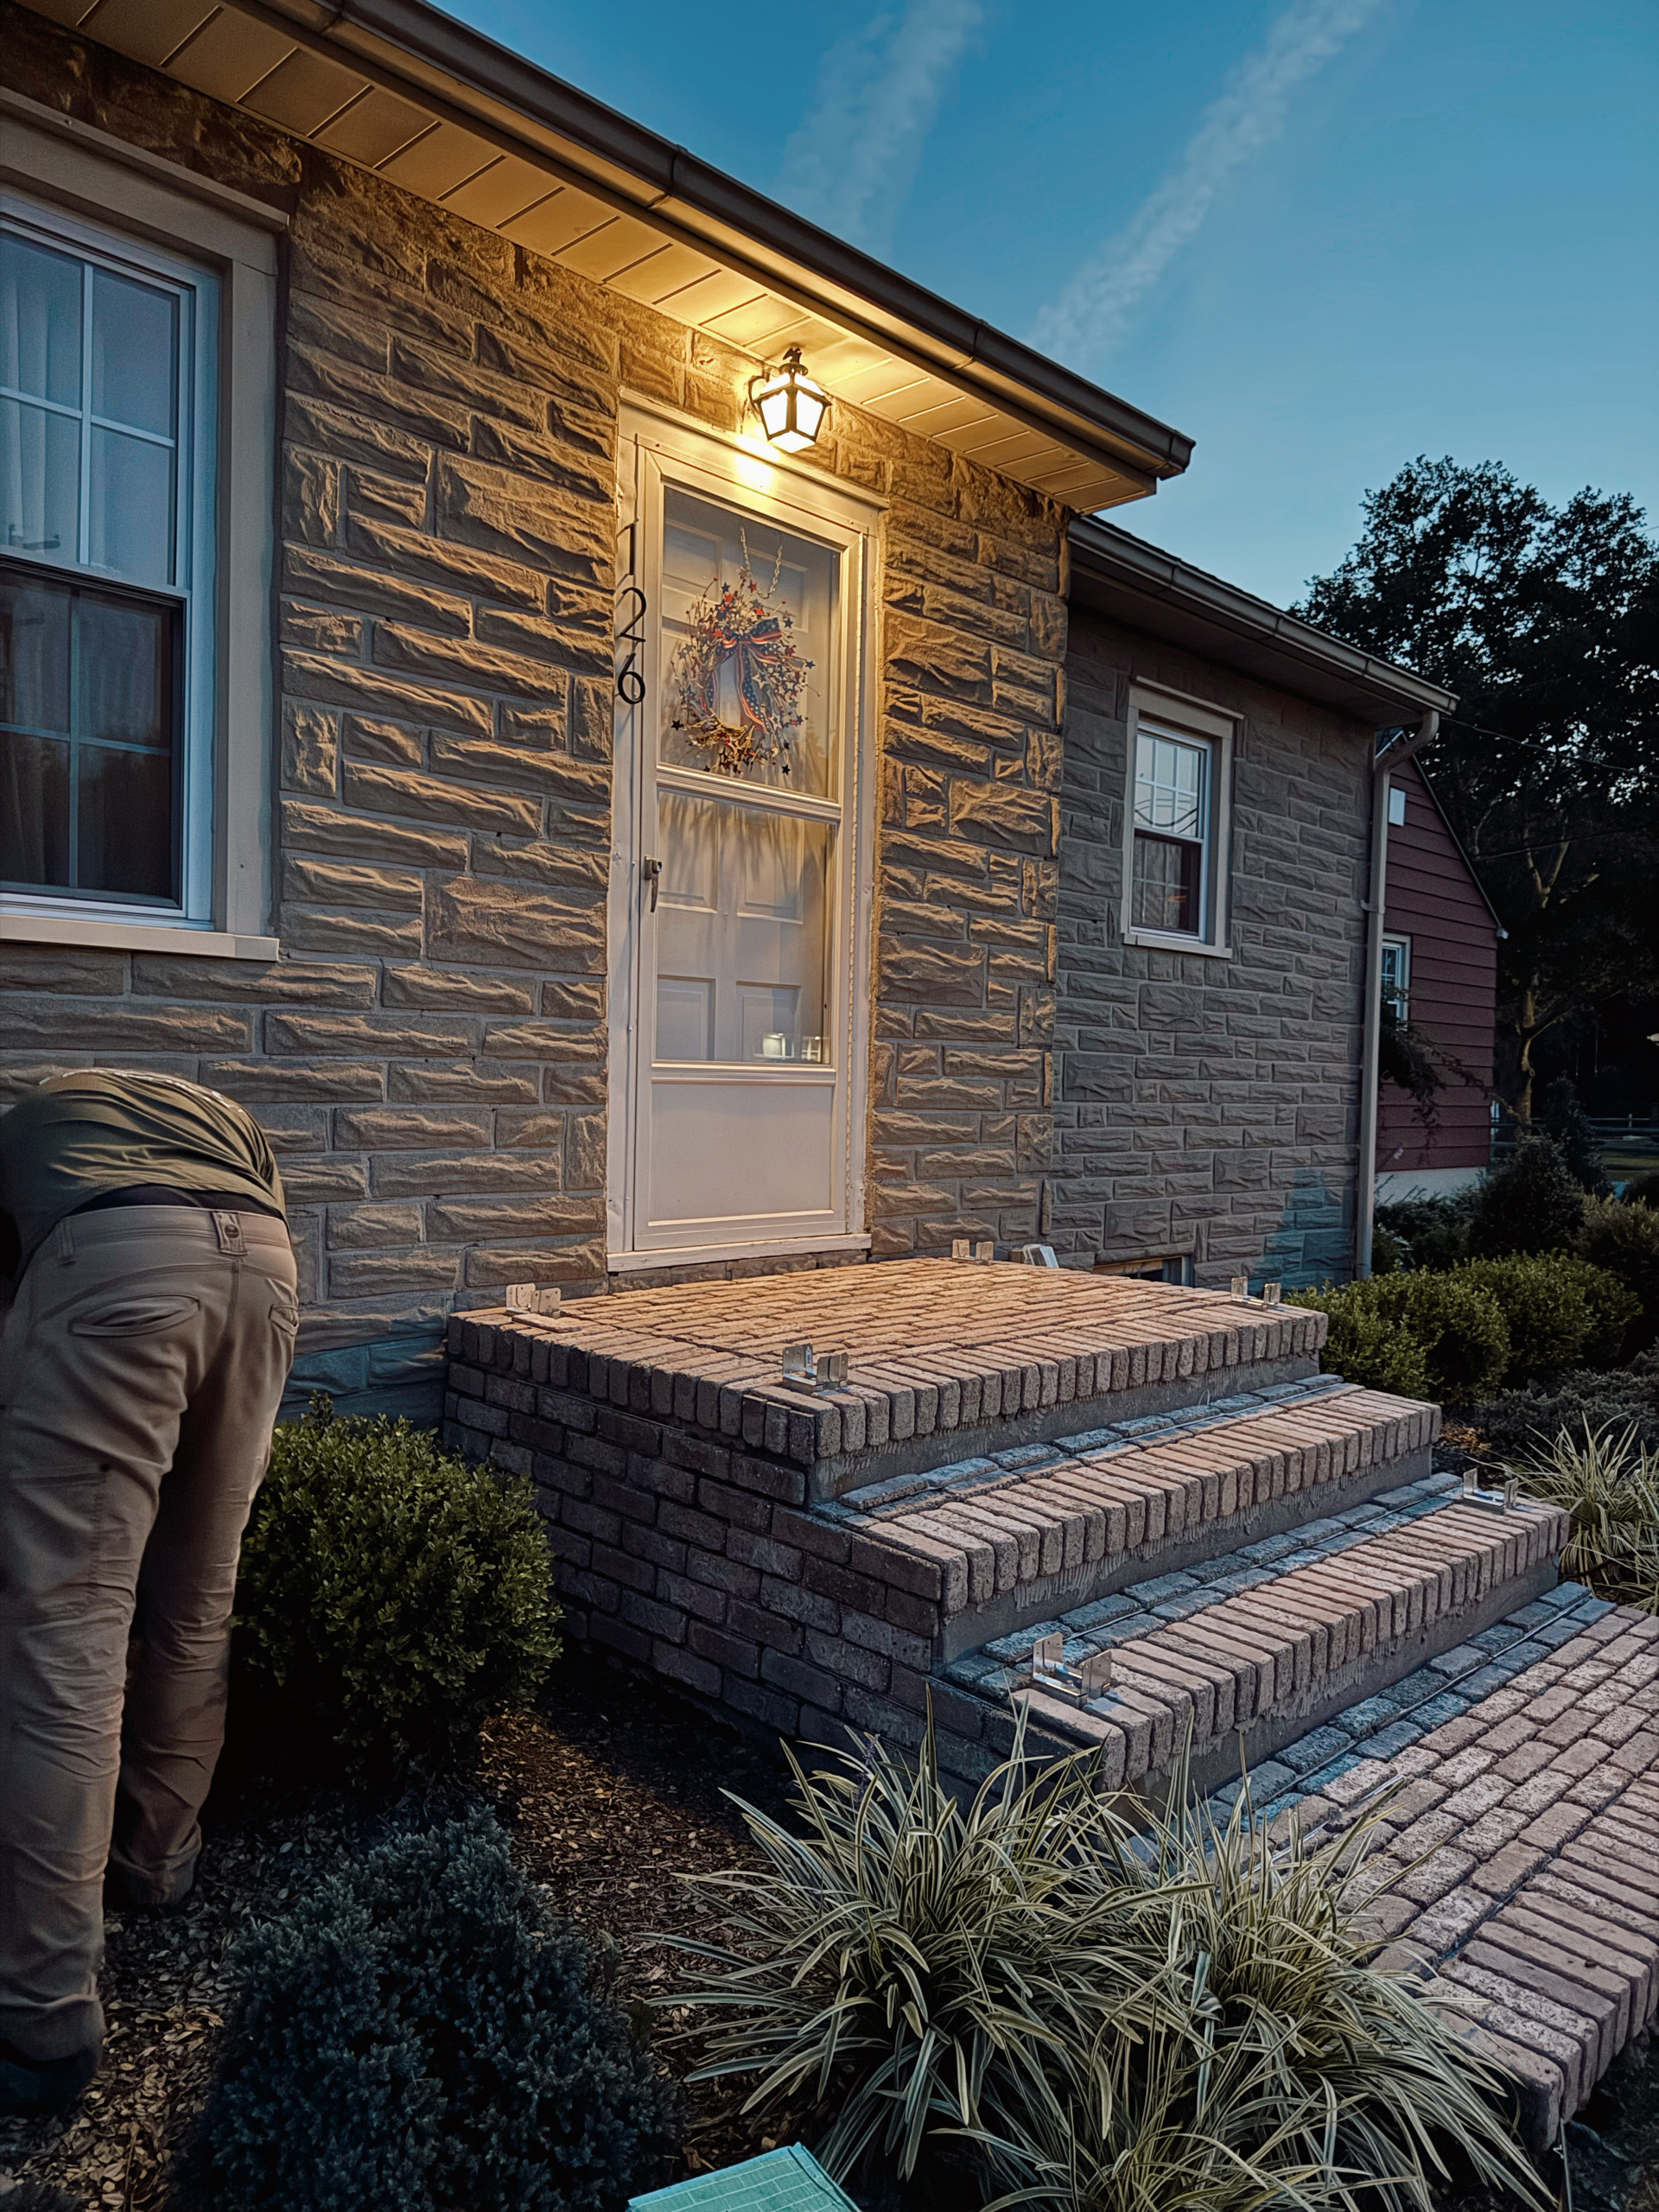
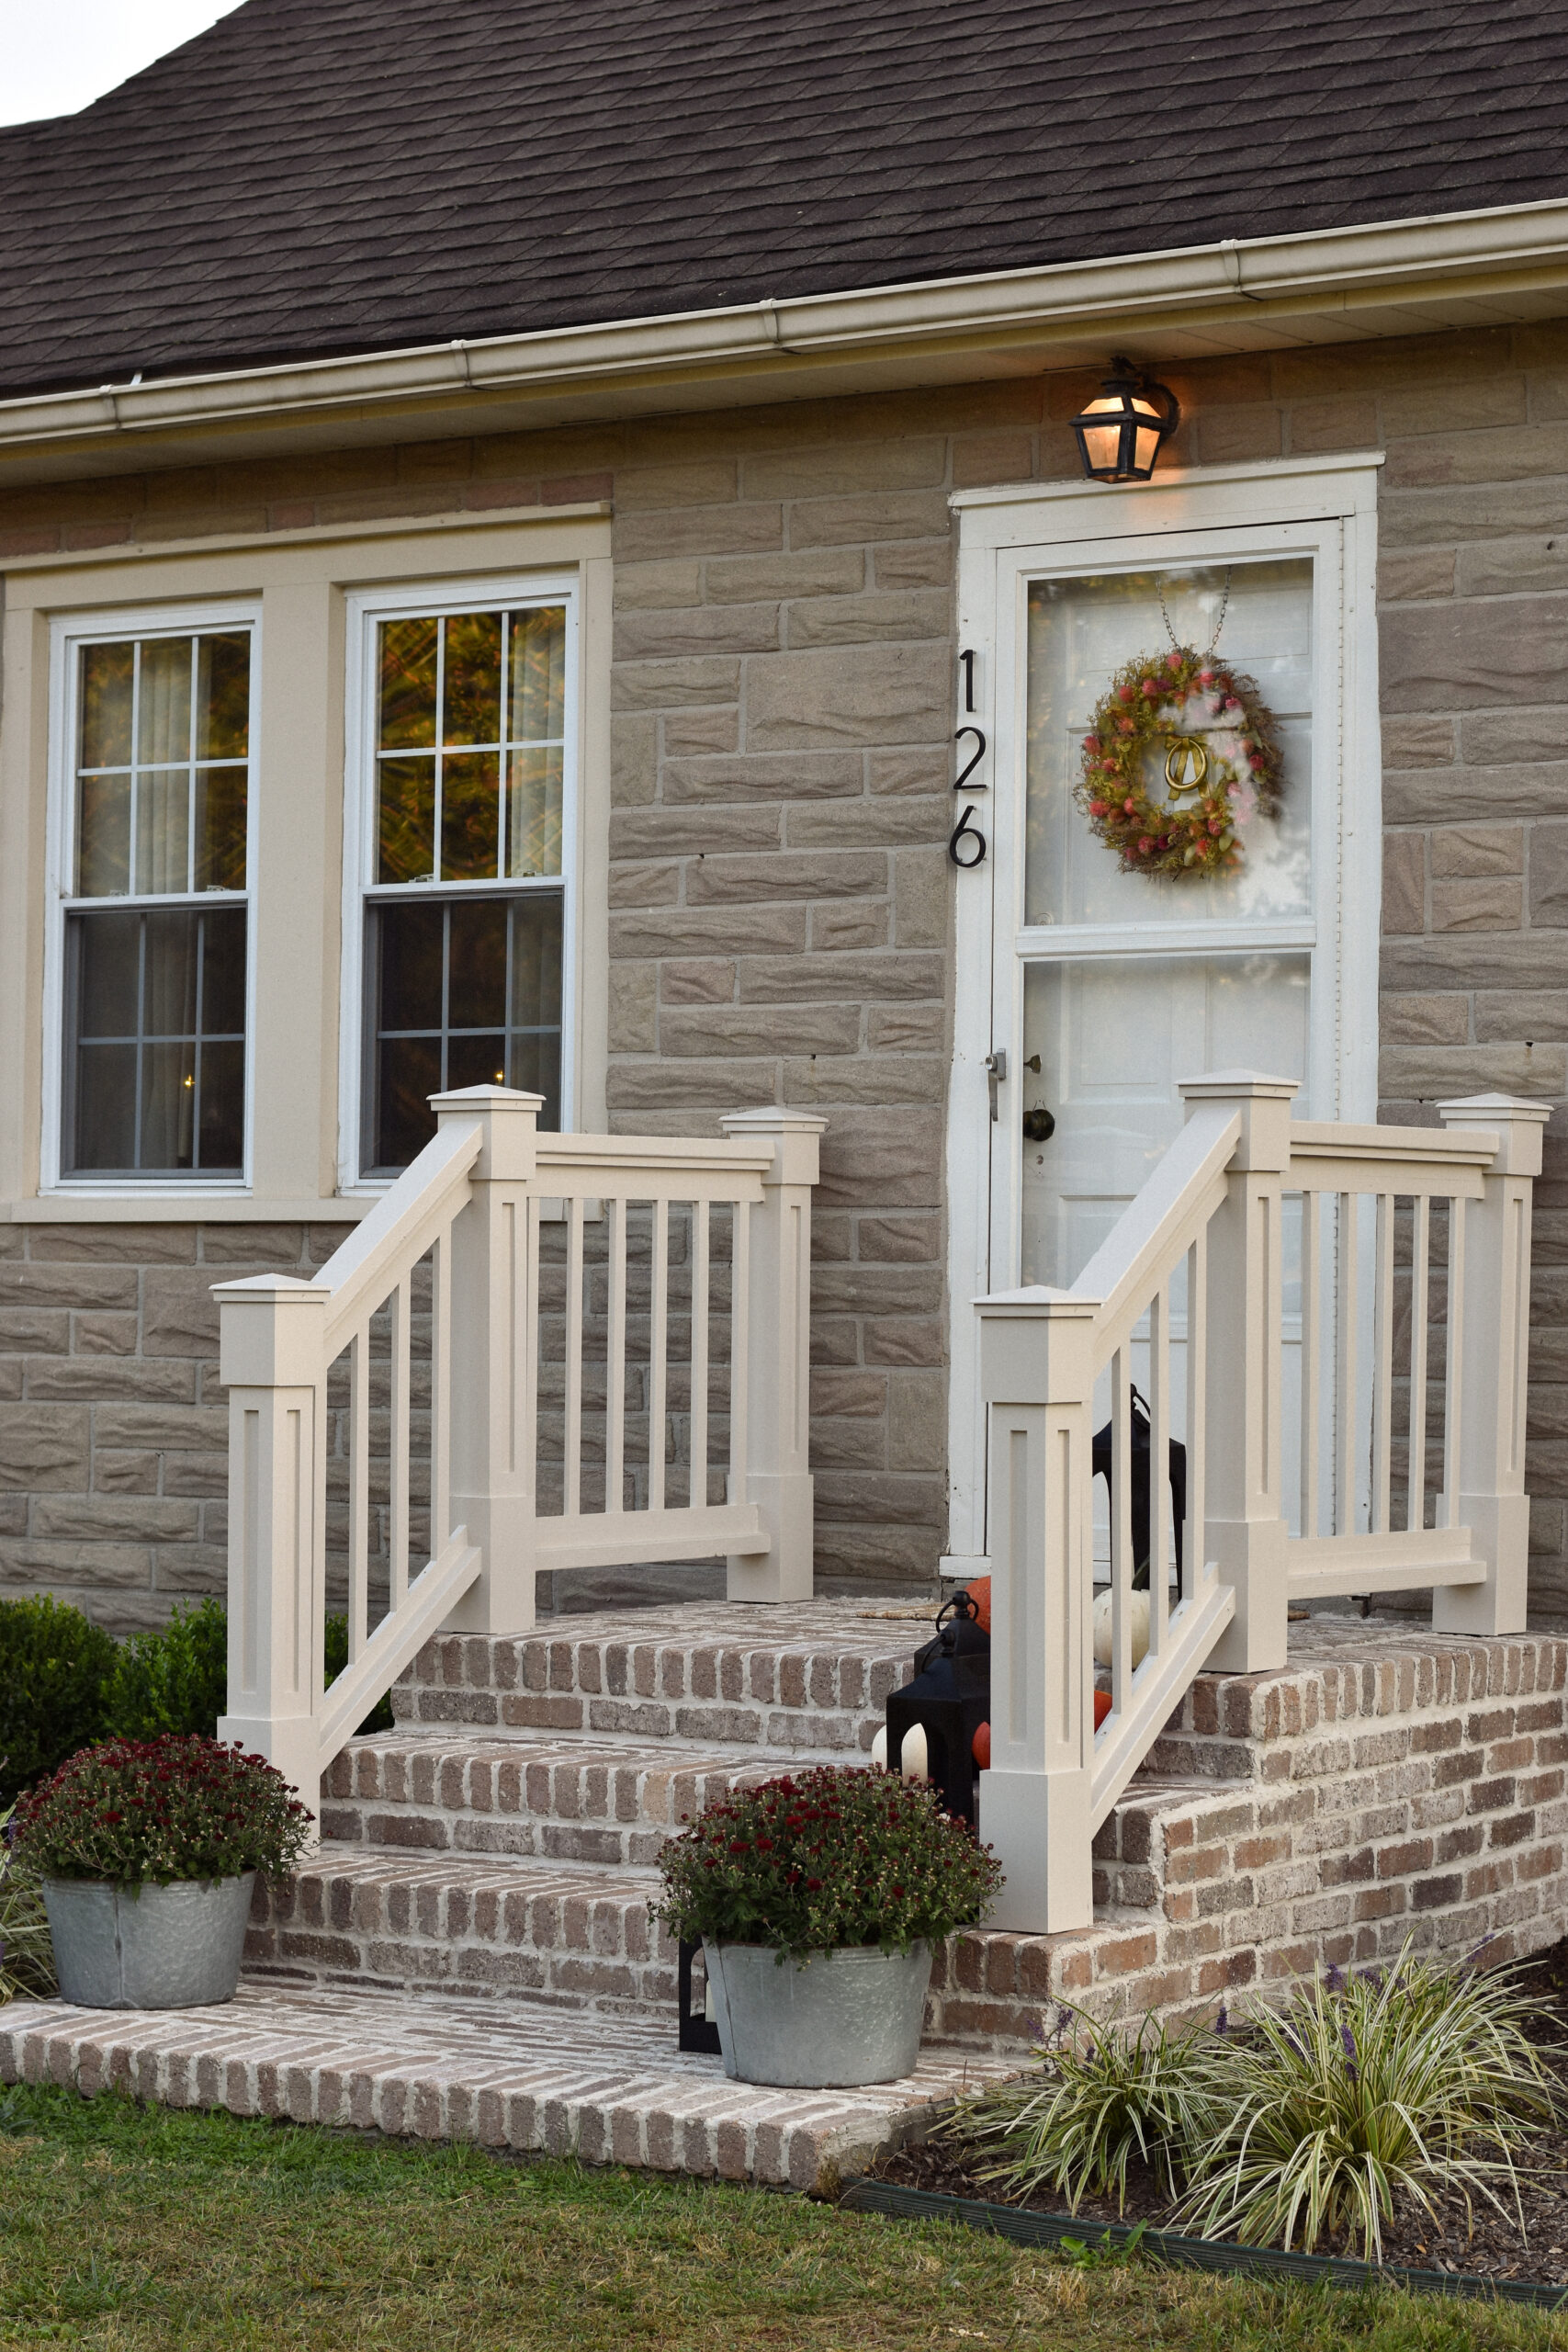
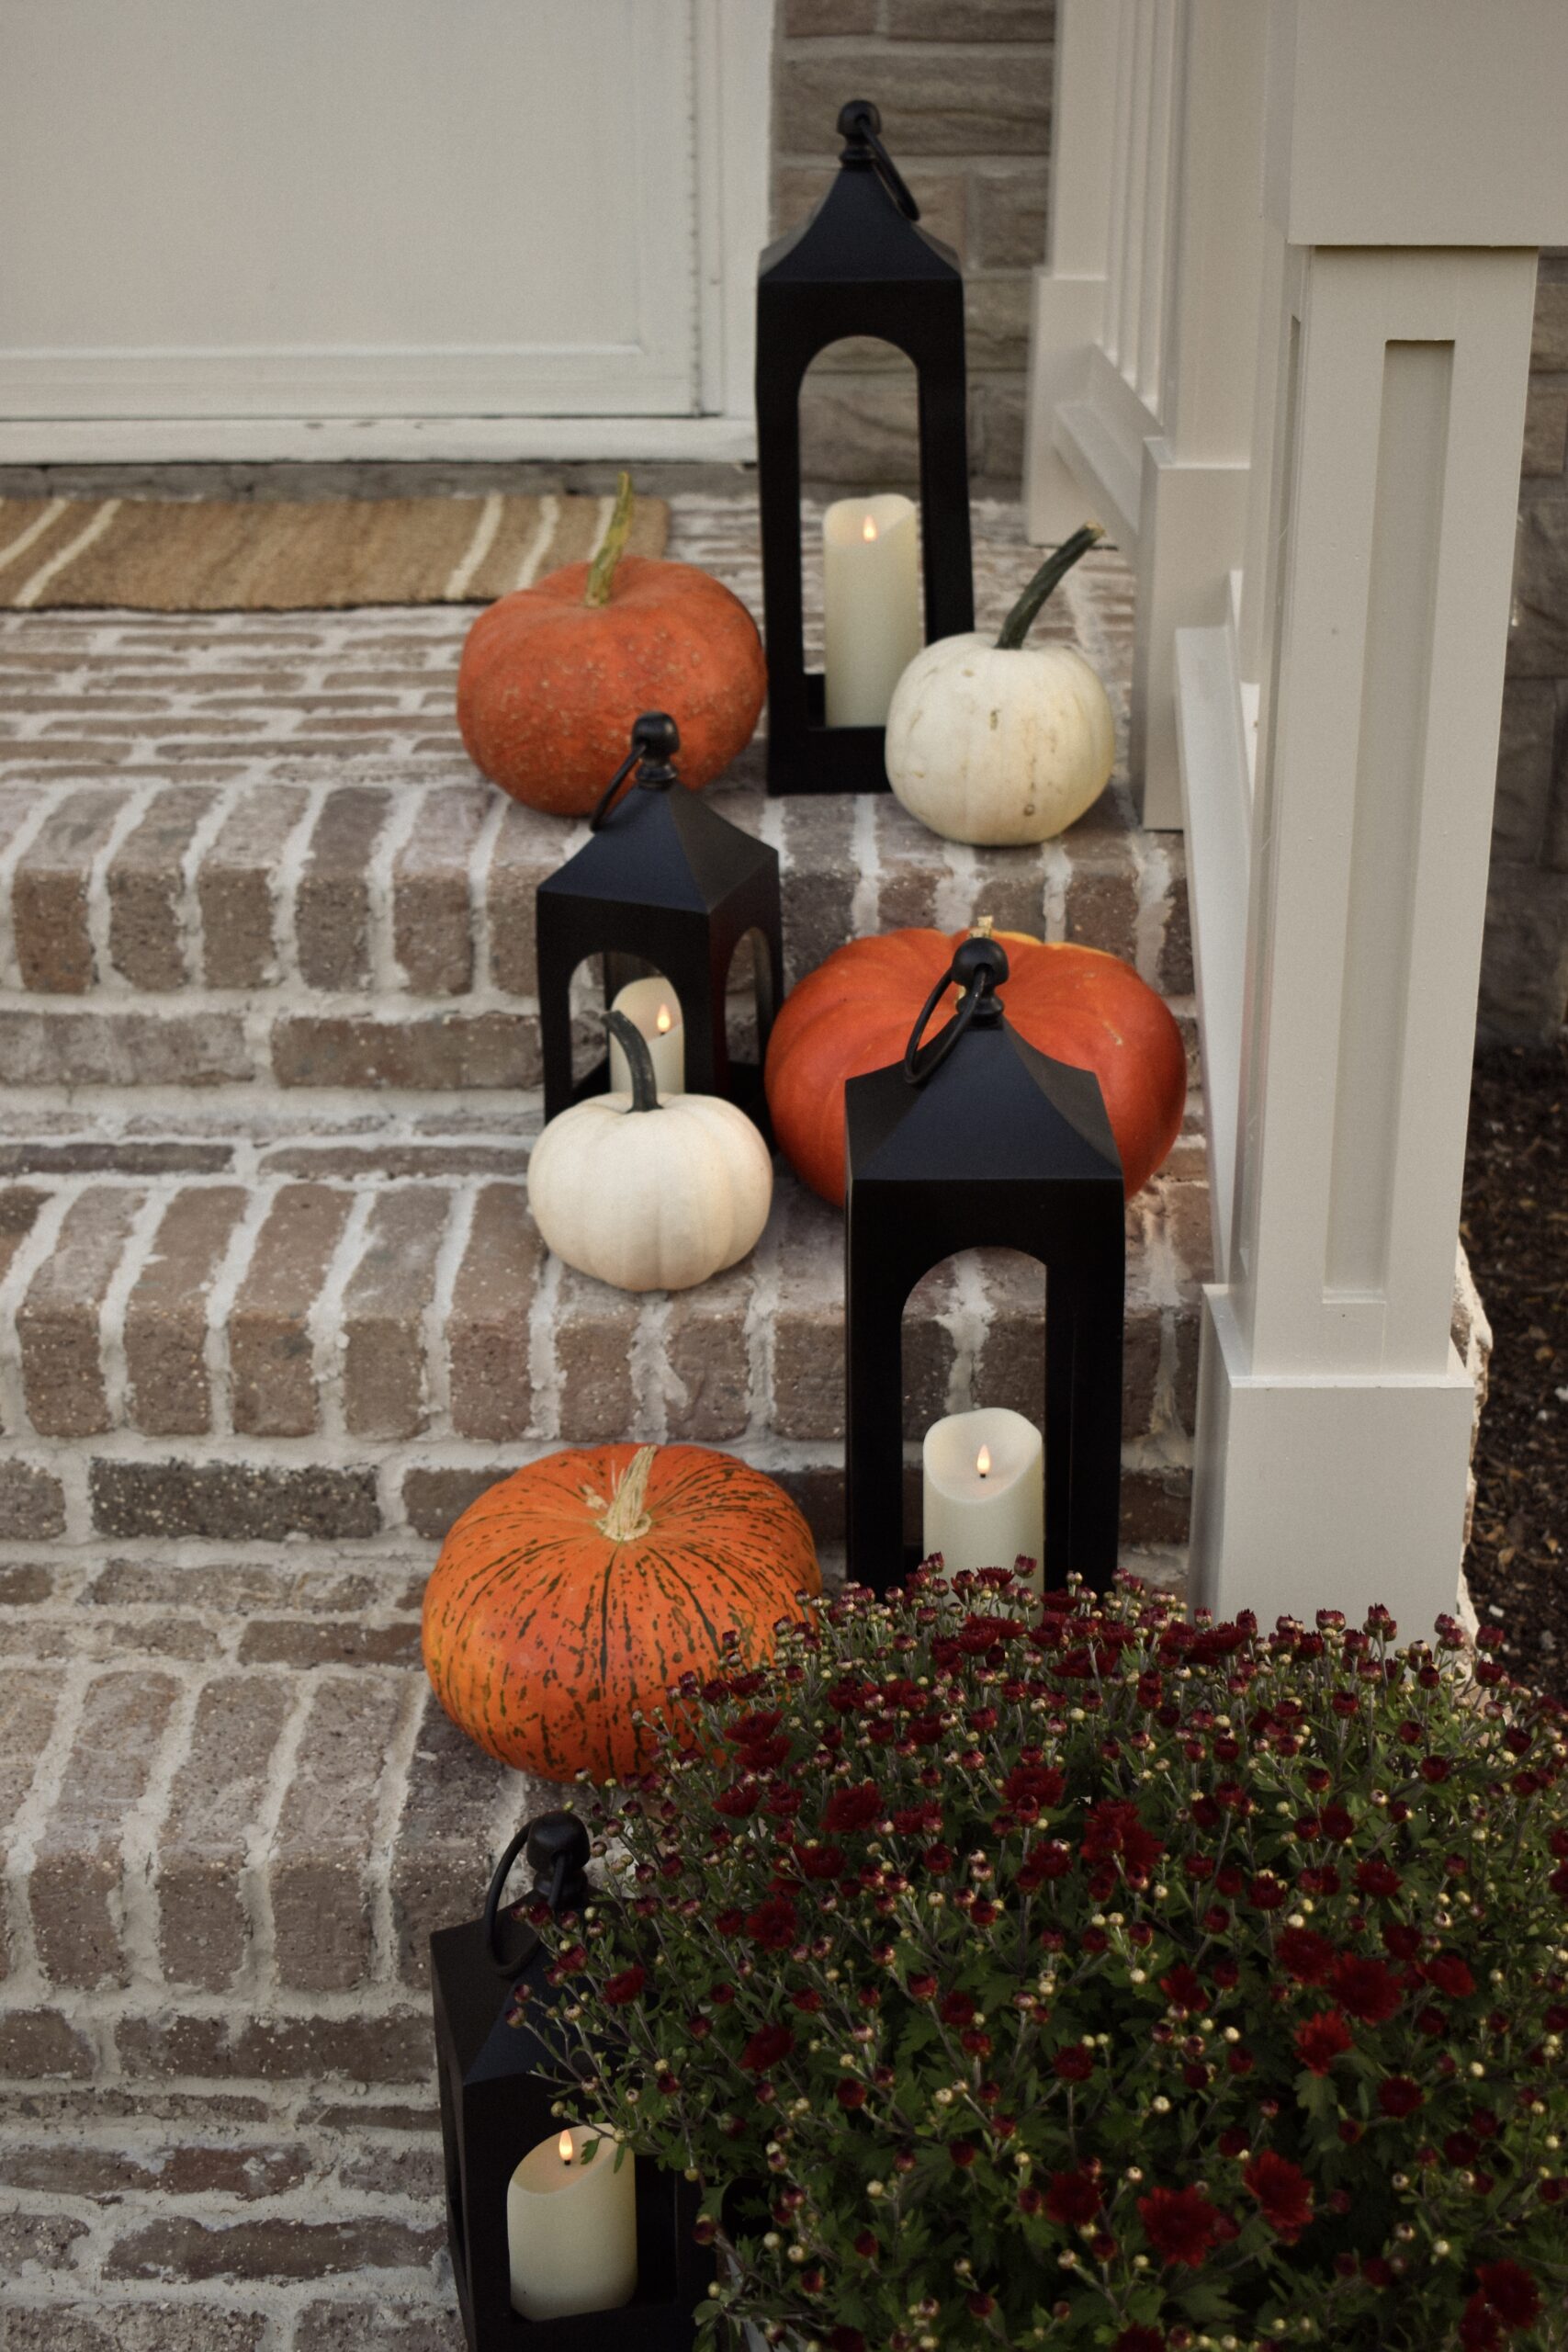
The Final Reveal!
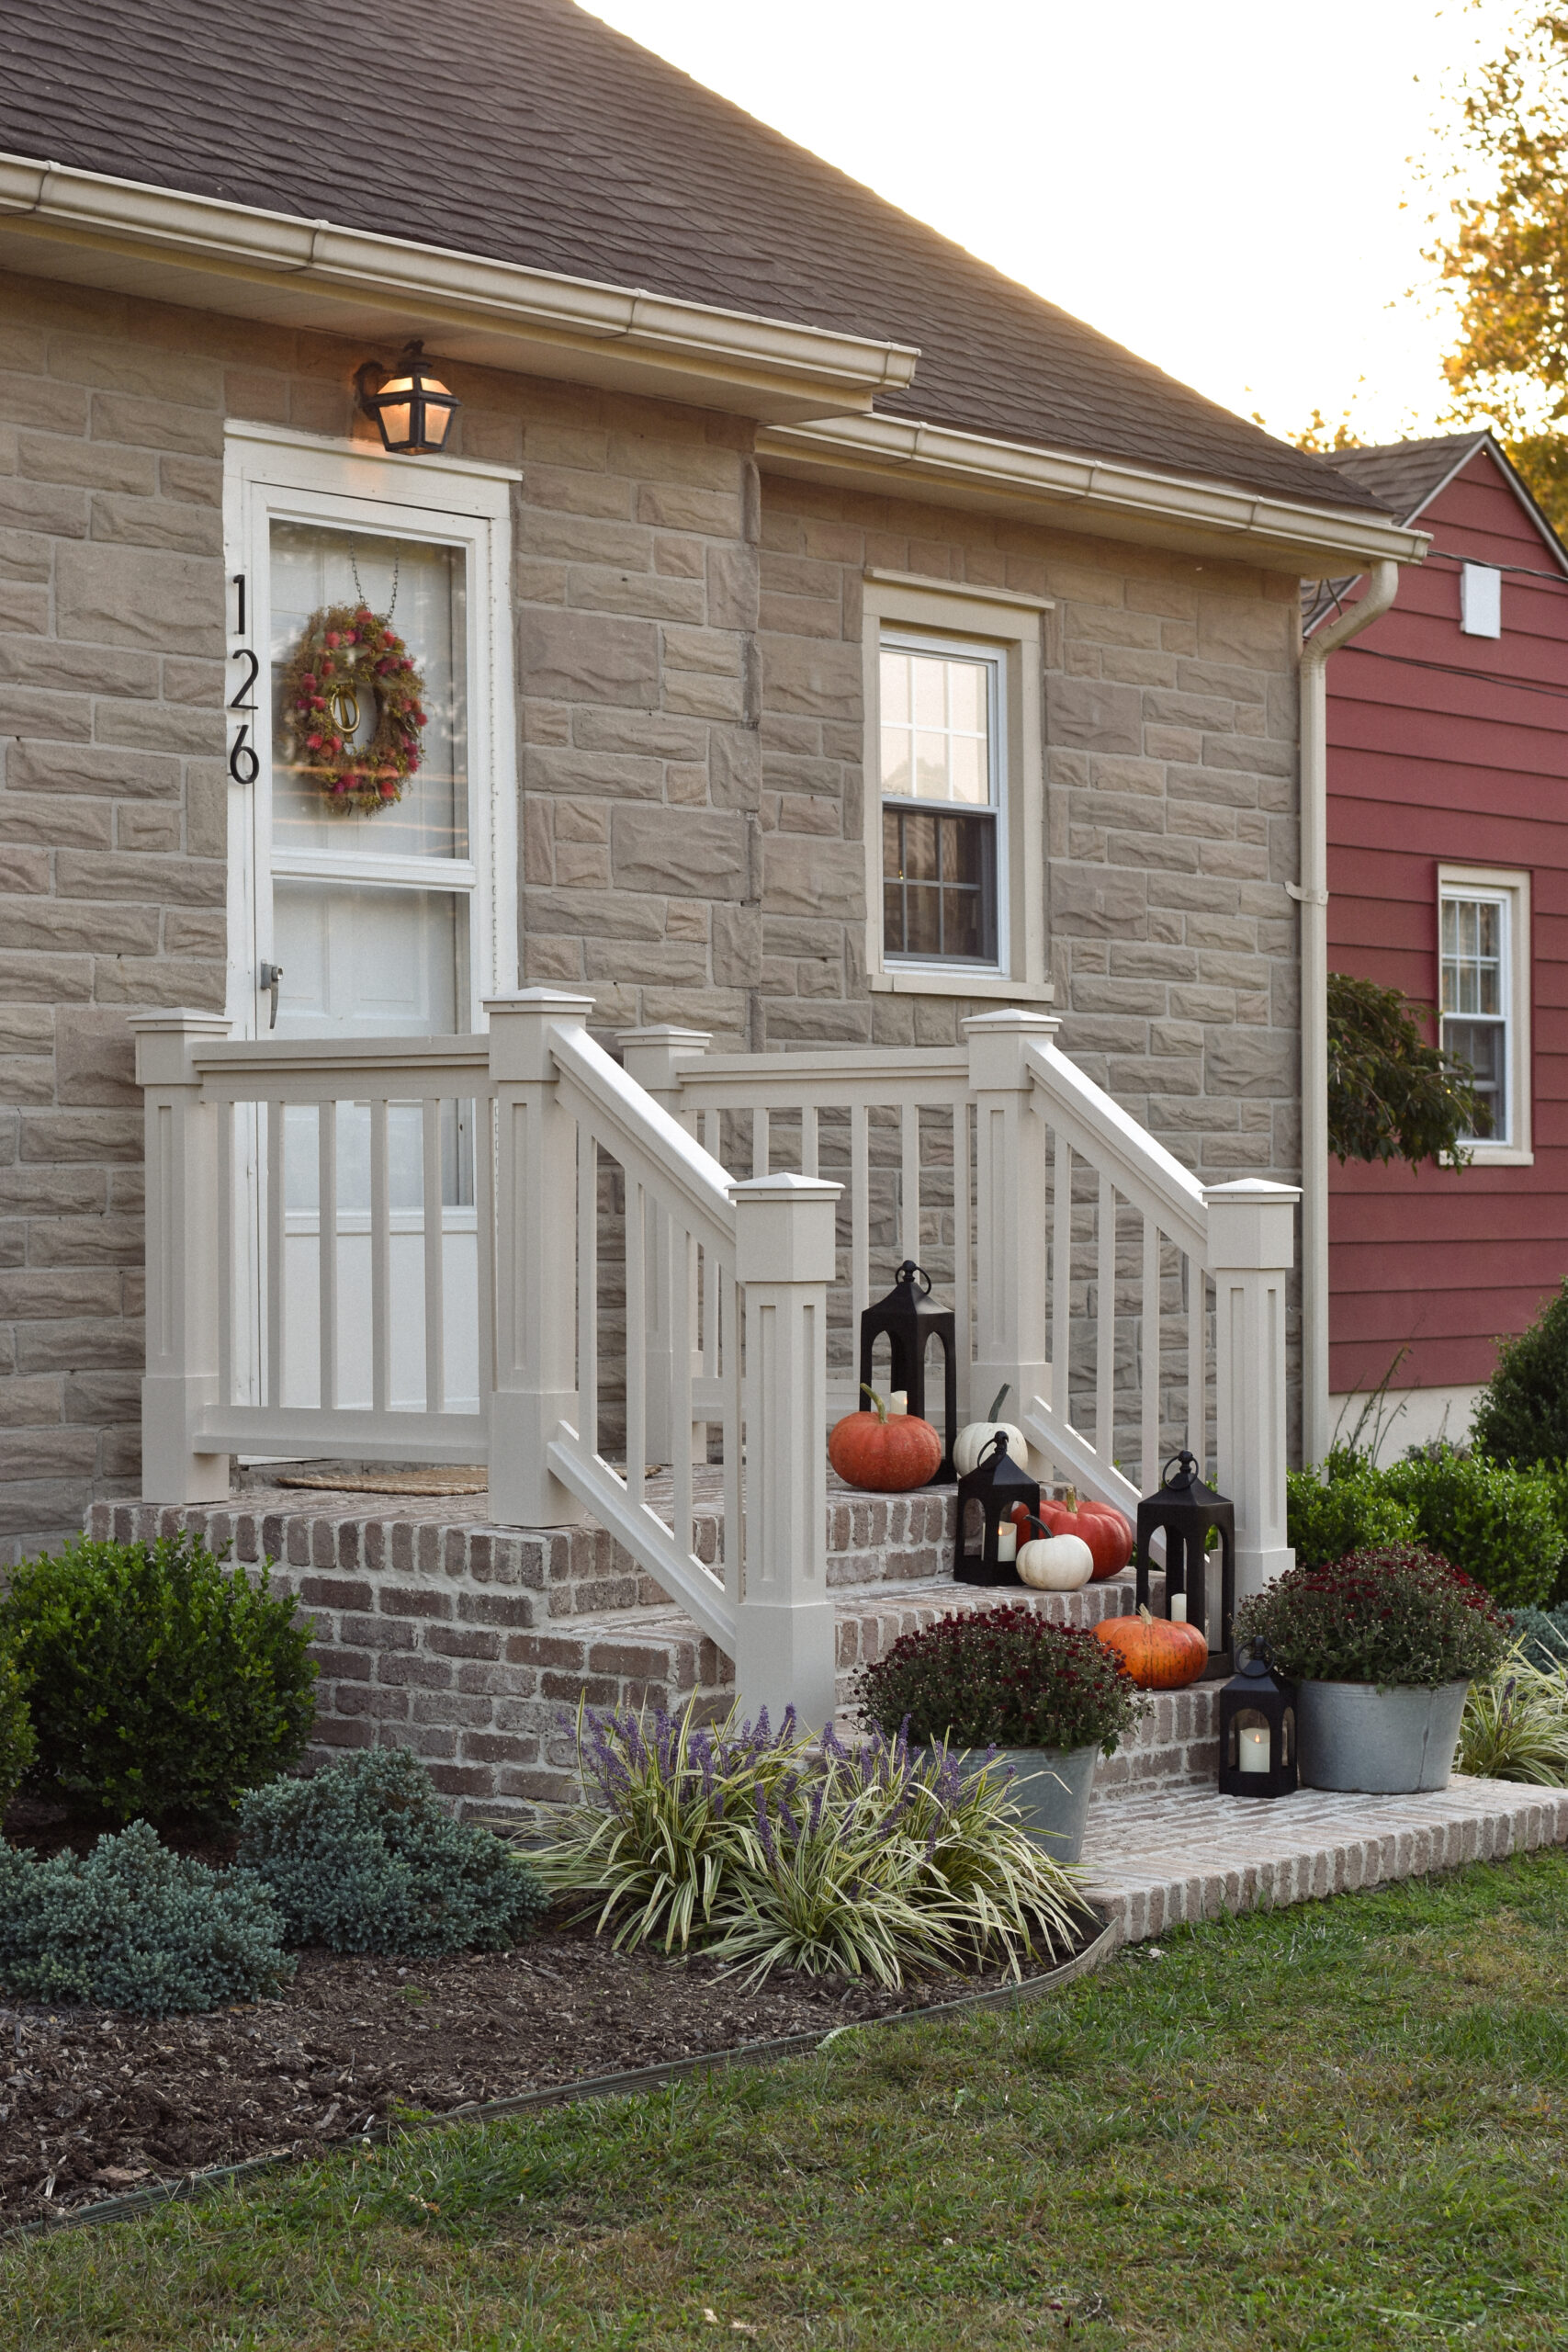
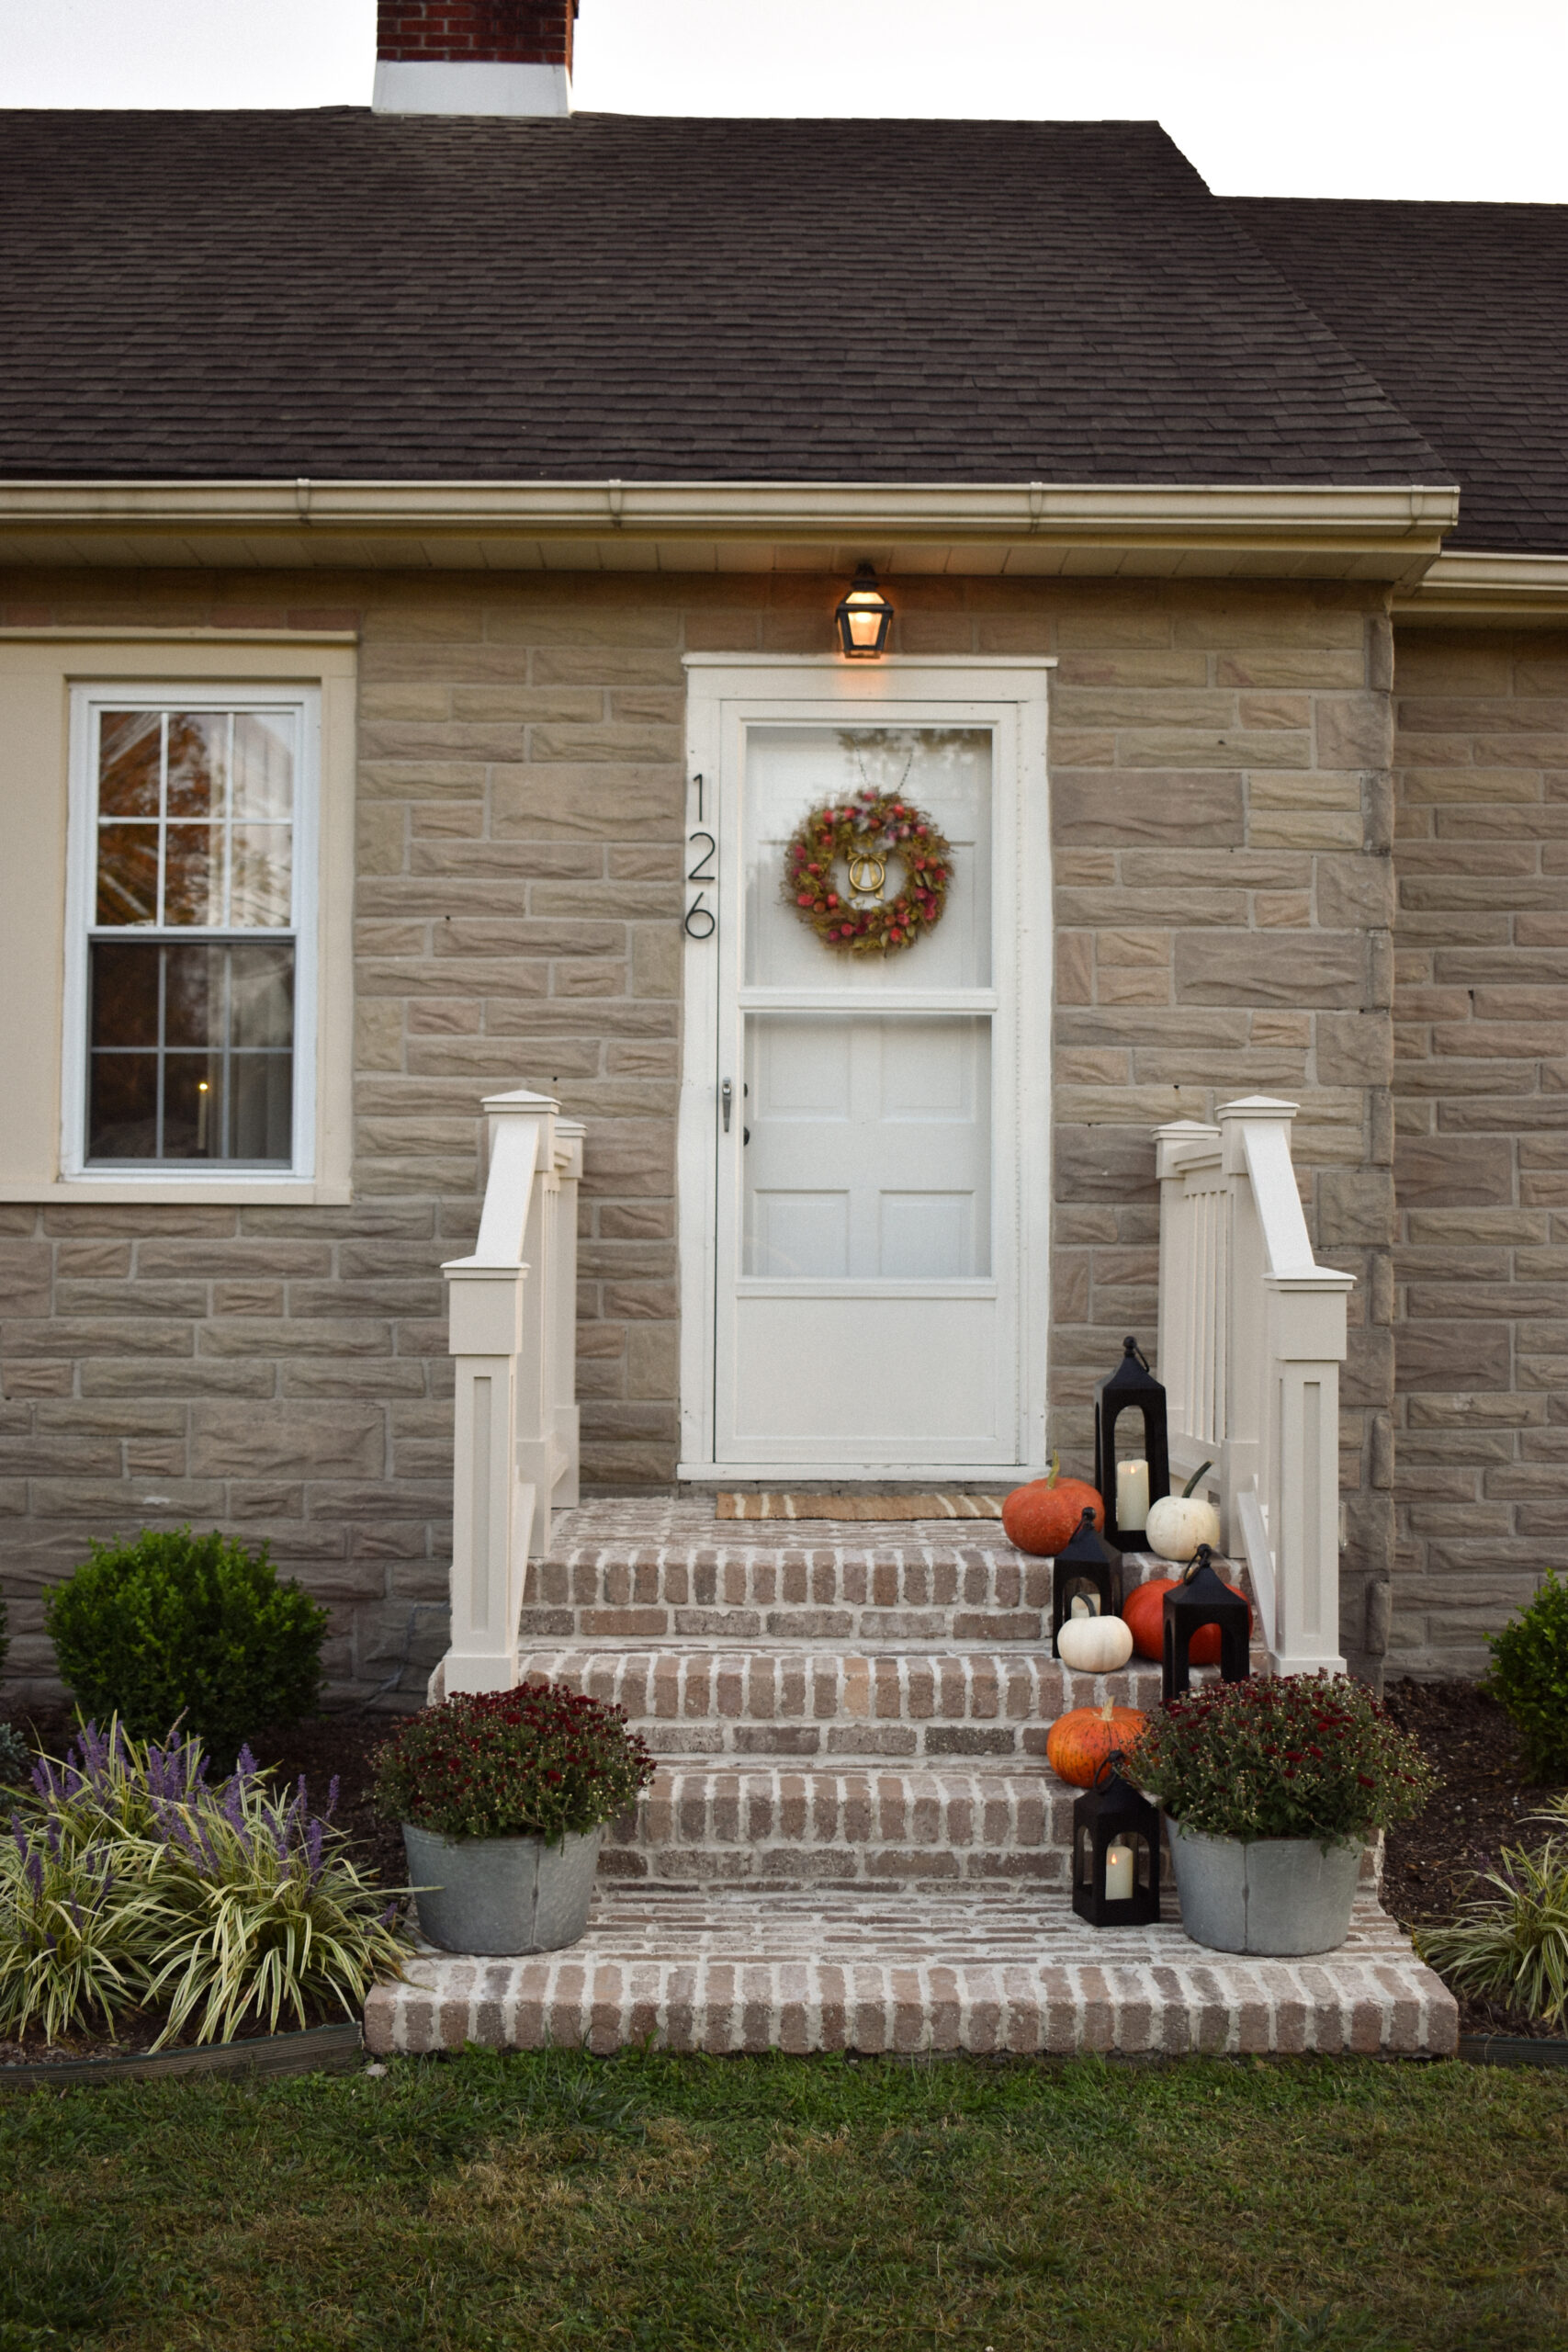
And now… here’s our DIY front porch makeover reveal!!
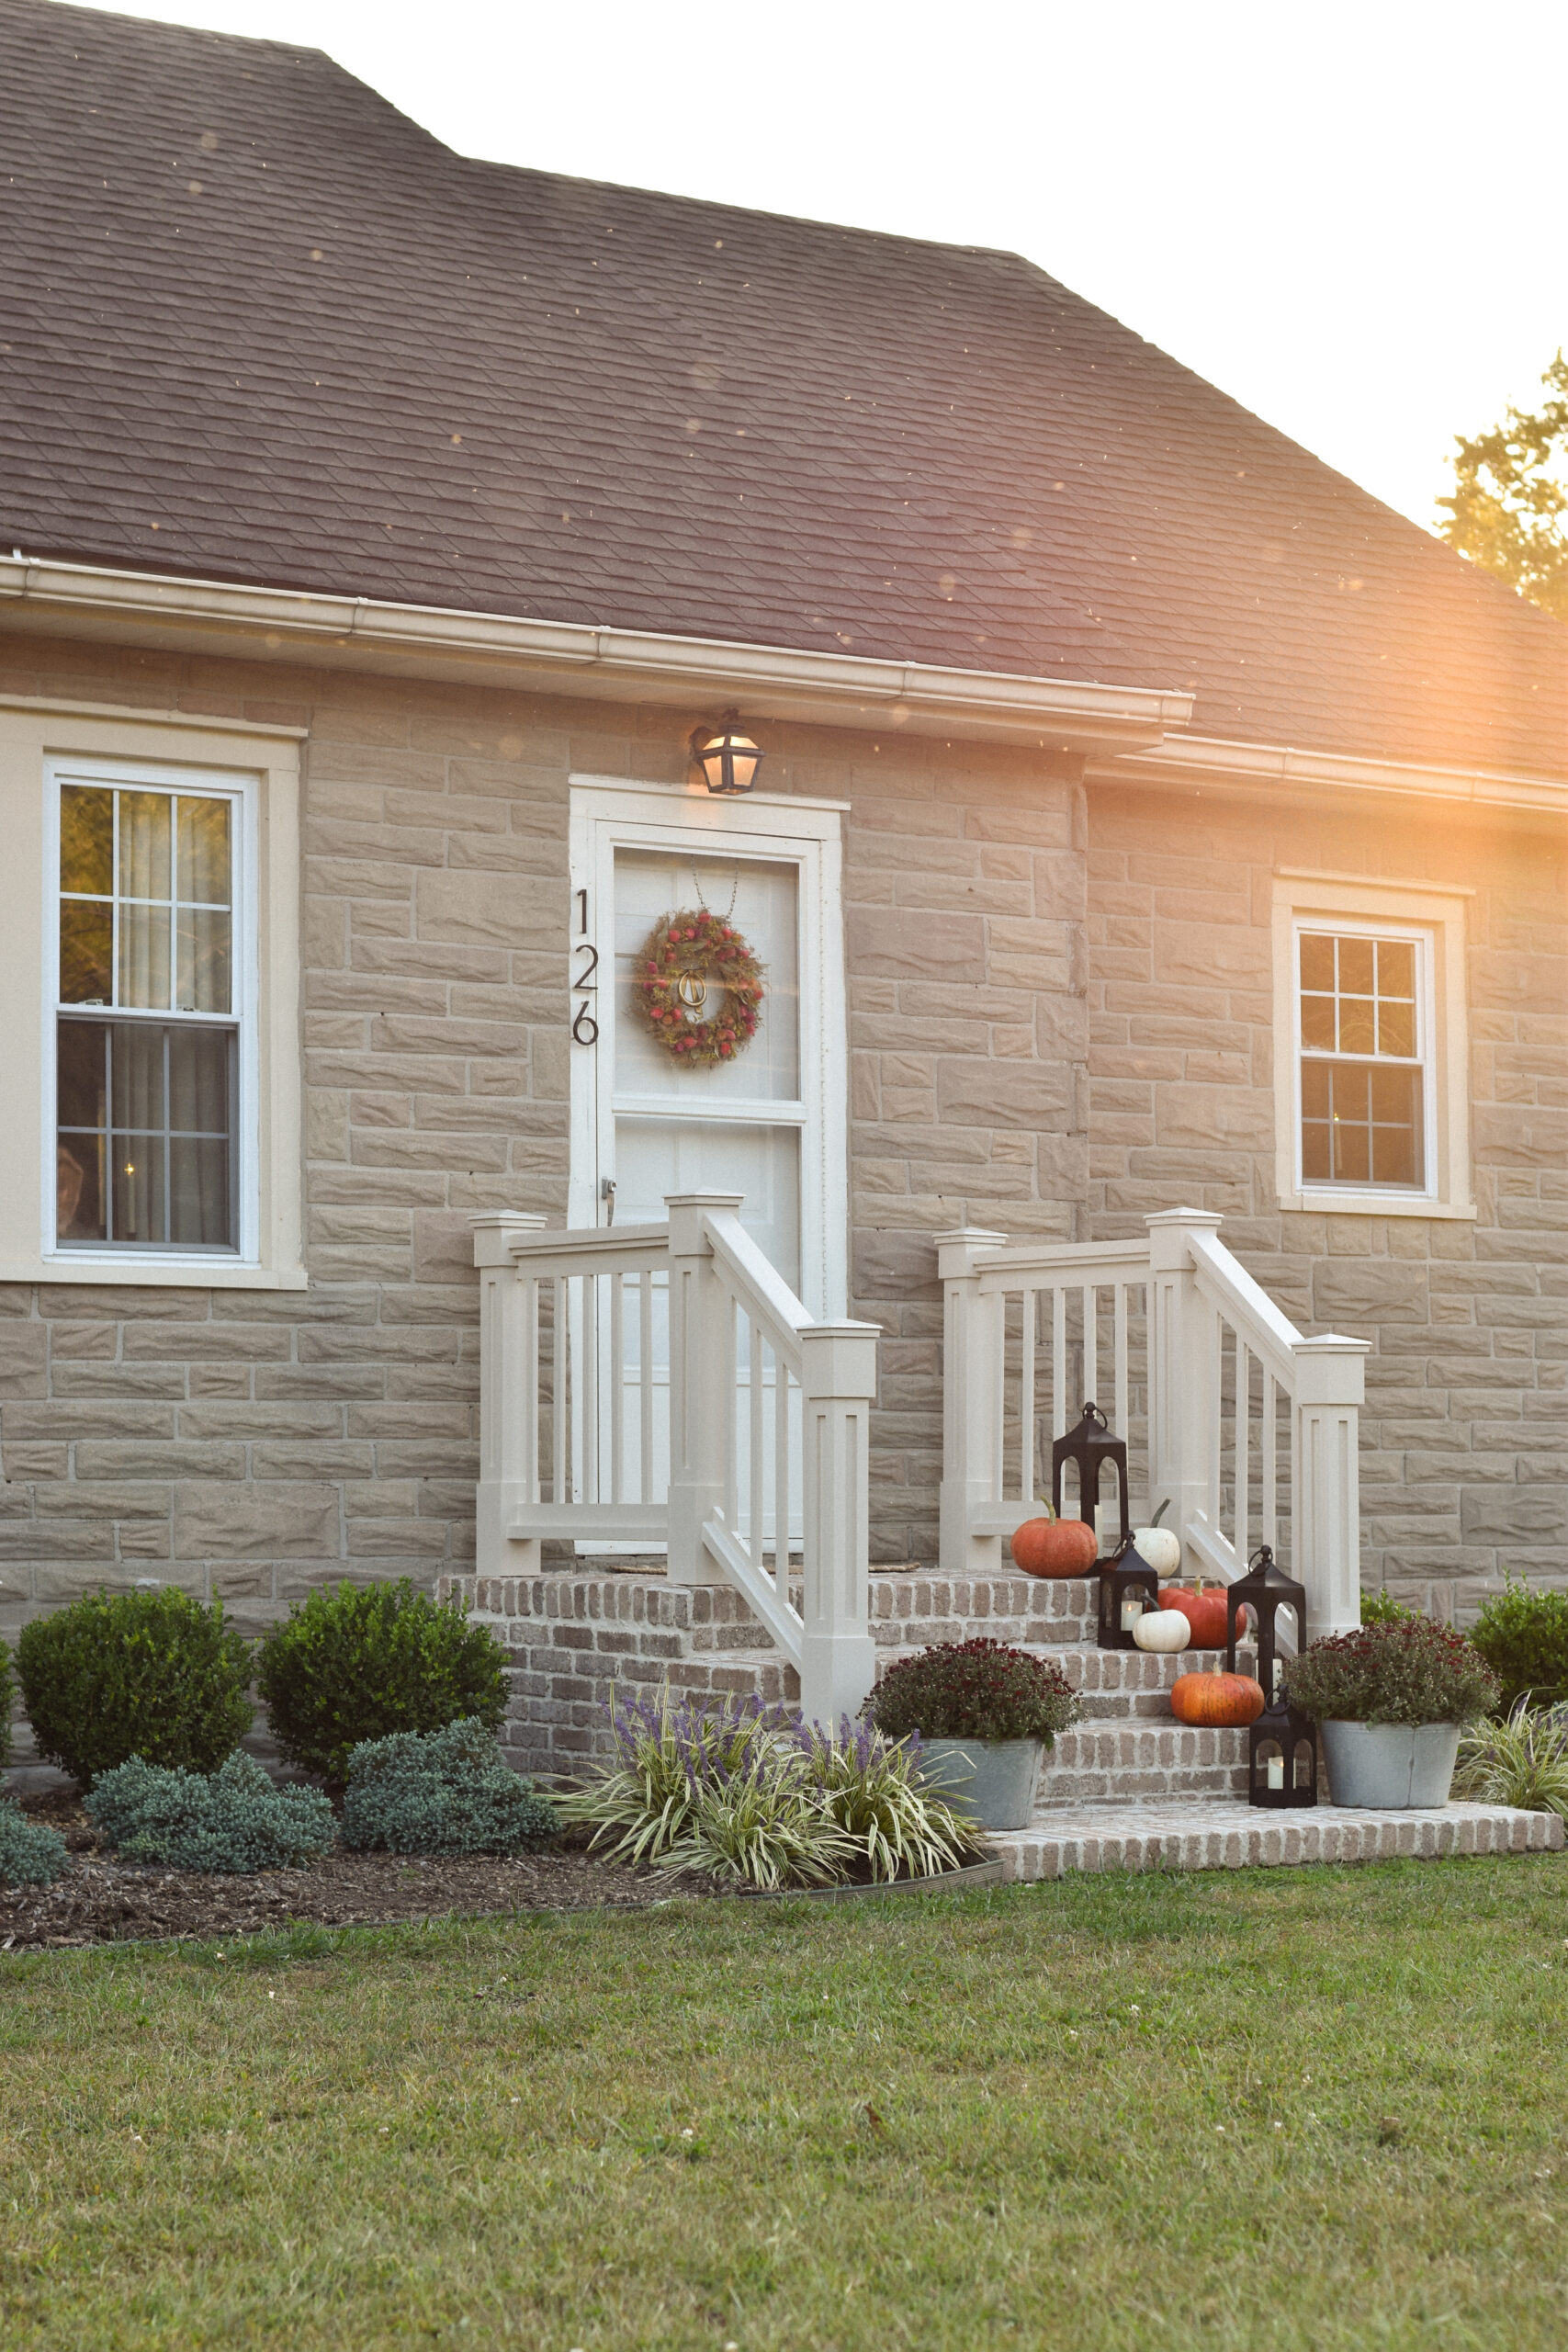
This project tested our patience more than we expected (there may have been a small meltdown and a full rebuild of a section of the railing in there lol), but we made it through and I COULDN’T LOVE IT MORE!!
Building our own railing was a challenge, but totally worth it. It added so much warmth and curb appeal to the front of our house. The brick steps, the trim details, the soft paint color, it all just came together perfectly and I am so excited to decorate this space for the seasons!!
I feel like this is the first step in giving our home that cozy, charming welcome home feeling we’ve always wanted! Would I do it again? Maybe. (Ask me again after a few months and Chris might need some convincing😂).
Sources
- Railing Paint Color: Accessible Beige by Sherwin Williams
- Door / Storm Door Paint Color: Alabaster by Sherwin Williams
- Thin Brick Sheets in the color Rushmore
- Thin Brick Corners in the color Rushmore
- Prism Grout in the color Bone
- Hammer Drill
- Power Washer
- Grout Bag
- Mortar
- Trowel
- Sealant
- Concrete Post Anchors
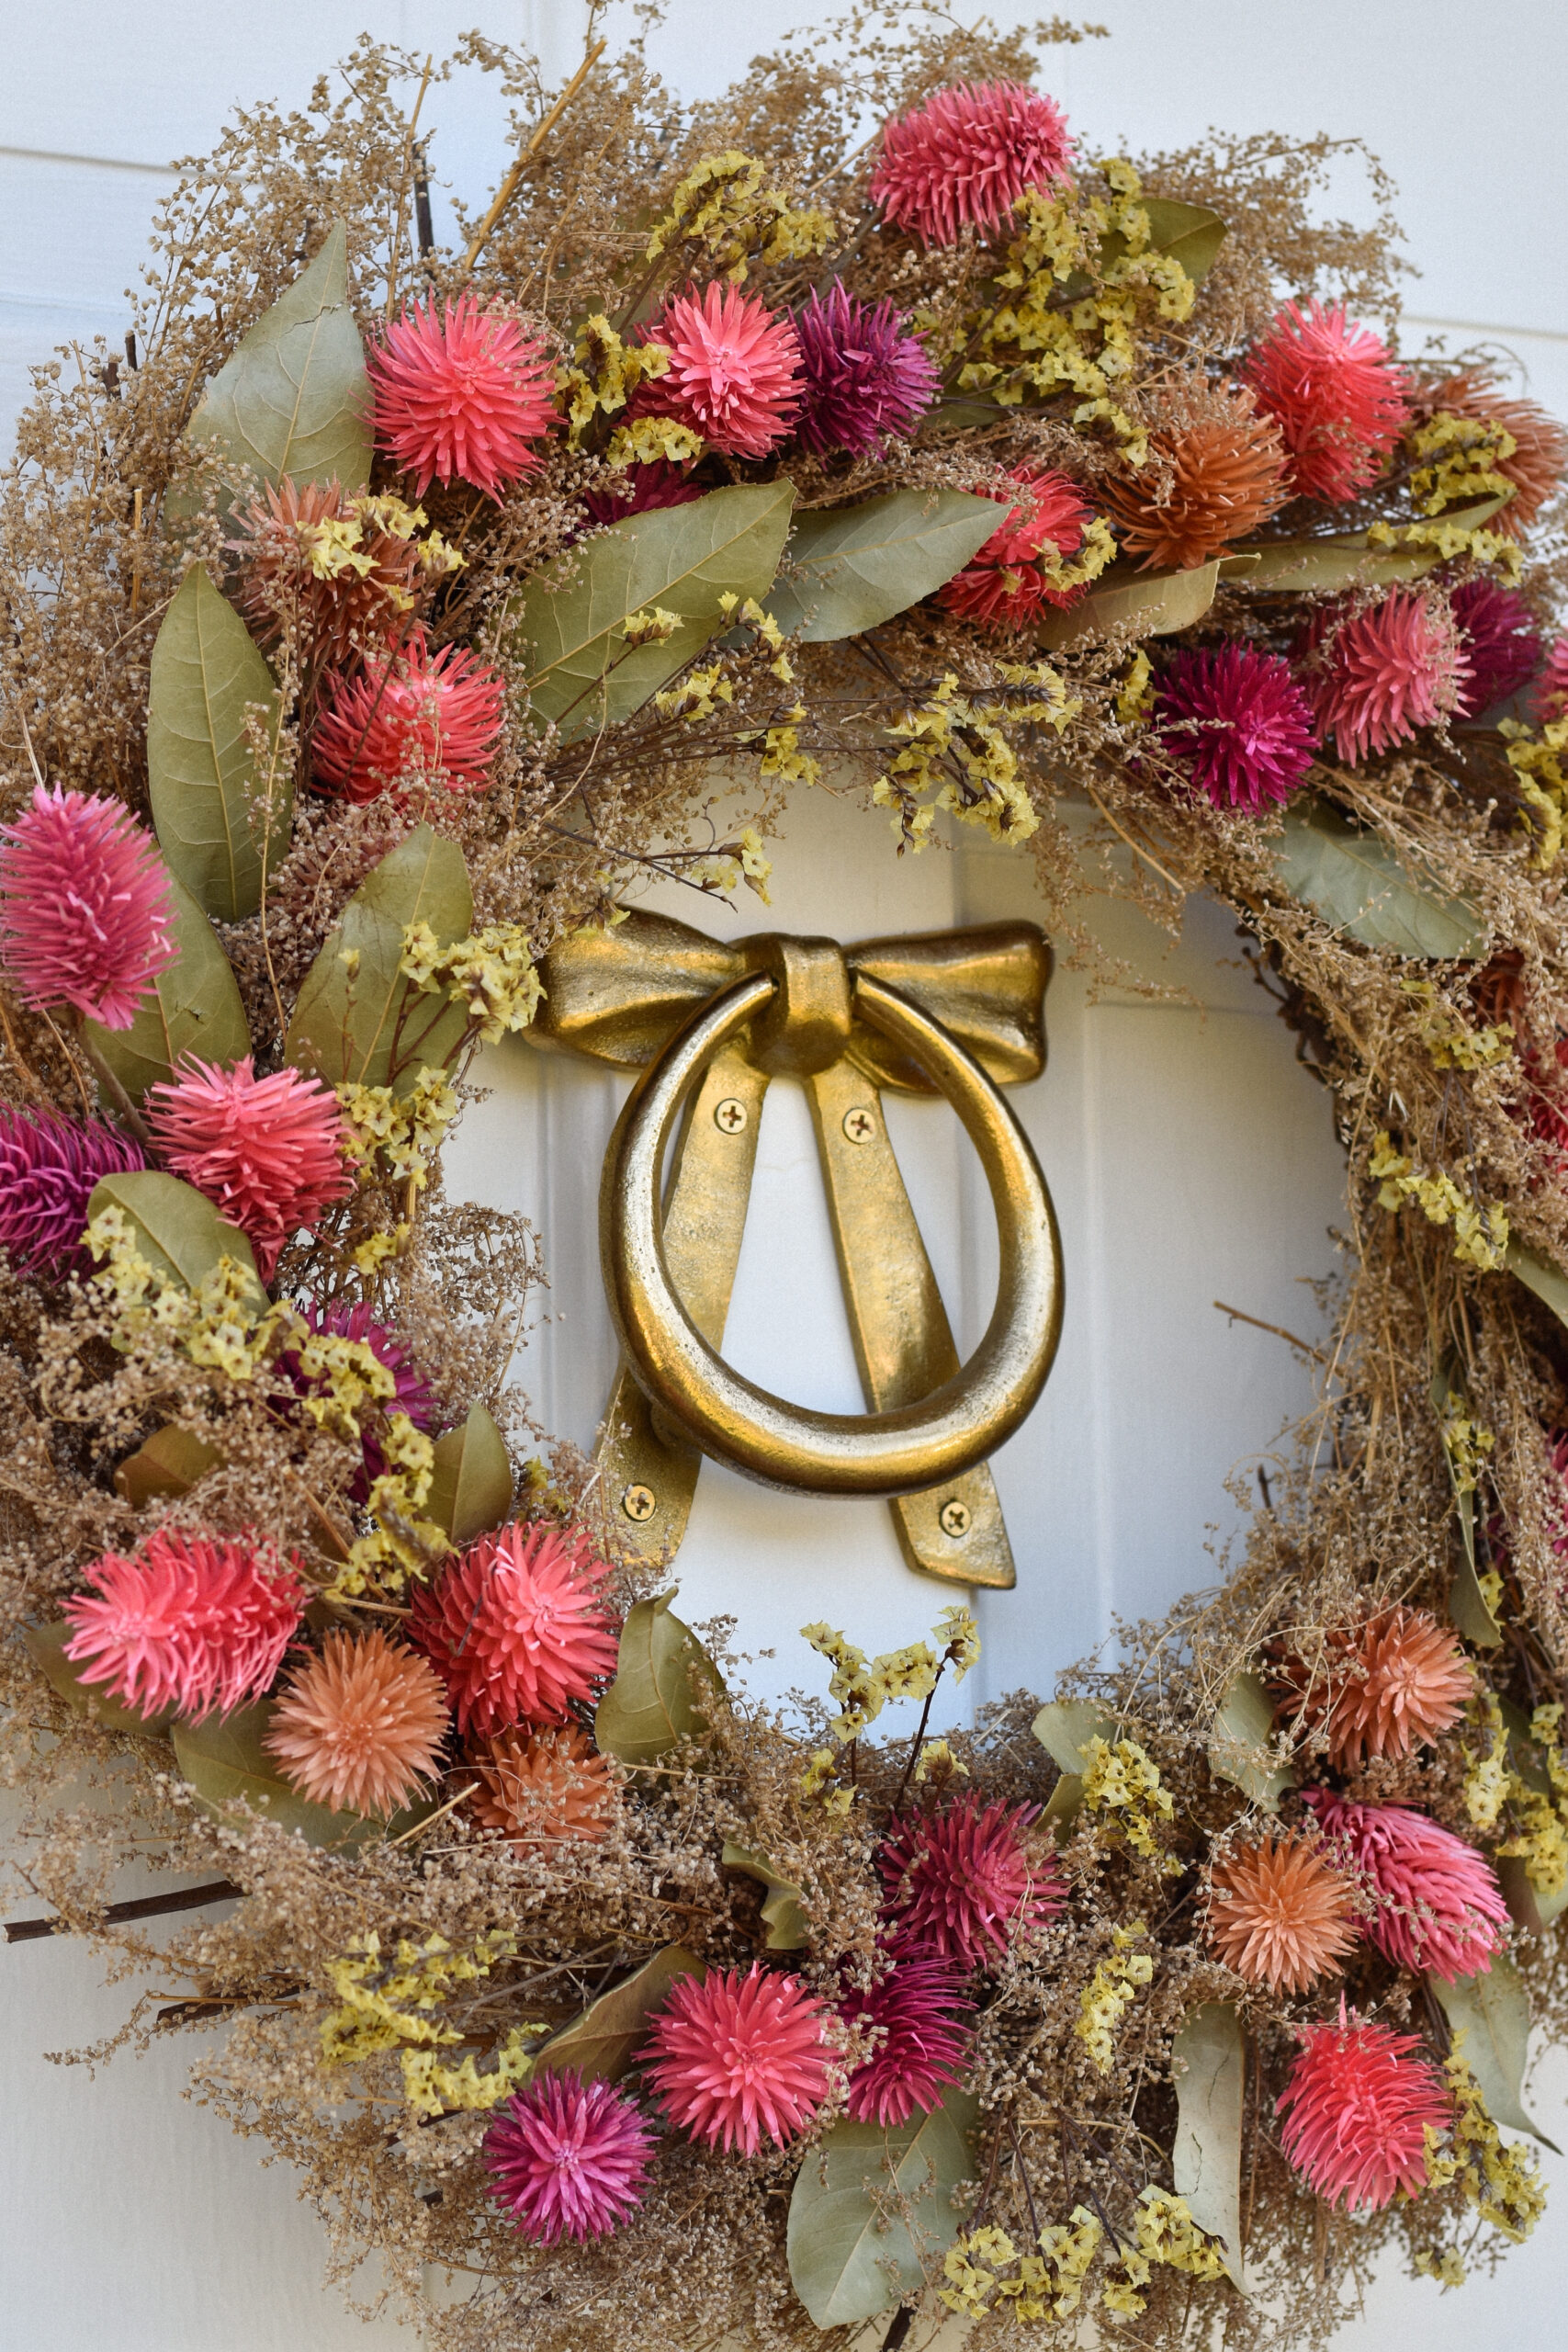
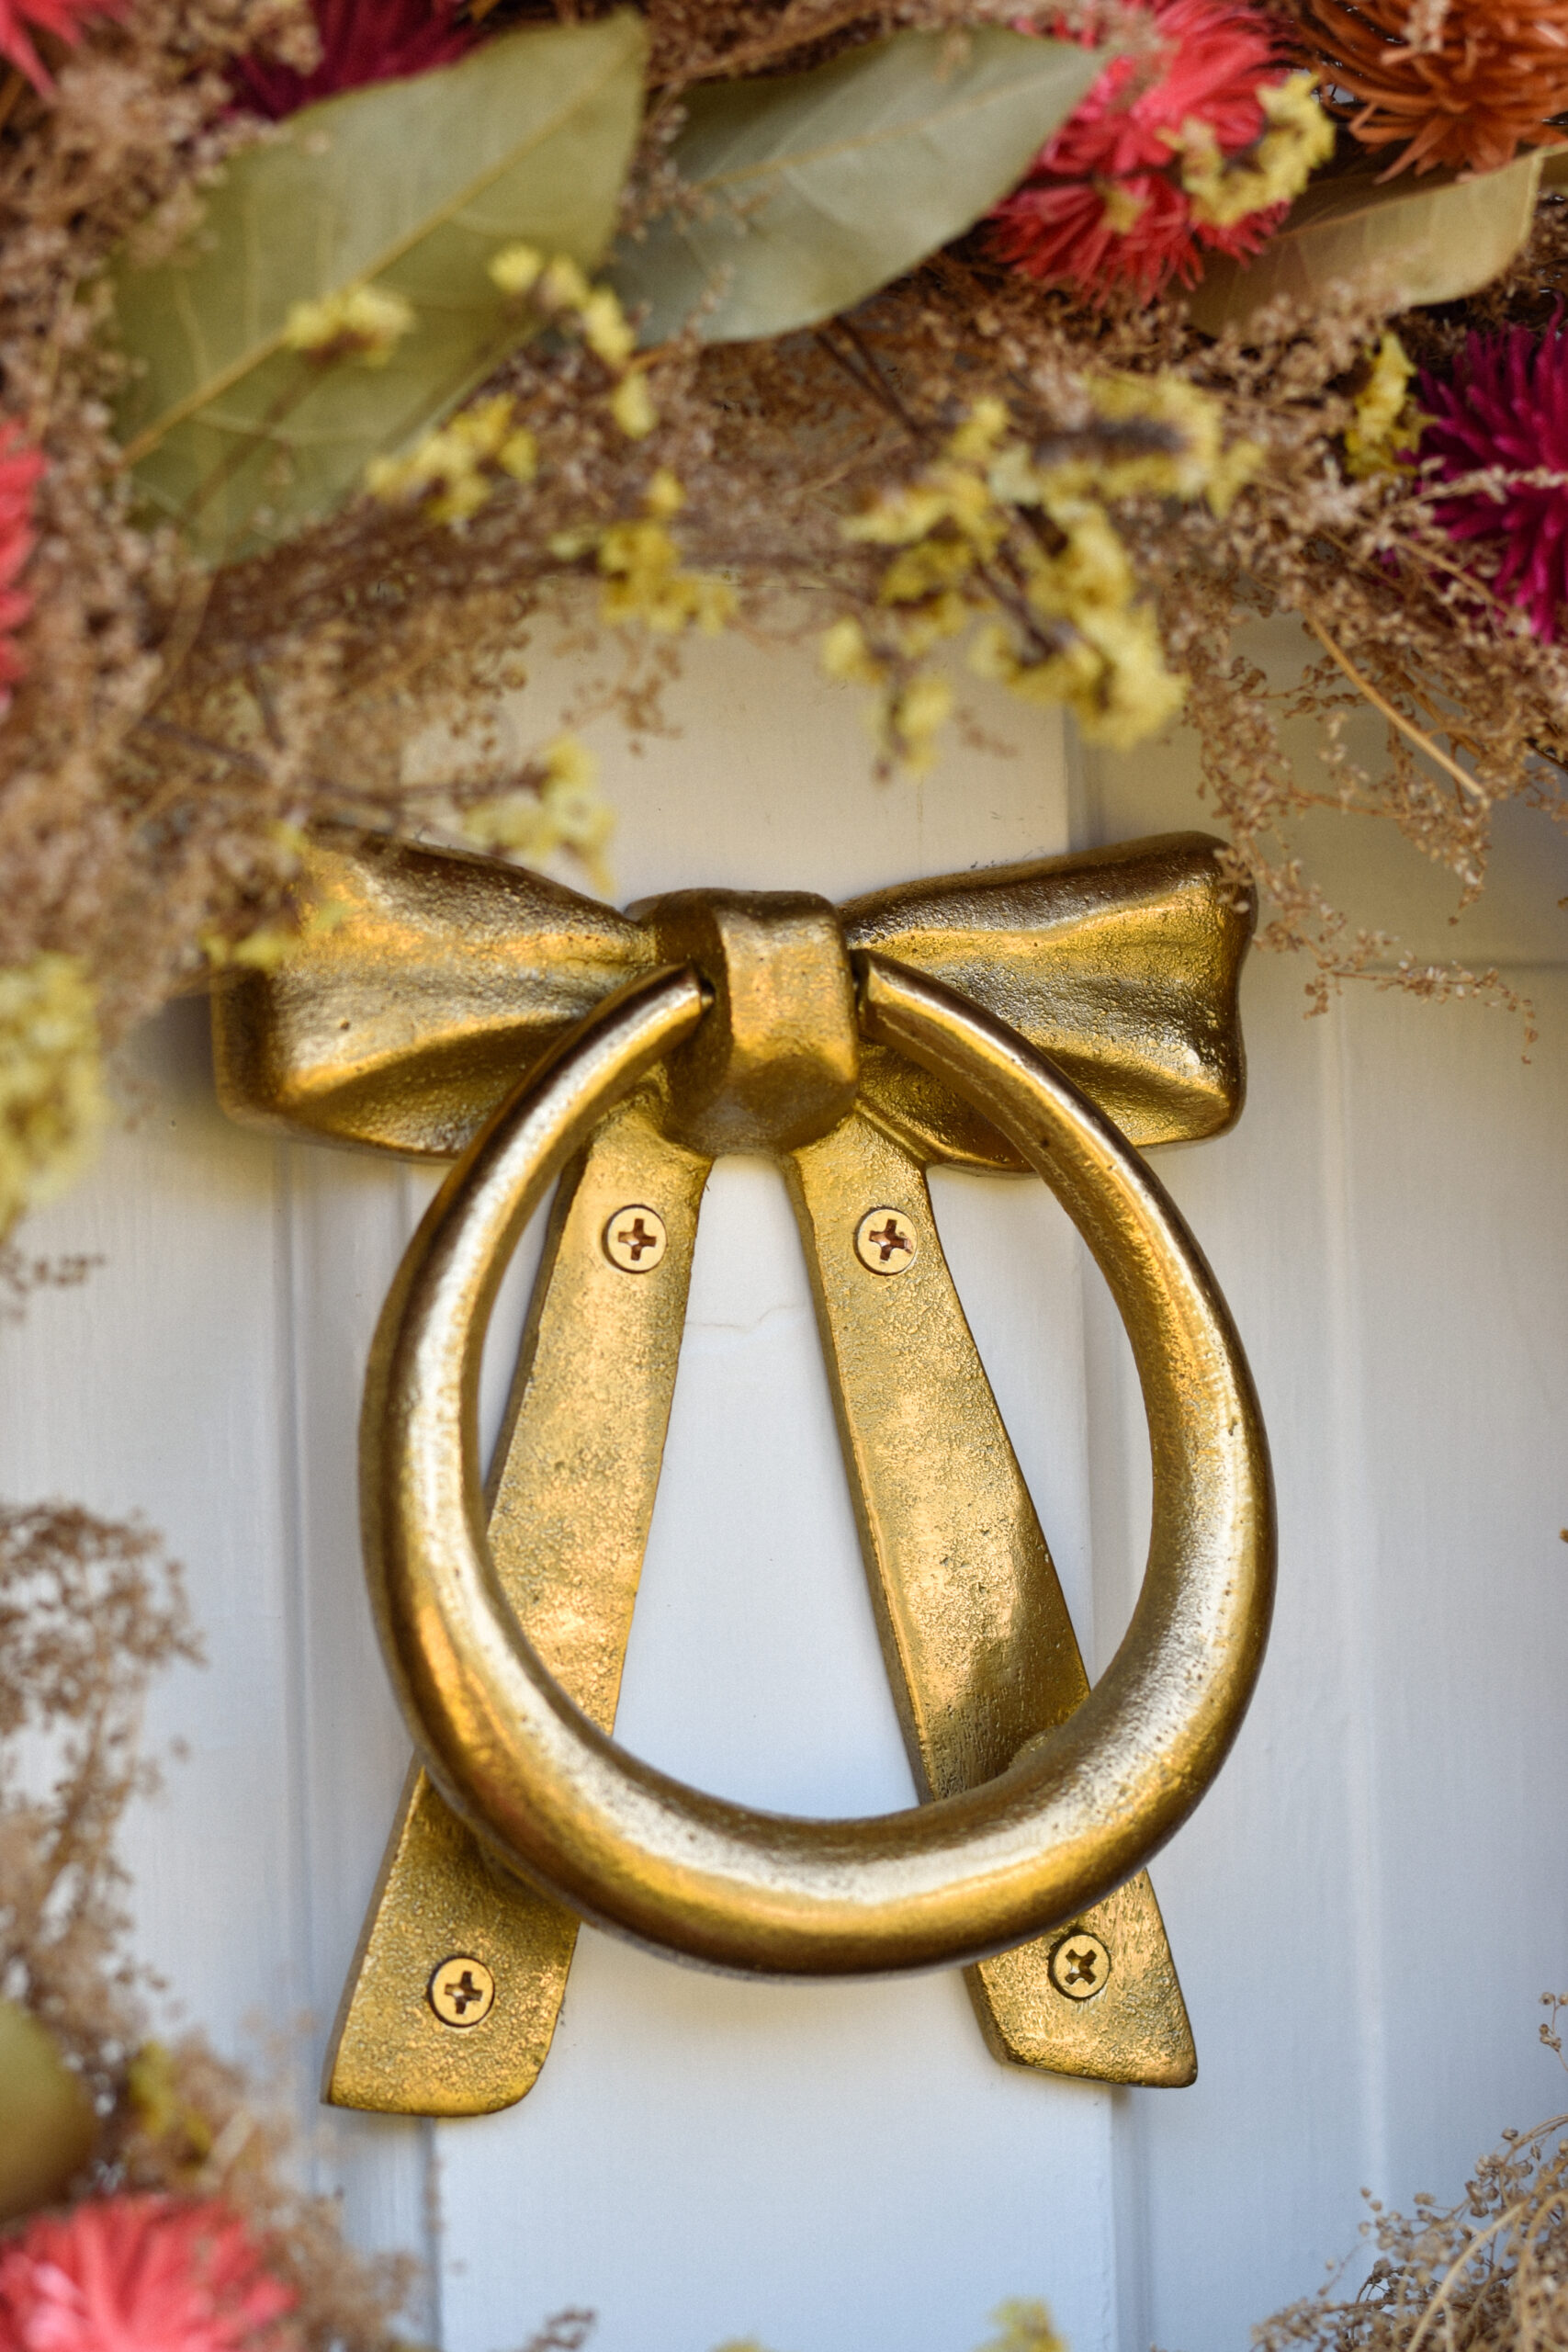
- Door Knocker
- Doormat
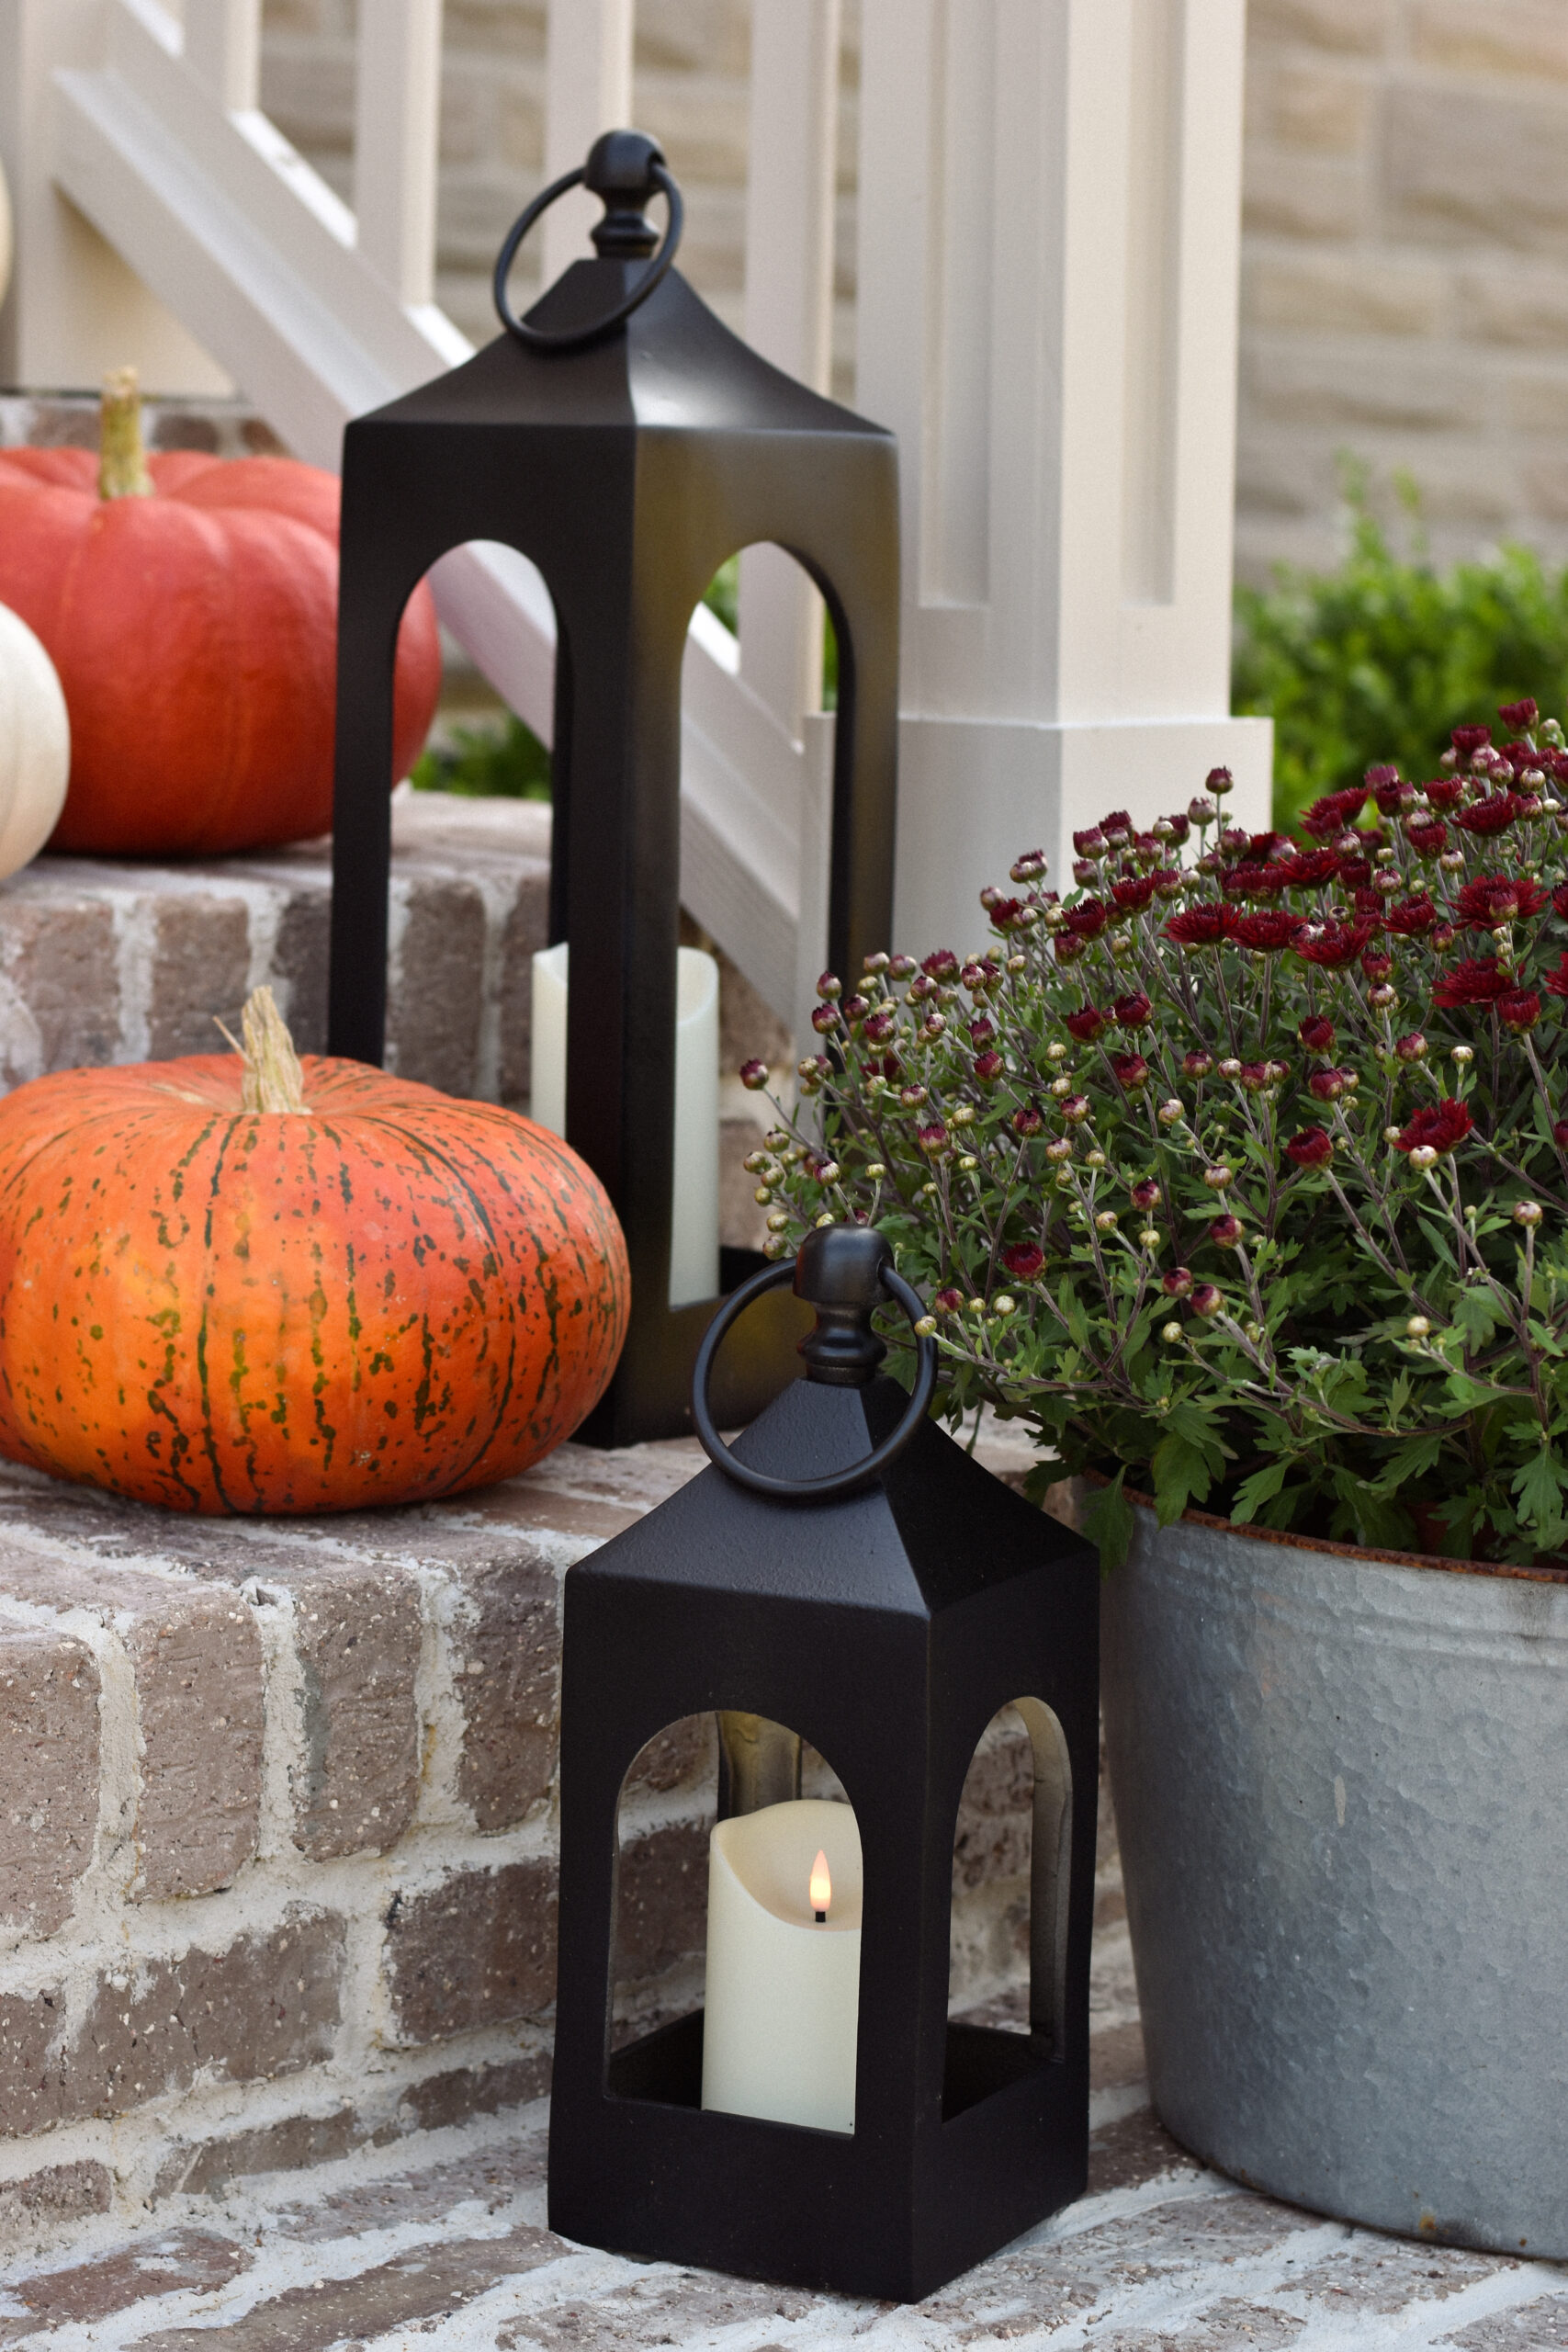
- Lanterns
- Battery Operated Candles
If you’re dreaming about giving your home’s exterior a refresh, I can’t recommend a DIY front porch makeover enough. It’s a lot of work, but the results are so rewarding.
Next up… maybe the side porch? Follow along on Instagram and TikTok @cozyoncedar to see what project we’re working on next!!
This post contains affiliate links, which means I may earn a small commission (at no extra cost to you) if you purchase through one of my links. Thank you so much for supporting my blog and our little DIY adventures! 🤍
